
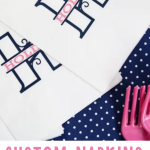
Grab your Cricut and discover how to create custom napkins! This easy project is perfect for making everyday napkins or personalized ones for special occasions.
Did you know that you can use heat transfer vinyl on napkins? Well, you can, and it's a great way to get custom napkins without blowing your budget.
I've talked a little about HTV and how you can use it to create custom products with your Cricut machine easily. For this project, I'll share how to add a monogram to some napkins for a gift, party, or even a baby or bridal shower.
I also created a video on how to make a split-letter monogram directly in Cricut Design Space. I’m actually going to show you a couple of ways to do it. Then, you can choose the method you prefer and create your own monogram for your personal projects.
This project will work on any of the Cricut machines, including the Cricut Joy.
Note: If you want more Cricut project inspiration using Heat Transfer Vinyl (HTV), be sure to check out my Adding Heat Transfer Vinyl on Wood, Adding Heat Transfer Vinyl to Hats, and How To Use Heat Transfer Vinyl On Silk Scarf tutorials.
With these ideas, you can create a variety of fun and unique projects!
How To Make A Split Letter Monogram Video Tutorial
I actually filmed the process of making a split-letter monogram in Cricut Design Space. You can watch the entire video, which provides options for creating your monogram in several different ways.
Then, you can select the one you like best and design your own monogram for the custom party napkin project below.
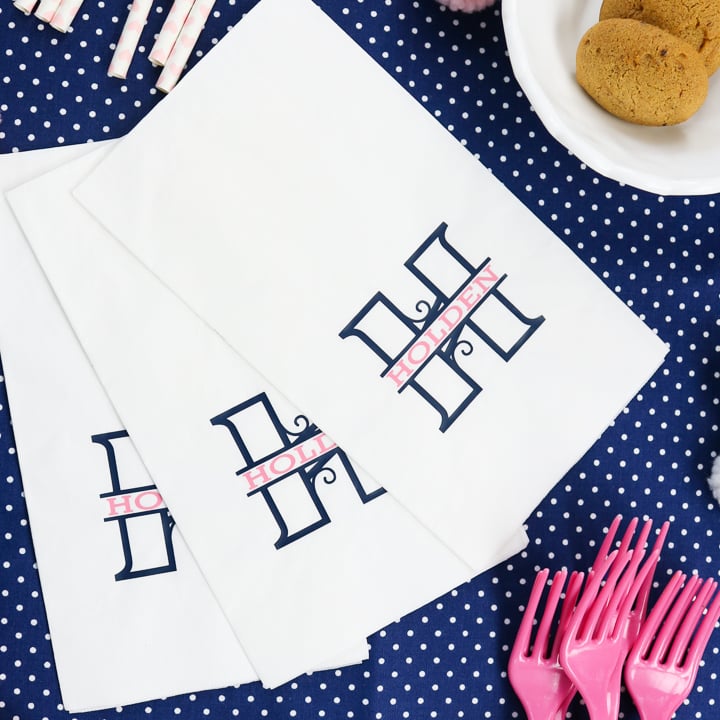
How To Make Custom Napkins Using Heat Transfer Vinyl
Now that you have your split-letter monogram designed, cut out the pieces from heat transfer vinyl and create some fun napkins.
Planning a party, shower, or another festive gathering? These custom napkins are the perfect way to add that final decor touch in just minutes. It's an easy project with a big impact – that's my kind of Cricut craft!
Supplies Needed For How To Make Custom Napkins
- Napkins
- Heat transfer vinyl and the colors of your choice
- Cricut machine (any will work for this project)
- Cricut cut file (make your own monogram file with the directions above)
- EasyPress
- EasyPress Mat or rolled-up towel
- Teflon sheet or parchment paper
Step 1: Cut Split Letter Monogram
Start by cutting your split letter monogram or the design of your choice from heat transfer vinyl. I used two different colors of iron-on for my example.
Tip: Be sure to mirror your design and cut with the shiny side of the heat transfer vinyl facing the mat. You can learn the basics of working with heat transfer vinyl here!
Step 2: Weed Monogram
Weed away all excess vinyl from the backing sheet. You will want to repeat this for both colors. Be sure to remove the excess around the outside as well as the centers of letters.
You want to be left with only what you want to be transferred to your napkin.
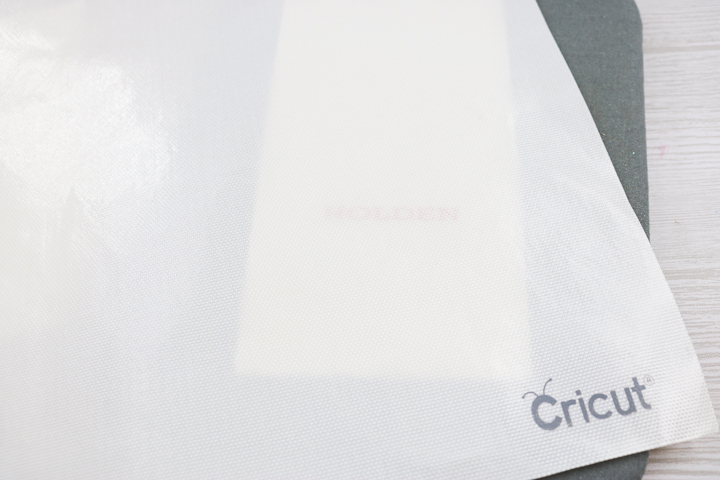
Step 3: Decide Where To Place The Monogram On The Napkin
Next, locate your design on the napkin. You may be able to press both colors simultaneously, or you might need to press the two colors separately.
I am going to walk through pressing them one at a time.
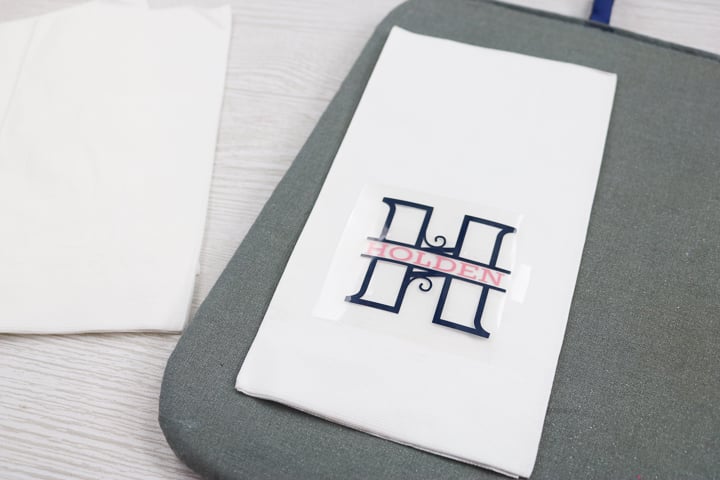
Step 4: Place The First Color Of Vinyl Onto The Napkin
When pressing, add the napkin to your EasyPress mat or use a rolled-up towel. Then, add your first color of heat transfer vinyl on top.
Step 5: Cover The Napkin With A Protective Sheet
Cover with a Teflon sheet or parchment paper to protect the napkin itself from the heat.
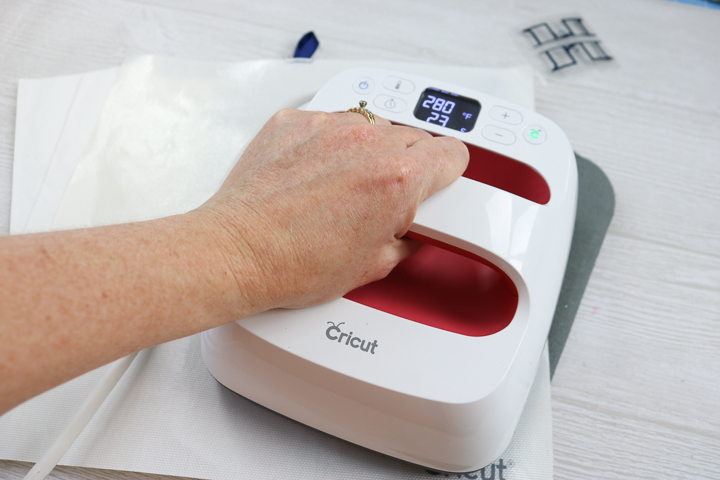
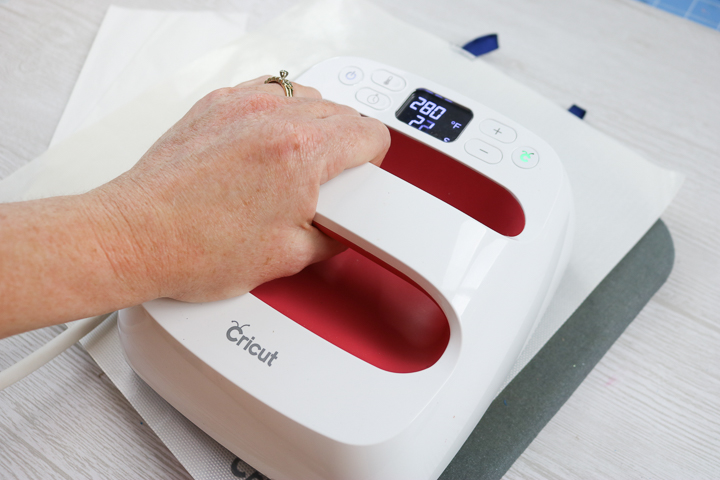
Step 6: Press The First Color Of Vinyl Onto The Napkin
Place the EasyPress or iron on top for the amount of time and temperature recommended for the paper. You can grab these recommendations from the Cricut Heat Guide.
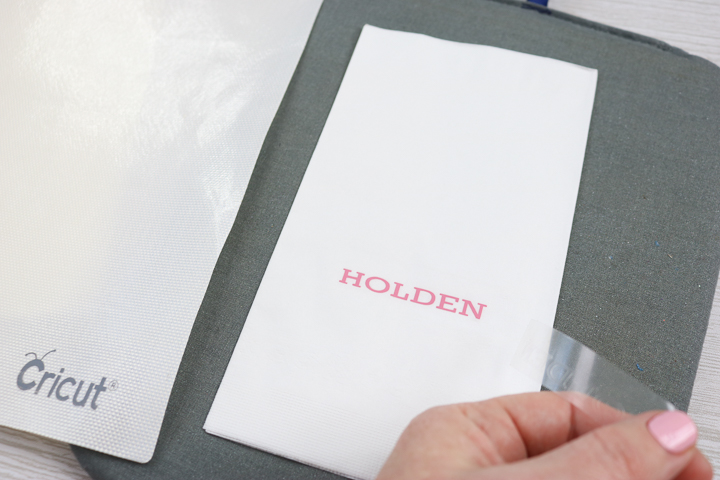
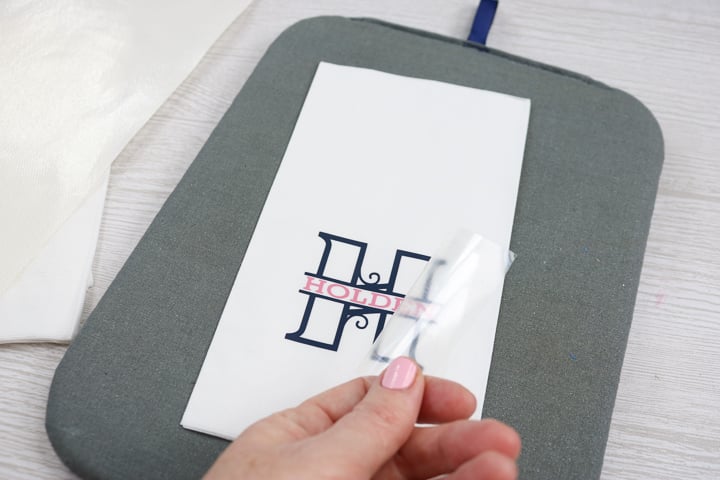
Step 7: Remove Protective Sheet
Allow it to cool completely, then pull back the backing sheet from the iron-on.
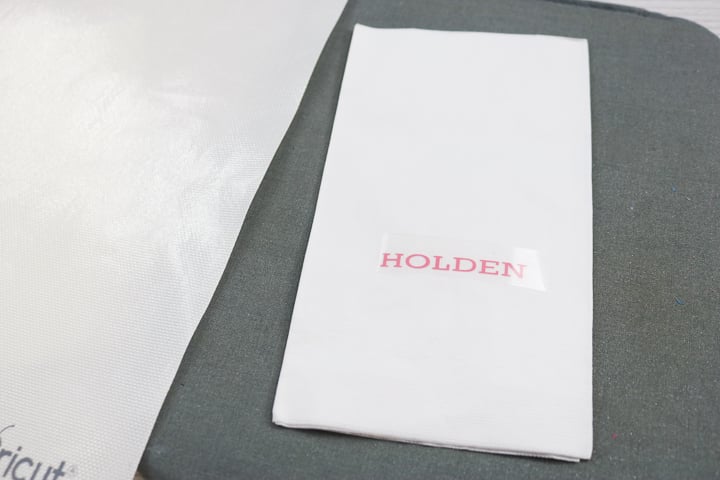
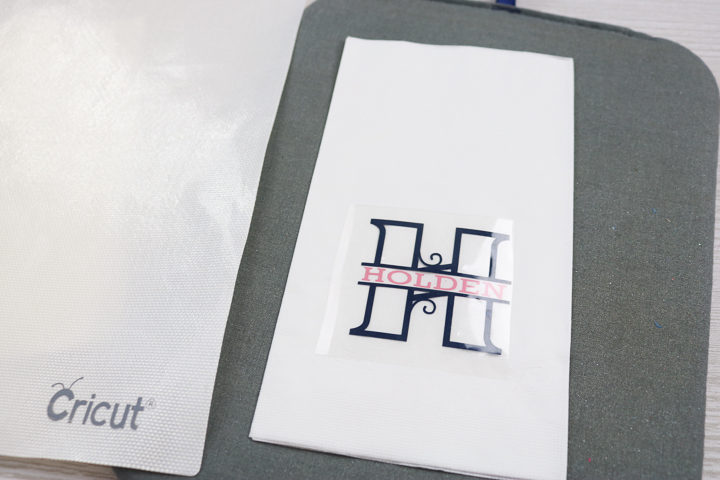
Step 8: Place The Second Color Of Vinyl Onto The Napkin
Next, place your second color over the top.
Step 9: Add A Protective Sheet & Press Onto The Napkin
Repeat the same procedure by adding the protective sheet over the top and pressing with the EasyPress.
Step 10: Remove Protective Sheet
Then, allow it to cool completely and remove the carrier sheet from the iron-on.
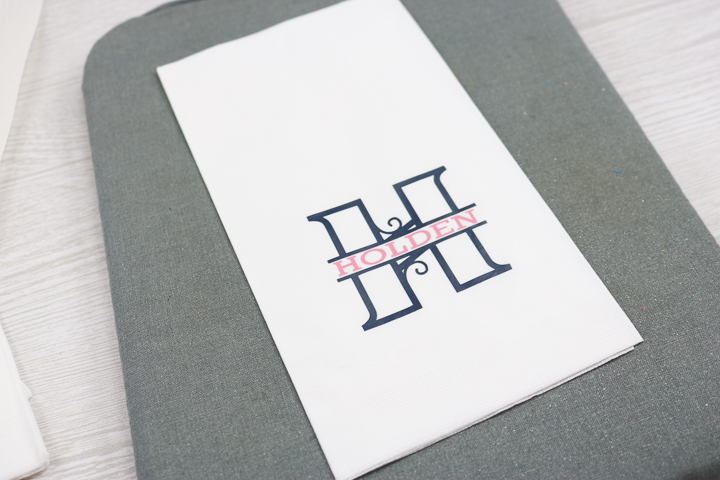
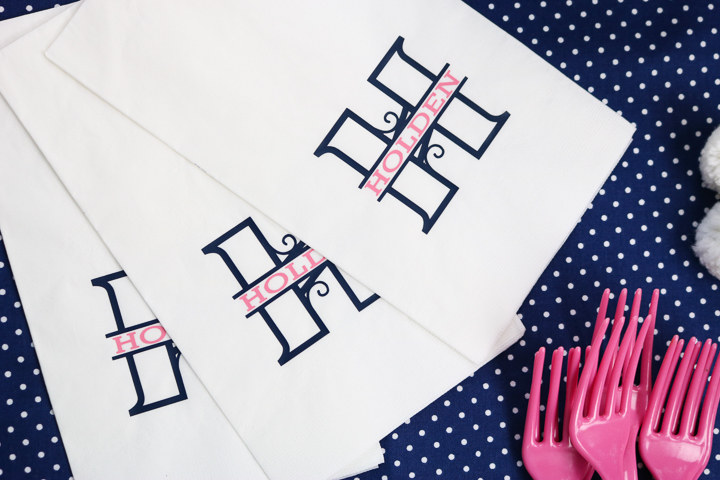
Repeat for as many napkins as you need for your party. These custom napkins are perfect for wedding showers, baby showers, and so much more!
Try adding heat transfer vinyl on napkins for your next event. They are so much cheaper and easier than custom-printed napkins ever will be!
Doesn't the split-letter monogram you just learned how to design add a special touch?
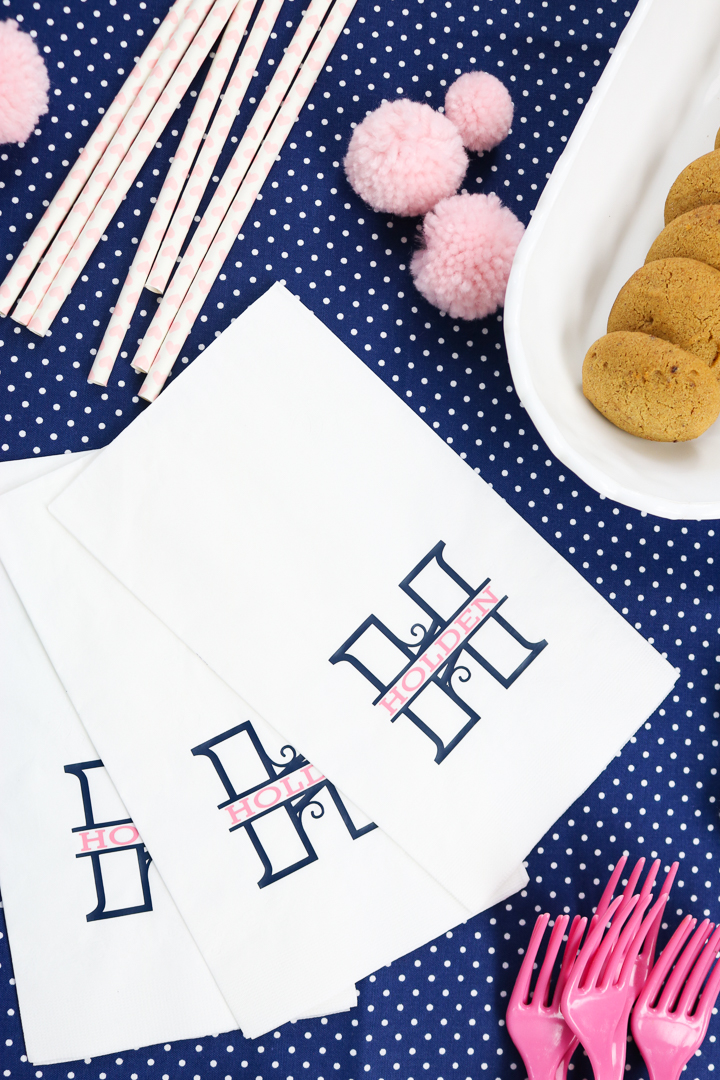
So, add heat transfer vinyl on napkins with a monogram or just about any other design you can imagine. I can see these at your next party right now!
FAQs About How To Make Custom Napkins
Here are answers to some of the most frequently asked questions I receive about creating custom napkins. If your question isn’t listed, feel free to drop it in the comments and I’ll be happy to help!
How Long Does Heat Transfer Vinyl Last On Fabric?
The standard recommendation from the manufacturer is about 50 washes for vinyl heat transfers if you follow the settings for washing and drying. After that, you can expect the vinyl to begin to fade and crack but since you are using paper napkins the heat tracfer vinyl will be fine for one time use.
What Kind Of Fabric Can You Iron-On Vinyl?
You can use iron-on vinyl on cotton, polyester, and polyester/cotton blends. Unfortunately, using a heat press on synthetic fibers such as acrylic can cause the fabric to melt from the heat.
Why Is My Vinyl Not Sticking To My Fabric?
The most likely reason is time. It's essential that you follow the instructions for time and temperature because pressing for too short (OR too long) a time can make HTV not stick to your fabric.
How Do You Fix The Spelling Or Color Before You Make It? Like When You Are In Design Space.
To fix the color, click the color box and change it. Then, to fix the spelling, click the word and type.
What Did You Choose On The Heat Guide To Get That Particular Temperature And Time?
For the paper napkins, I chose paper/cardstock as the surface on the Heat Guide.
6 More Cricut Party Inspiration
If you loved learning how to make custom napkins and want more Cricut party crafts, check out the projects below!
- High School Graduation Party Ideas
- Cricut Dollar Store Crafts Perfect for Baby Showers
- Paper Party Hats With Cricut
- Paper Flower Shadowbox with a Cricut Machine
- Mason Jar Centerpieces For Weddings With Your Cricut
- Cupcake Toppers and Wrappers with Your Cricut


Hi there, I was wondering what you chose for the two options on the Heat Guide to get that particular temp and time. Thanks! And this may seem really crazy, but were those paper or cloth napkins? You don’t indicate and I couldn’t tell. I was assuming paper but really don’t know.
Paper napkins. Just choose the paper as your surface on the heat guide.
Can you use a heat press for this?
Yes you can. Make sure to test the time and temperature so you don’t scorch the paper napkin 🙂