
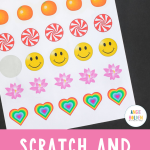
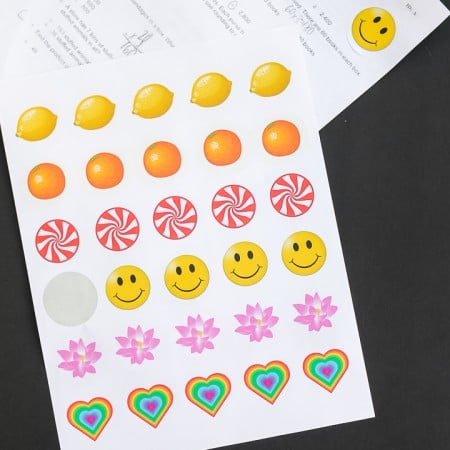
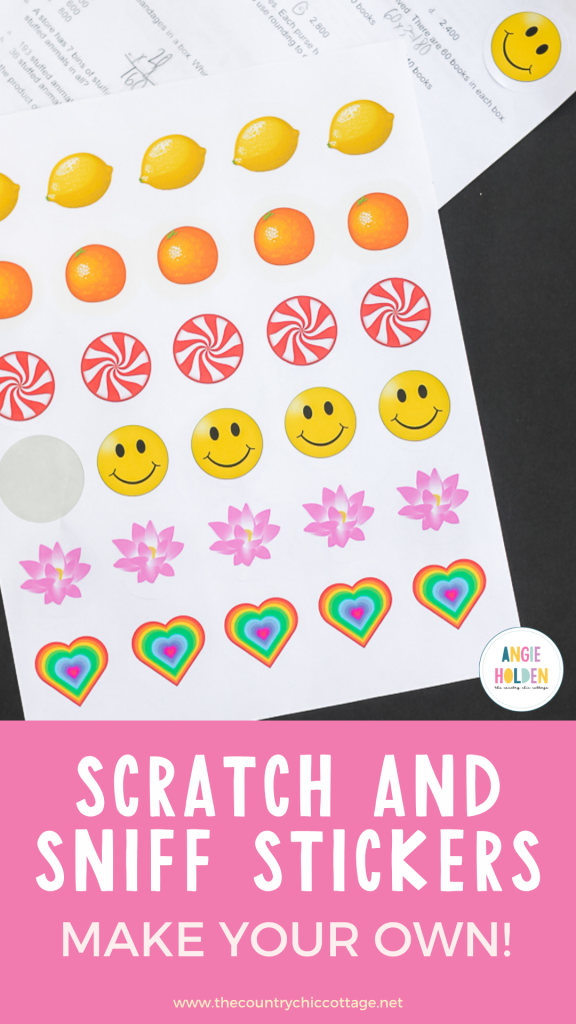
Not only can you make DIY stickers, but you can take them up a notch and make them into scratch and sniff stickers. Use this tutorial to make your own DIY smelly stickers.
Kids love playing with stickers and can seem to get lost in sticker play at any time. Have you ever had a time when your kids wanted sticker designs that you didn't have?
What if I told you that you could make your own DIY stickers? Then you could always have your kids' favorite stickers on hand anytime they want to play with them.
There are different ways to make stickers, and I've tried many of them, including Book Stickers, Summer Stickers, and Printable Monster Stickers.
And what if we took it a step further and made DIY scratch and sniff stickers? Oh, yes! And it is so simple to do! Today's tutorial will walk you through the process so you'll have these amazing stickers all over your home in no time.
Note: In addition to DIY scratch and sniff stickers, you can also make other stickers and fun items for kids including Cricut Magnets, Thanksgiving Stickers, and Sublimation Stickers.
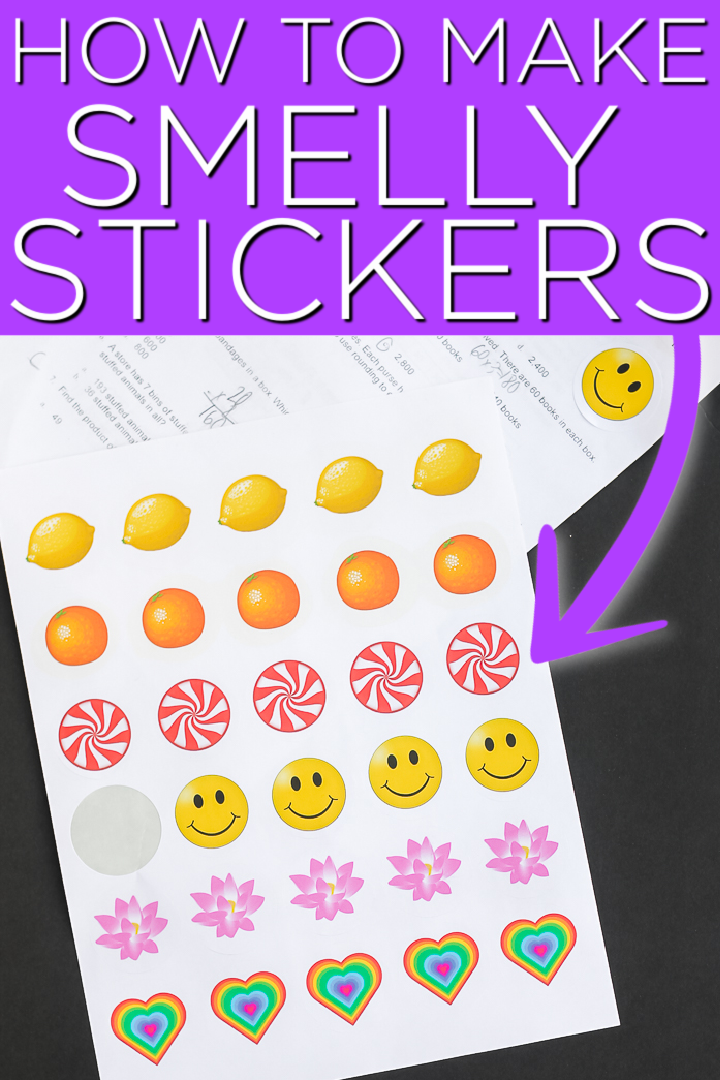
How To Make Scratch And Sniff Stickers
Scented stickers were so popular when I was growing up, and I remember how much I loved using them and smelling them. I am so excited to be able to bring this tradition to this new generation!
Note: Check out how to make stickers with your Cricut.
Supplies Needed
Here's everything you'll need to make DIY smelly stickers. I've even included a few handy links to help you find certain items more easily.
- Labels – I used circle labels for this project.
- Printable file for stickers – grab the printable for this project below
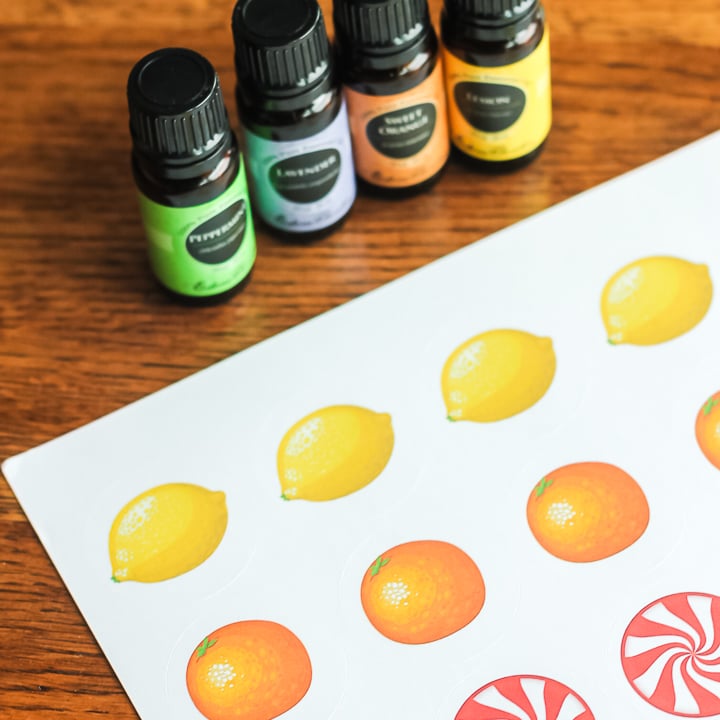
- Essentials oils – I buy essential oils one at a time here for a fraction of the cost
- Printer and ink
Printable Scratch And Sniff Sticker File
To get the sticker file shown in the pictures, sign up for our newsletter in the box below. The file will be sent to your email, and you can download and print it as many times as you like. If you are already a subscriber, go ahead and add your information again to receive this file, but you won't be signed up for anything extra.
Note: These stickers are for personal use only. Please reach out to me if you have any issues with your download.
DIY Scented Sticker Instructions
If you've always wondered how to make your own stickers, well, I'm removing the veil of mystery! Follow along with these steps, and before you know it, you'll have your own homemade scratch-and-sniff stickers to use (or give to your kids)!
Step 1
Download the free printable file.
Note: Once you become familiar with how to use the files, you can take your skills up a notch by coming up with your own designs and scents while using our same method to create the stickers.
Step 2
Run your labels through the printer and print the stickers of your choice. You can use the download above or design your own. In fact, I have a few more files that you could use for this project:
- Graduation hat stickers
- Happy birthday labels
- Custom wedding labels
- Camping stickers
- Patriotic stickers
- Harry Potter stickers
- Conversation heart labels
Note: Take care to purchase labels that will work with the type of printer you have. The label packaging should say “inkjet,” “laser,” or both.
Step 3
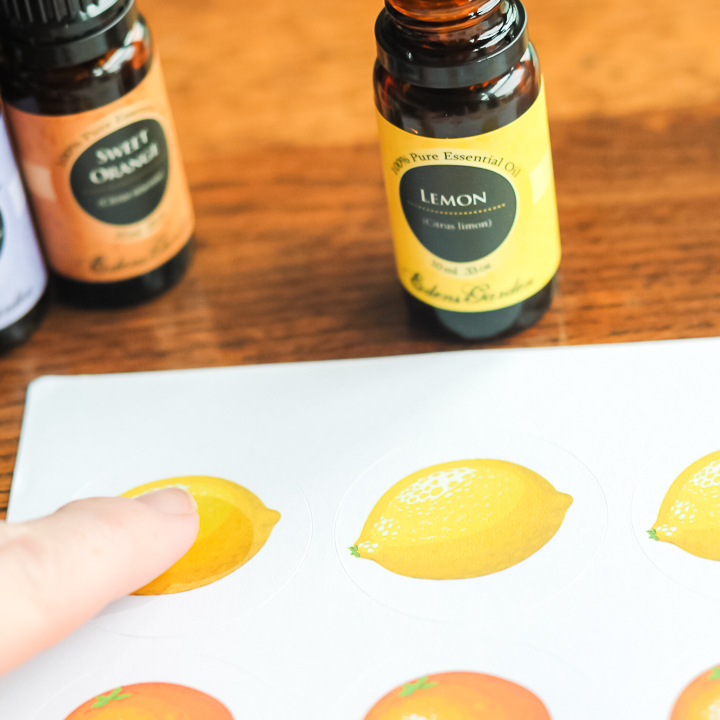
After you print your sticker images, it's time to scent them with the essential oil that you want to use to make smelly stickers (orange smells really great!). Just place one drop on each label.
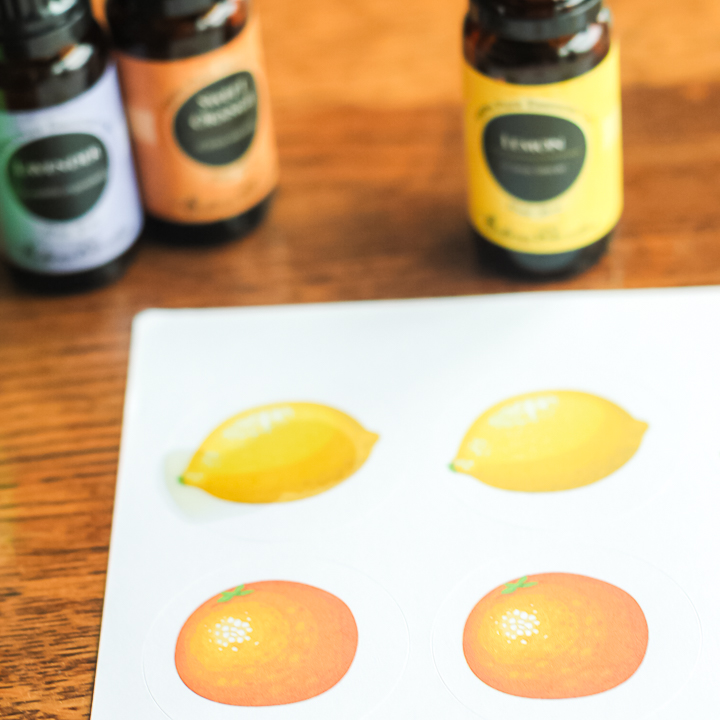
Step 4
Then, use your finger to rub it in and get it to cover the entire label surface. Do not rub much because the ink may bleed. Instead, quickly brush the oil over the sticker.
Step 5
Set your new scratch and sniff stickers aside to dry.
Note: The oils may slightly discolor the white area of your labels.

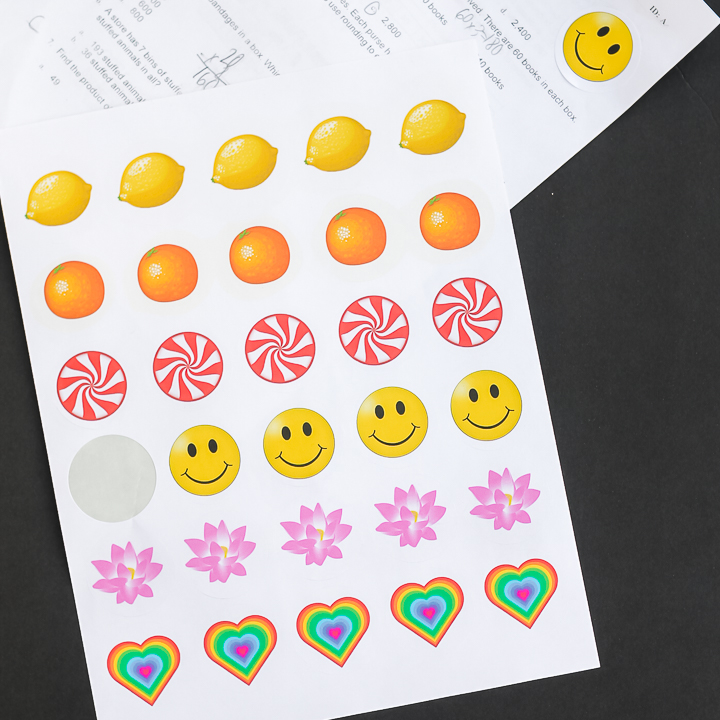
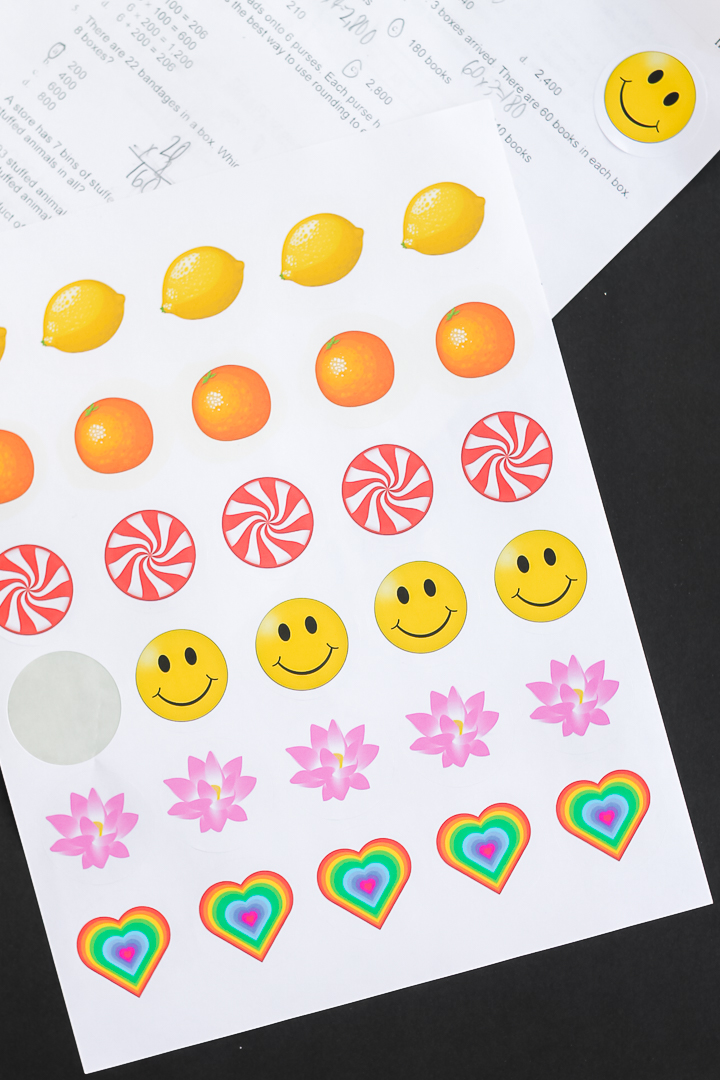
Once the stickers are dry, you're ready to add them to homework papers, shirts, and oh so much more. Your kids will love smelling these scratch-and-sniff stickers!
And you will love these stickers because you made them yourself in just minutes with all-natural products! DIY stickers are easy and fun to make. Be sure to keep some labels on hand at all times to print your own any time you like.
After all, everyone loves smelly stickers!
FAQs
Making DIY scratch and sniff stickers naturally leads to asking questions about the process! If you have a question, please check to see whether I’ve already answered it below. Just leave your question for me in the comments if you don’t see it down below.
Will the essential oils wrinkle the label paper?
If you use an excessive amount, yes, the sticker paper can wrinkle and even discolor. However, I truly only used one drop on our stickers, and it was enough to get a great scent but not enough to negatively impact the paper.
Will the ink bleed when I add essential oils to smelly stickers?
The ink will bleed if you rub your oily finger over the stickers several times. However, if you quickly brush the essential oil over the stickers, you won't have any problems with bleeding ink.
Do these scented stickers stay oily?
No, not at all! The oil will dry if you set the stickers aside for a little while.
Note: You won't need to do a lot of “scratching” to release the scent from the stickers. A quick finger rub is all you'll need.
More Crafting Inspiration
If you love the idea of this scratch-and-sniff stickers and want more inspiration, check out the links below!
Supplies
- Printable labels
- Printable file for stickers
- Essentials oils
- Printer and ink
Instructions
- Download the free printable file.
- Use your printer to print the sticker designs of your choice.
- Place a drop of essential oil on each sticker.
- Quickly and gently brush your finger over the stickers to spread the essential oil over the entire stickers.
- Set your stickers off to the side to allow the essential oils to dry.


SO clever! I love this!
Super cute idea!
This is so fun. I’m just getting started with card making & art journaling & this is such a fun addition to the techniques I’ve learned. Cheers
Hi, what kind of sticker labels did you use for this? e.g matt, gloss etc? 🙂
It was matte.
Do you think this method would work for washi tape as well?
It should!
Amazing ideas! Really good.
how long does the smell last with essential oils
So it has been several years since I have made these and I honestly do not remember. I think quite a while?
Are these actually scratch and sniff or just sniff!
I think the scratching makes the smell stronger.
I love this. I own a candle business n this is perfect so customers n potential customers can smell what Scents I have. I am going to try them with fragrance oil instead of essential oils though.
Awesome. I can’t wait to hear how they turn out!