

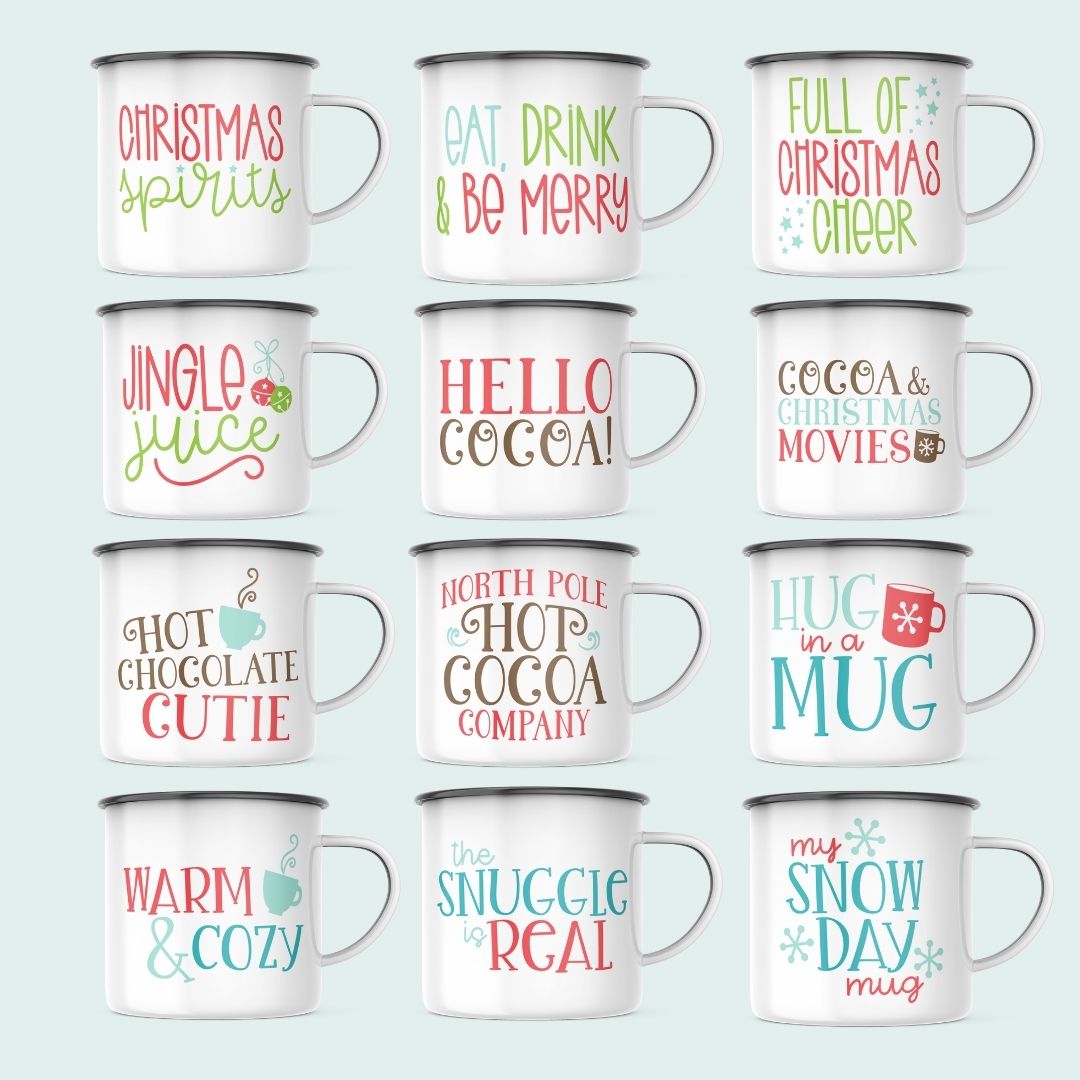
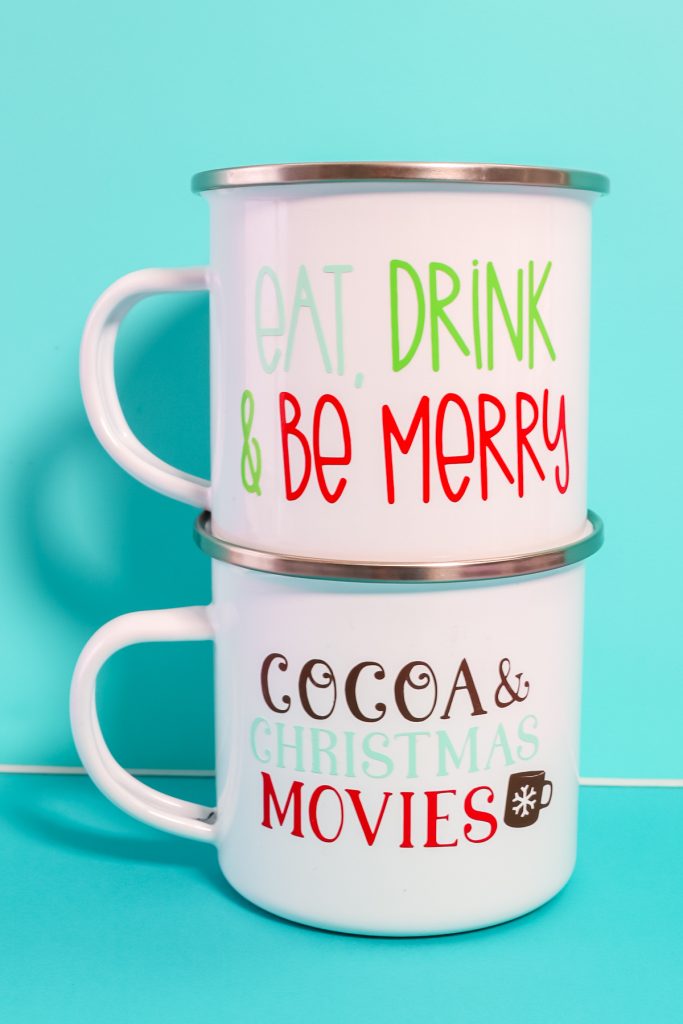
Grab your vinyl and Cricut machine, and get ready to create some DIY Christmas mugs! I have a 12 SVG file bundle for you below, which you can use to create a variety of mugs for your holidays and beyond. Some of these mugs are also great for winter.
I am adding the files with permanent vinyl to some camping mugs, but you could also use sublimation or Infusible Ink. However, if you want to make your holiday mugs, be sure to follow the instructions below!

DIY Christmas Mugs Video Tutorial
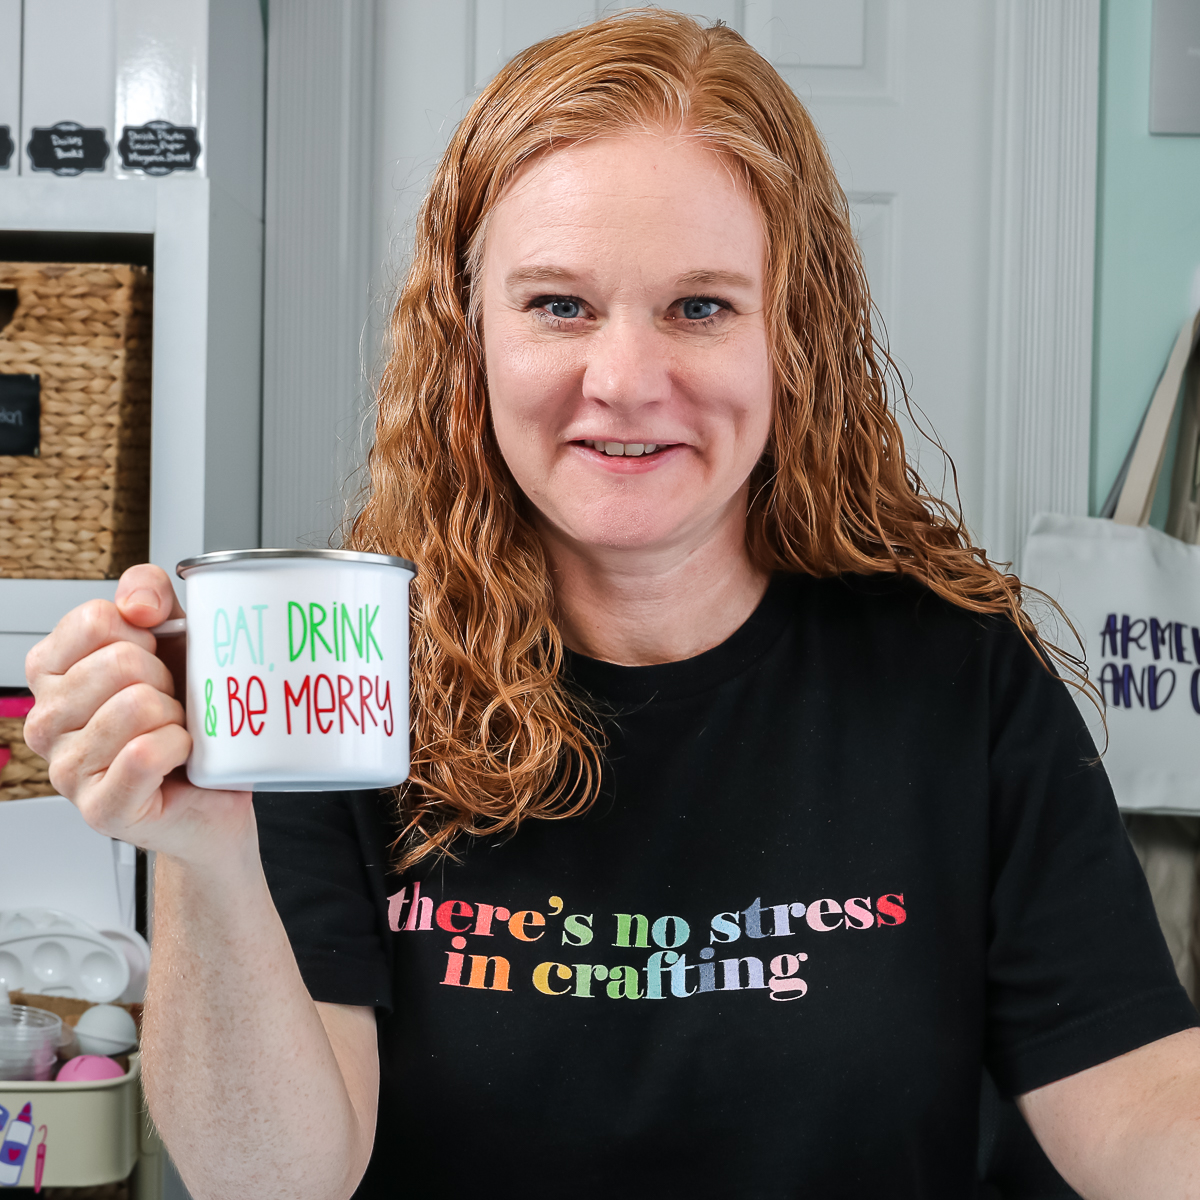
You can actually watch me make these mugs LIVE with Cori George from Hey Let's Make Stuff below. The video is full of tips and tricks, plus some fun mixed in! I know you will love it!
Can't watch the video or miss some of the steps? You can also follow along below!
How To Make DIY Christmas Mugs
Supplies Needed
- Mugs (I am using the camping mugs from Amazon, but any type of mug will work.)
- Adhesive permanent vinyl
- Transfer tape
- Weeding tools
- Cricut machine (any machine will work with this project)
- Brayer
- Scraper
- Parchment paper (If you want to use the layering hack found here.)
- SVG files (see more about the ones I used below.)
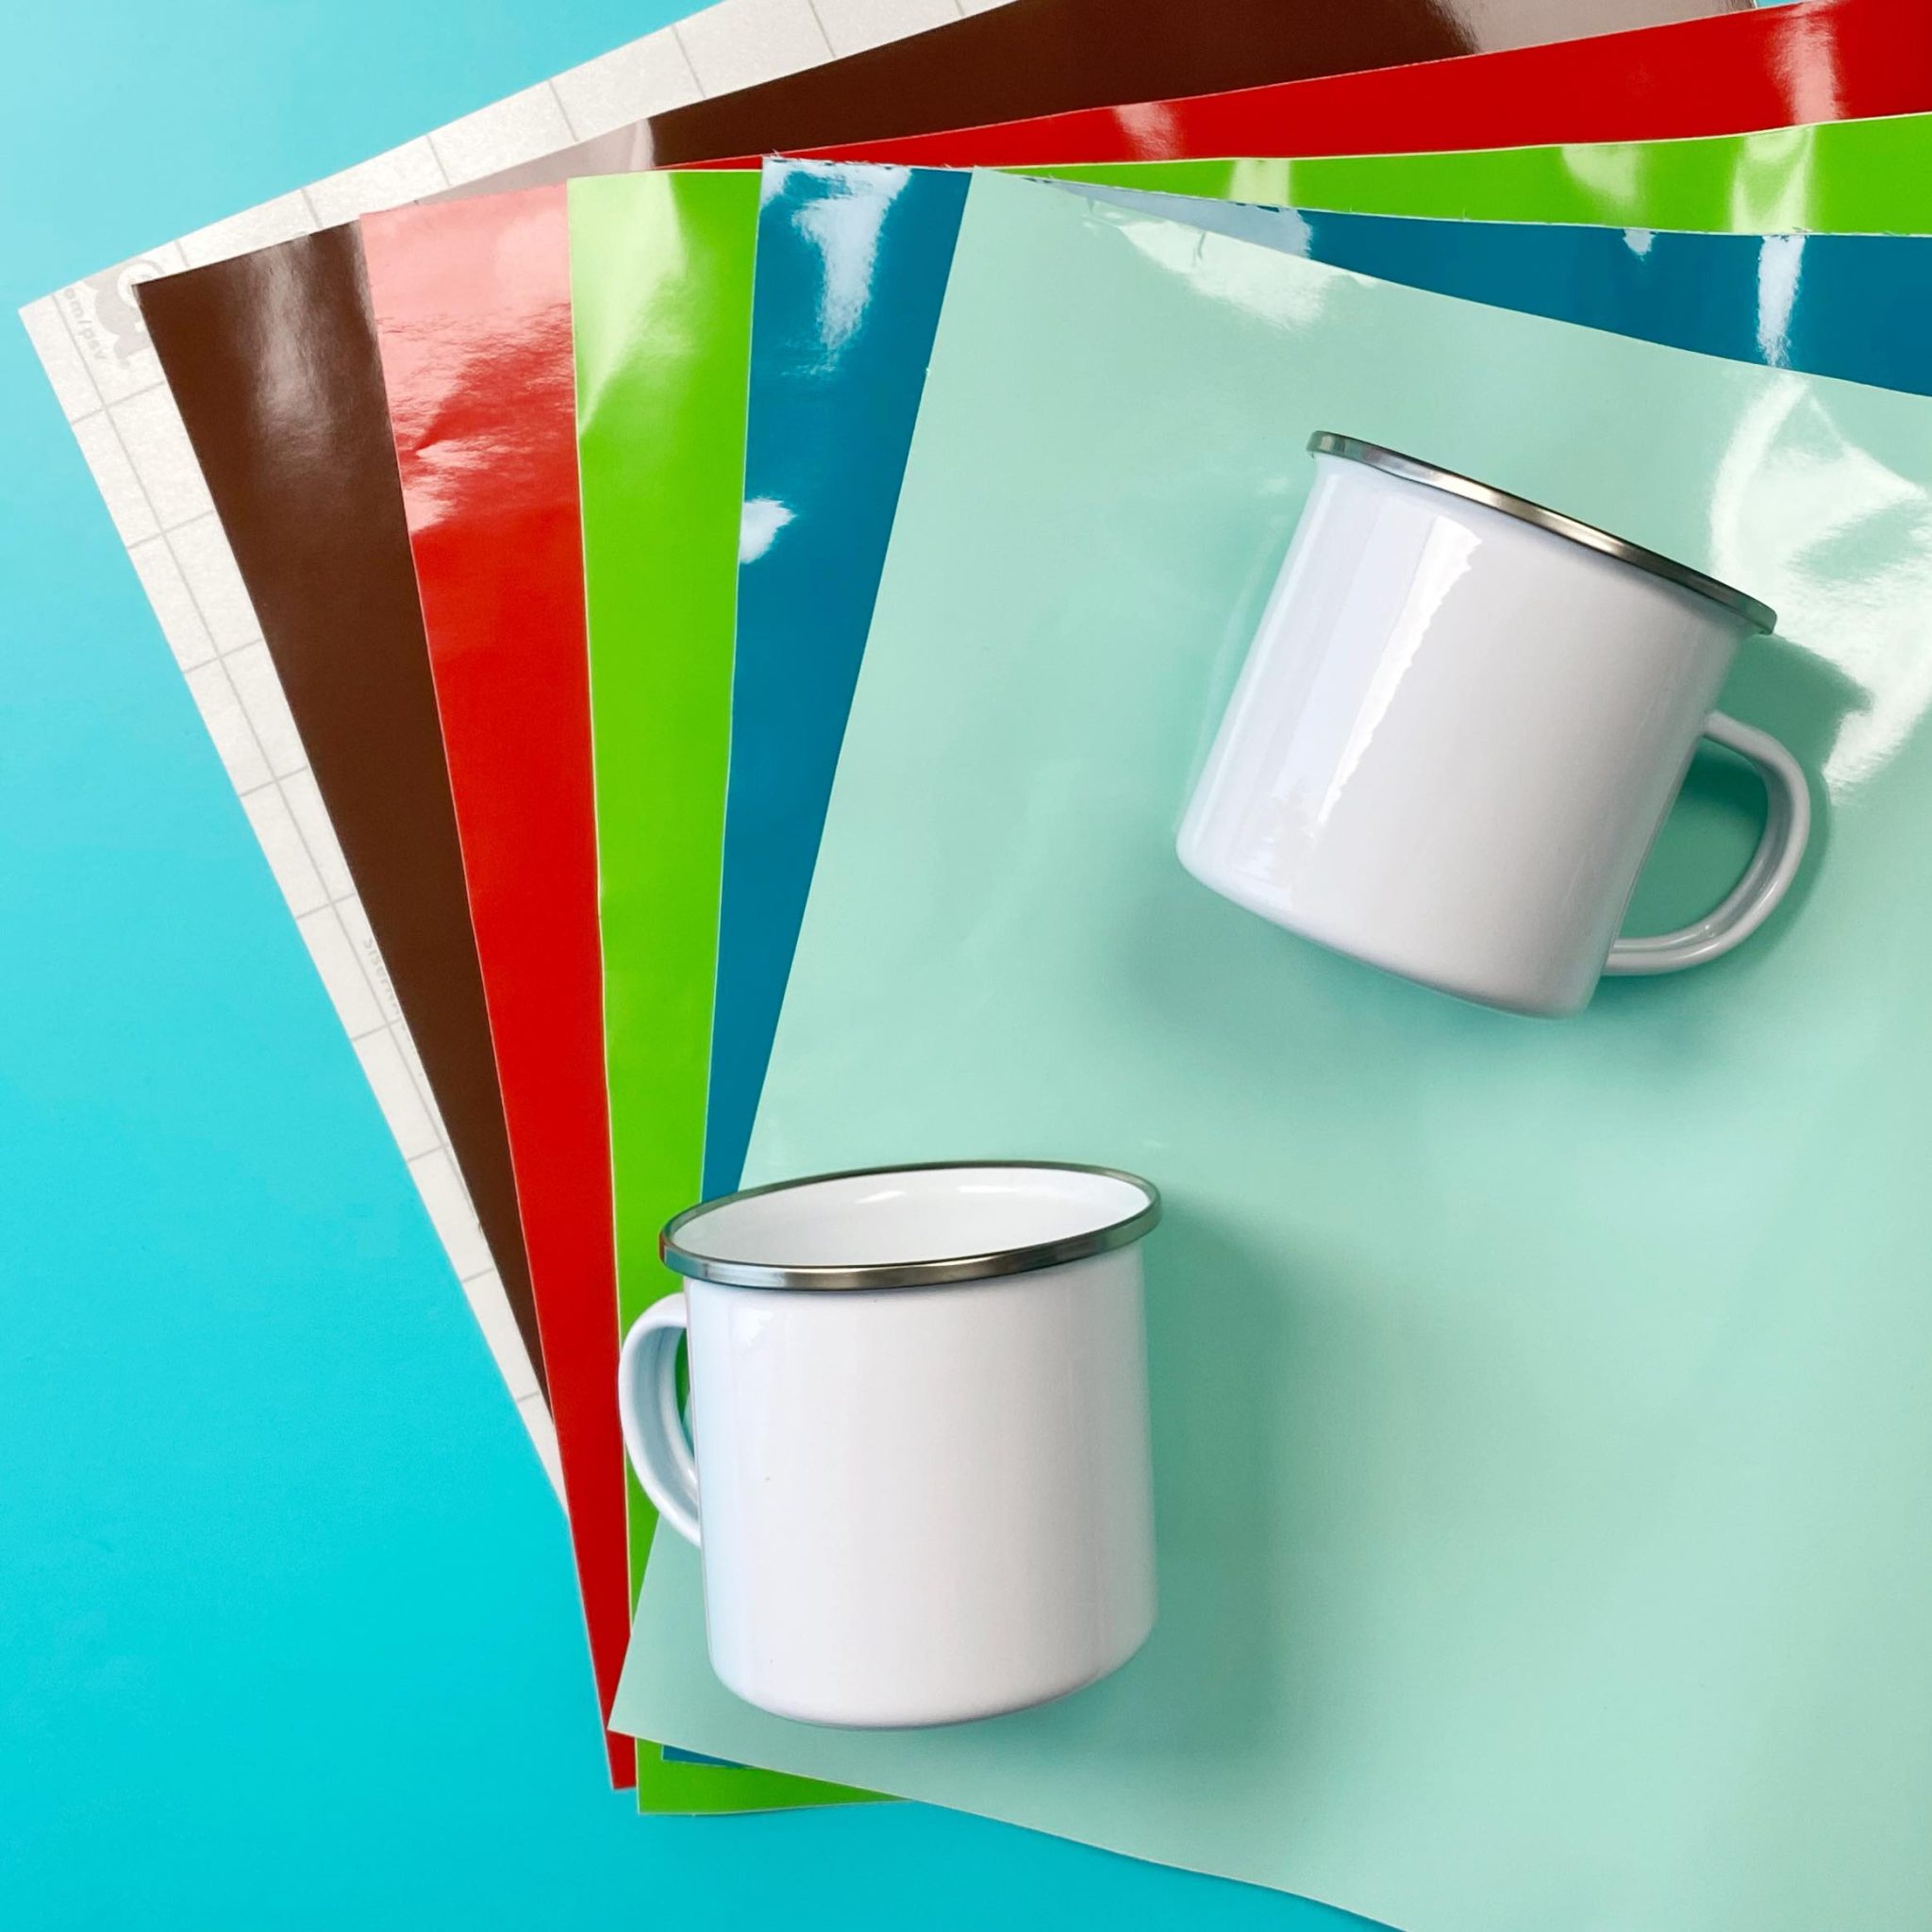
Mug SVG Files
Want to make the exact mugs shown in this post? Well, you will want to grab the SVG files. I am using just a couple of these, but you can purchase the entire bundle and create a variety of mugs for yourself and to give as gifts. Click here to get the SVG file bundle and use code HUGINAMUG for 25% off!
Now that you have your supplies and files, it is time to make some mugs! It is actually an easy process, and you will have a fun, festive mug in a few minutes.
Step 1: Upload SVG File To Cricut Design Space
Upload the SVG file to Cricut Design Space for cutting. You can see how to do that here.
Step 2: Change Colors
You can change the colors of the pieces if you would like. Just be sure to pick colors that are similar and click ‘Attach' before clicking ‘Make'.
Step 3: Pick Permanent Vinyl As Material Type
Once you click ‘Make', you should see a series of mats in the color of your choice. Pick permanent vinyl as your material type.
Step 4: Add Vinyl To Mat
Put your vinyl face up on the mat. There is no need to mirror your cut for adhesive vinyl. If your mat is old, it is helpful to press the vinyl down using your brayer so it adheres well to the mat.
Step 5: Cut Vinyl
Then cut each mat with your Cricut machine.
Step 6: Trim Around Design
For pieces this small, I like to cut them first, then trim around the cut area with scissors to save the rest of the sheet for another project.
Step 7: Weed Design
Then weed away all of the excess vinyl. You want to get rid of anything around the outside edge, as well as things like the centers of letters.
Step 8: Add First Layer Of Color
Now it is time to layer those colors! Add your first color to your transfer tape. I like to add either the color on top or the color that there is more of.
Step 9: Burnish Layer Of Color
Burnish that color down well and remove the backing paper.
Step 10: Repeat Steps 8 & 9
Then, on that same piece of transfer tape, add your next color. You will add it in the same manner. You can either eyeball the alignment or use something like parchment paper as an aid for aligning the pieces.
Step 11: Place Design On Mug
Once all of your pieces are on the transfer tape, you can add it to your mug. You can also use parchment paper or the wet vinyl application method.
Step 12: Press Vinyl Onto Mug
Press the vinyl down well and remove the transfer tape to reveal your mug!

Sealing and Washing the Mugs
Now that the vinyl is on your mugs, how do you seal them? How do you take care of them? Here are my thoughts on both of those.
- I recommend allowing your mugs to sit for 72 hours before using. This allows the adhesive to cure, and your mugs will last way longer.
- I actually don't recommend any sealer on top. I tested both options on a post here, and the vinyl by itself actually lasted way longer, even in the dishwasher.
- Yes, I do wash these mugs in the dishwasher. I do them on the top rack and don't use heat dry or any sanitize cycle.

That is all there is to it! Grab your supplies and make some DIY Christmas mugs this year. You will love adding your favorite warm beverage to these mugs this holiday season.
These cute mugs also make great gifts. Fill them with hot chocolate mix in a plastic bag, along with marshmallows and peppermint sticks. Then give them to neighbors, the mailman, and so much more.

Are you adding DIY Christmas mugs to your holiday crafting list? You definitely love how quick and easy they are to make and will want to make one or more of these adorable mugs this holiday season!
FAQs About DIY Christmas Mugs
Here are a couple of questions I often see from readers about these DIY Christmas Mugs. If you have a question but don’t see it down below, please leave it in the comments so I can answer it for you.
What Cricut Machine Can I Use For This Project?
All of them! The Cricut Maker, Cricut Explore series, Cricut Joy, Cricut Joy Xtra, and Cricut Venture can all cut vinyl and SVG files!
The only thing to keep in mind is that each Cricut machine differs in terms of project size capabilities and the materials it can cut. So, depending on what project you have in mind, you might need to resize the SVG file or cut it out in a different material.
I Have Never Used An SVG File Before. Do You Have Any Resources About How To Use Them?
Yes, I do! If you are brand new to the world of SVG files and want to learn about them and how to use them in your projects, check out my SVG resources below!
- Free SVG Files for You Monthly
- What is an SVG File?
- How to Use an SVG File on Your Cricut
- How to View SVG Files on a PC
- How to Use Zip Files on Your Cricut
- The Basics of Image and SVG Licensing and Your Cricut
- 10 Best Image and SVG Subscriptions for Crafters
Do You Have More Information About Layering Vinyl?
Yes, I do! If you want to learn more about layering vinyl, check out my Cricut Signs with Layered Vinyl for the Holidays blog post.
Do You Have More Cricut Mug Projects?
Absolutely! To see all of my Cricut mug projects and resources, click here!
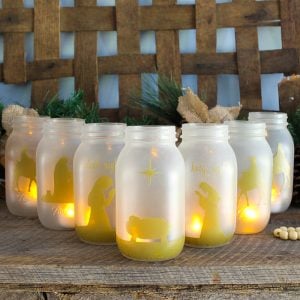
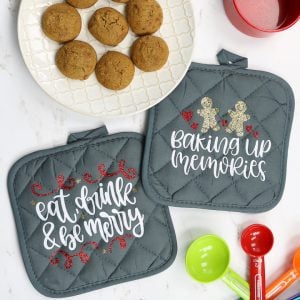
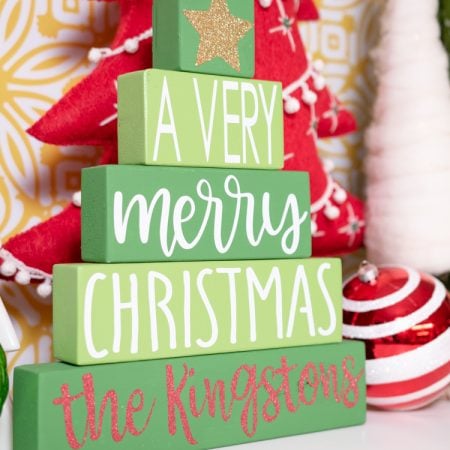
5 More Christmas Crafts
Did you love these DIY Christmas Mugs and want more Christmas crafts? Check out the projects below!


I absolutely love the dynamic between you two! I look forward to learning all your tips and trick for Cricut projects even though I am not into the sublimation or laser projects yet, I am thinking seriously about at least the laser. Keep up the wonderful work ladies!