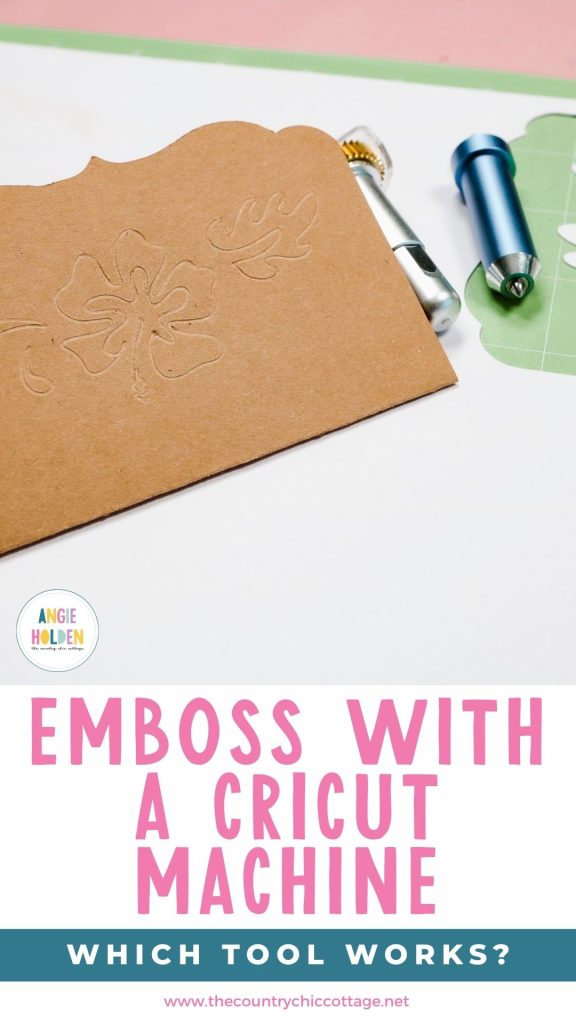
If you were excited when Cricut announced the Maker and the adaptive tool system, only to be disappointed that there wasn't an option for embossing, you're going to love today's project.
For an upcoming project, I needed a true, raised, embossed effect, so I set out to find the best way to make it happen.
I'm going to share my results using a few different tools and machines to help you know which process may work best for you too.
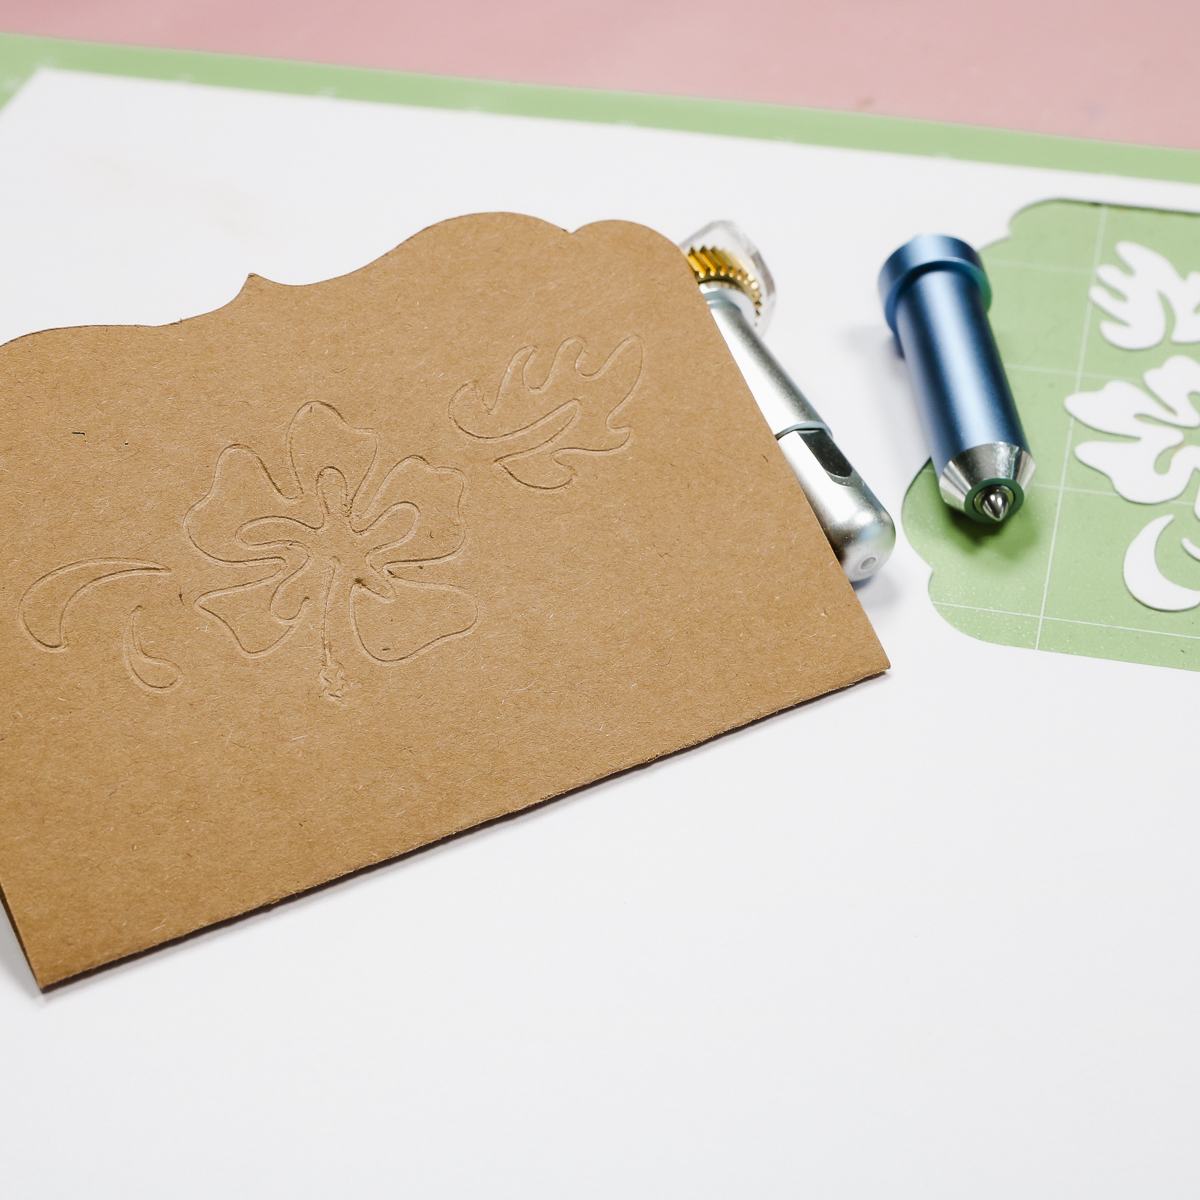
If you own a Cricut Maker, you may own the debossing tip. The debossing tip pushes the design down into the material. True embossing creates a raised design.
I'm happy to report I've figured out how to get the embossed look and locate the embossed image perfectly time after time.
I'll walk you through the process, compare the different tips, and share which Cricut machine gave me the best results.
The Best Way to Emboss with a Cricut Machine
Embossing with my Cricut machine has been on my to-do list for a while now. Thanks to an upcoming event and the need for a true raised embossment, the time has come to figure out the best way to use a Cricut machine to emboss on cardstock.
What's the Difference Between Deboss and Emboss?
As I mentioned above, when the Cricut Maker came out, they announced the Adaptive Tool System. Included in the Adaptive Tool System is a Deboss tool.
I was excited to try it out to see what the results would look like. I definitely think it has a place and looks really cool on certain materials.
That being said, it is not an emboss tool, and the look is very different from a raised embossed look.
I have a full tutorial on the deboss tool, how to use it, and what the results look like to help you decide if that's the right tool for you.
To clarify the difference:
- Deboss uses a tool or folder to create an indentation into the material. The front of the material stays relatively flat, and the design sinks into it.
- Emboss also uses a tool or folder to create a raised design that you can feel. There are actually emboss materials that you can use combined with heat to create a raised effect.
The Cricut deboss tool only works with the Maker machines. When you use it, you'll get an indented design.
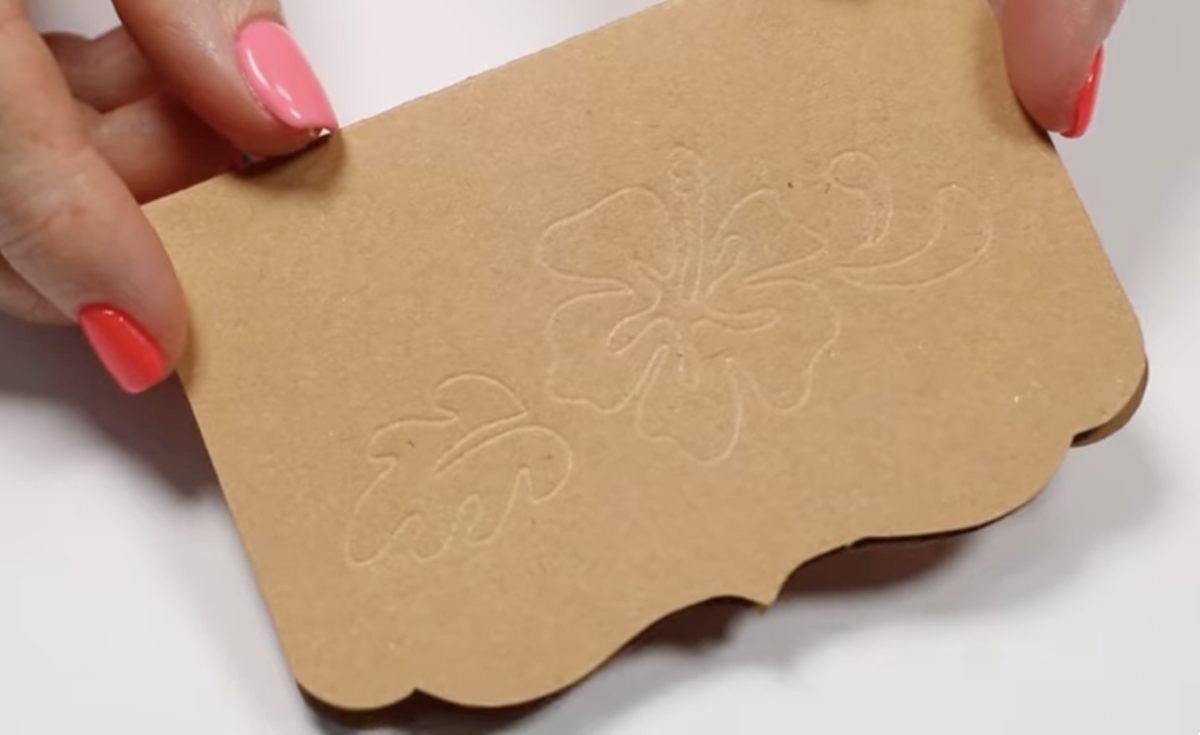
When you use the standard Cricut Debossing Tip on a Maker, you get a flat front with indented lines. To get that raised, elevated look, we're going to use a special template technique!
How to Make an Embossed Card with a Cricut Machine
To test this process, I'm using a basic card file. You can use this same process for other shapes, graphics, and even invitations.
Supplies needed:
- Cricut machine
- Deboss Tip or Foil Tool or Scoring Stylus
- Standard Grip Mat
- Brayer
- Cricut Kraftboard or equivalent thick cardstock
Step 1: Create the Emboss Design in Design Space
Before you begin, once you have the size set and the location of the design set, do not make any changes to the size or design location within the duplicated layers.
- Open Design Space and click New Project. Next, click Blank Canvas.
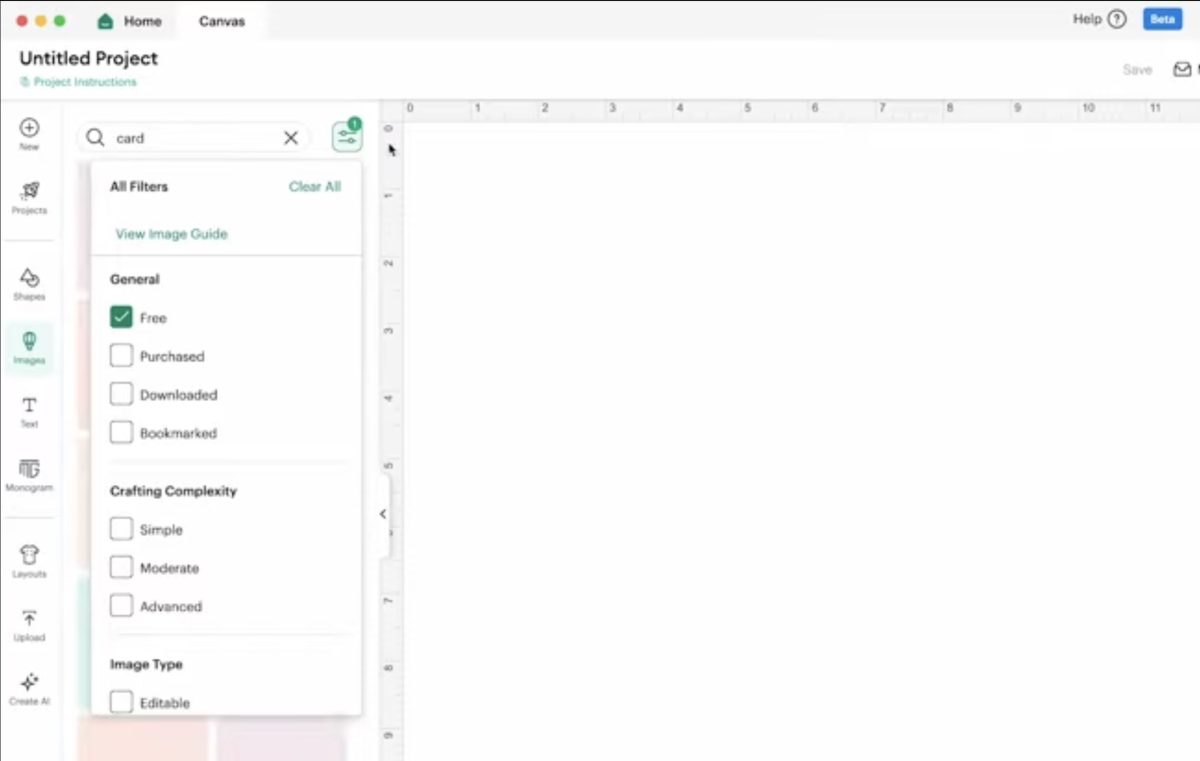
- Find or upload an image. I searched Card and then filtered to only see free designs.
- Resize the design so it will fit your project. I've made mine small enough to fit even the Joy machine so I can test it on the different machines.
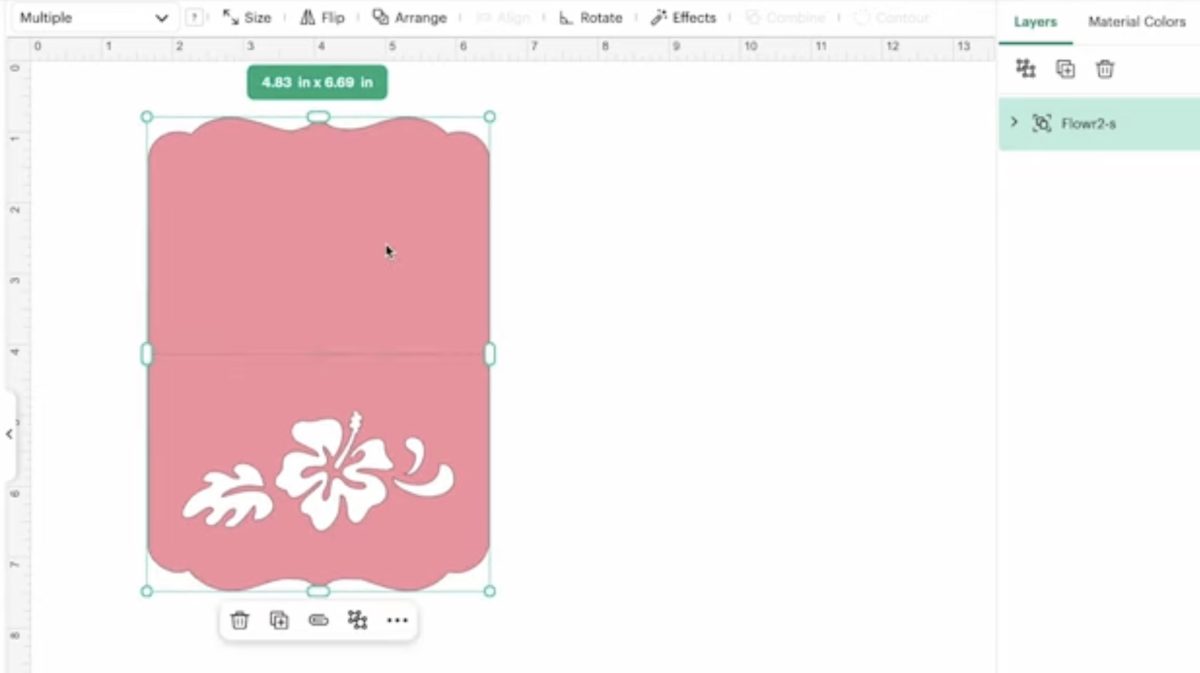
- Make two additional copies of this design.
Create the First Layer
This layer will be cut out of a thicker material to form the template.
- Select one of the layers to be your design layer.
- Click on the layer and click Ungroup.
- Make sure this layer is set to Basic Cut.
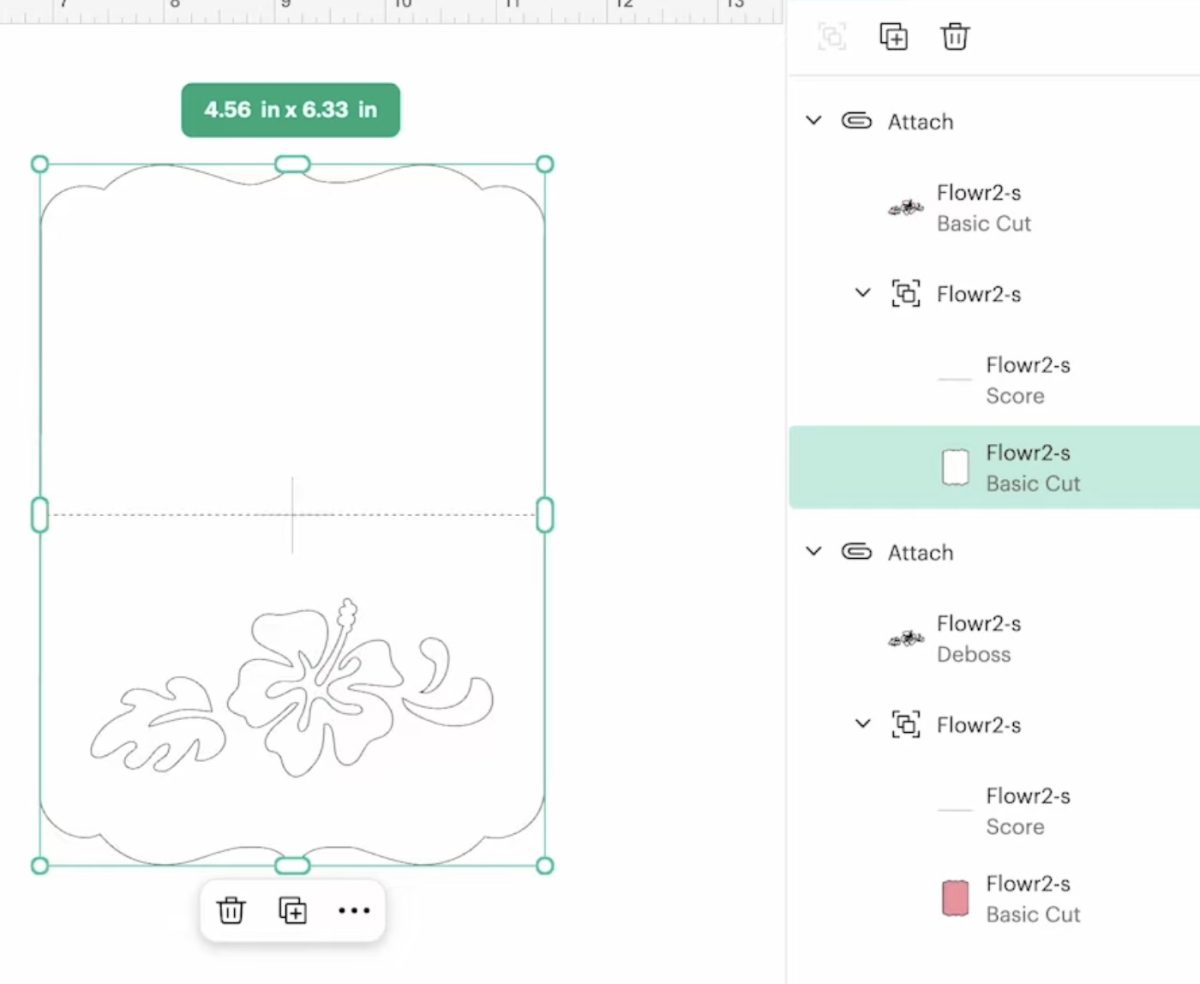
- Remove the score line.
- With the duplicate card selected, click Contour. Click on the outer card edge so it leaves only the inner design.
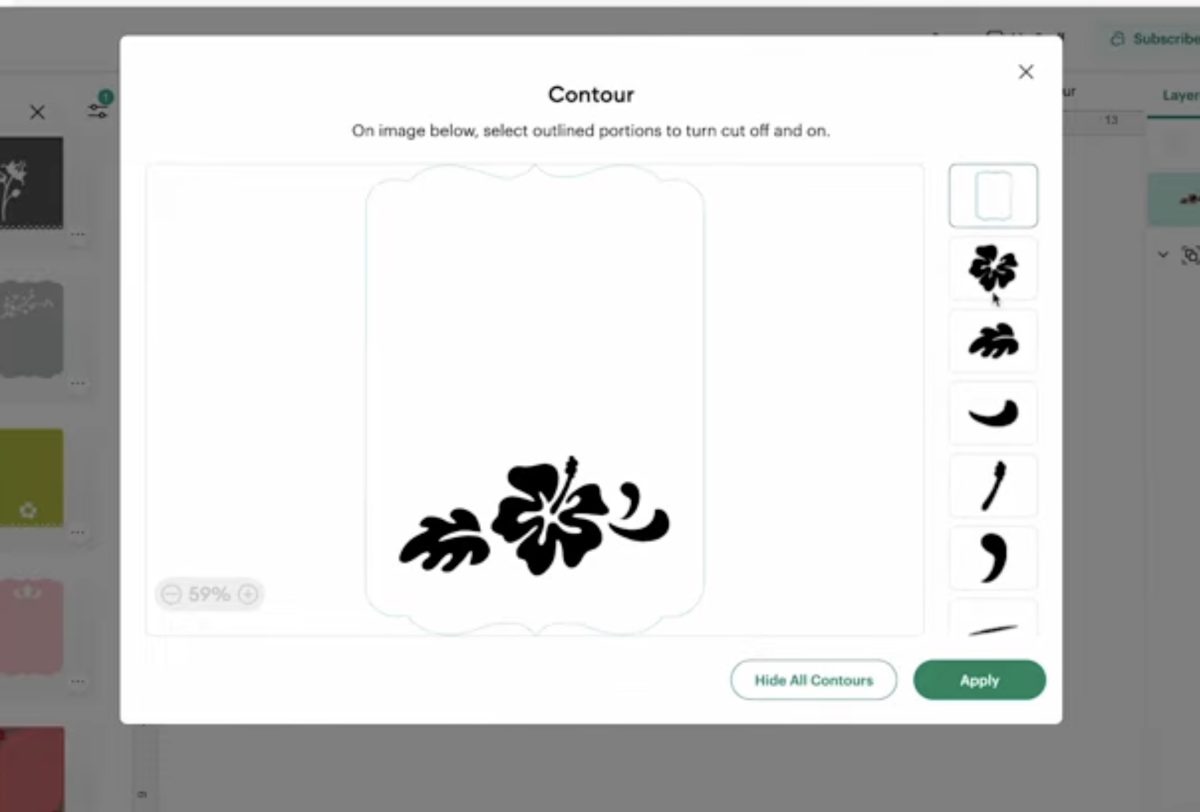
- To keep the steps easy to differentiate, I am changing the colors to the color of the material I am using. For me, this layer will be white Cricut KraftBoard, so I changed the color to white.
Create the Second Layer
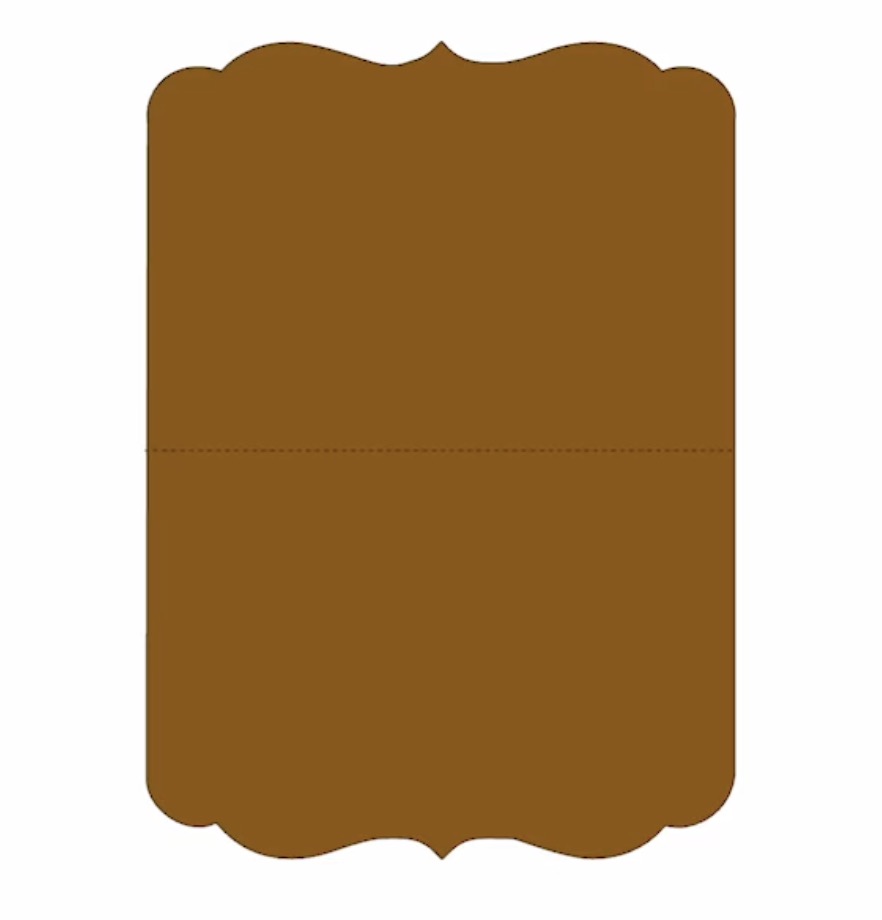
Choose one of the full duplicate layers for the next step. This layer will be the actual card layer.
- Ungroup the card.
- Detach everything, and delete the inner layer.
- Keep the scoring line in place.
- Change this layer to a Basic Cut and Score.
- Change the color to the color of your material. I'm changing mine to brown.
- Click the score layer and card layer and click Attach.
Create the Third Layer
This final layer is going to be the embossed step.
- Choose the last layer and remove the score line.
- Ungroup and change the operation type to Deboss for the floral cut out only.
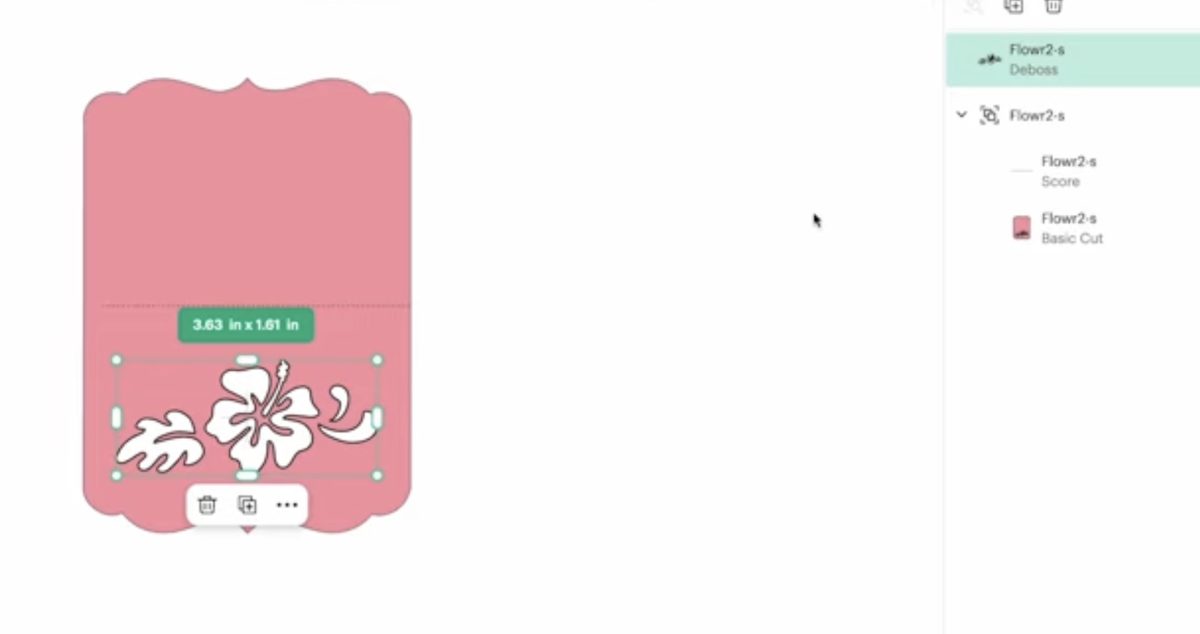
- Select the deboss layer and click Effects and then Offset. Apply a thin offset. I recommend 0.02″.
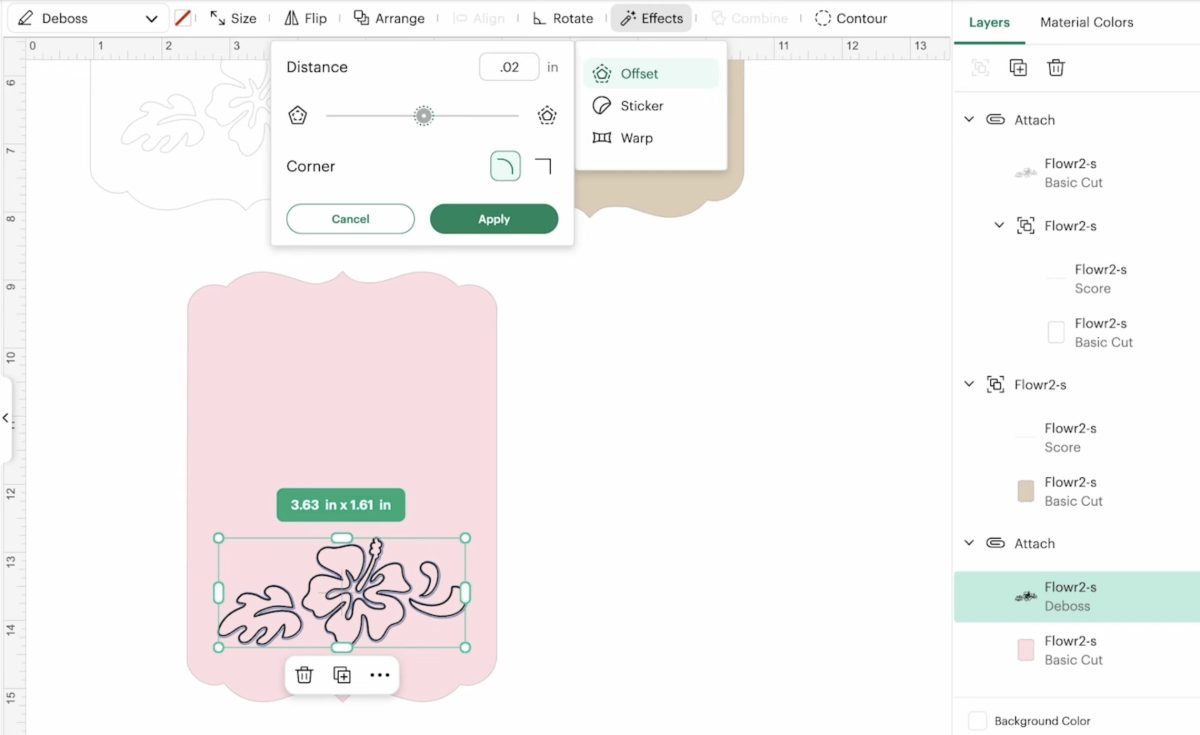
- Delete the deboss design, leaving only the offset.
- Change the operation type of the offset to Deboss, Score, or Foil. The operation type you choose will depend on the tool you want to use.
- If there is a score line on this layer, delete it.
- Attach the offset design to the card outline.
Step 2: Cut out the Materials
With the design set up, we're ready to start cutting everything out.
Cut Out the Template
First, we're going to cut out the thick template layer. This is the first layer we create above. I recommend using a very heavy cardstock, light chipboard, or Cricut KraftBoard.
- Place the material on a green StandardGrip mat.
- Use a brayer to ensure the material is stuck down really well.
- Load the mat into the machine.
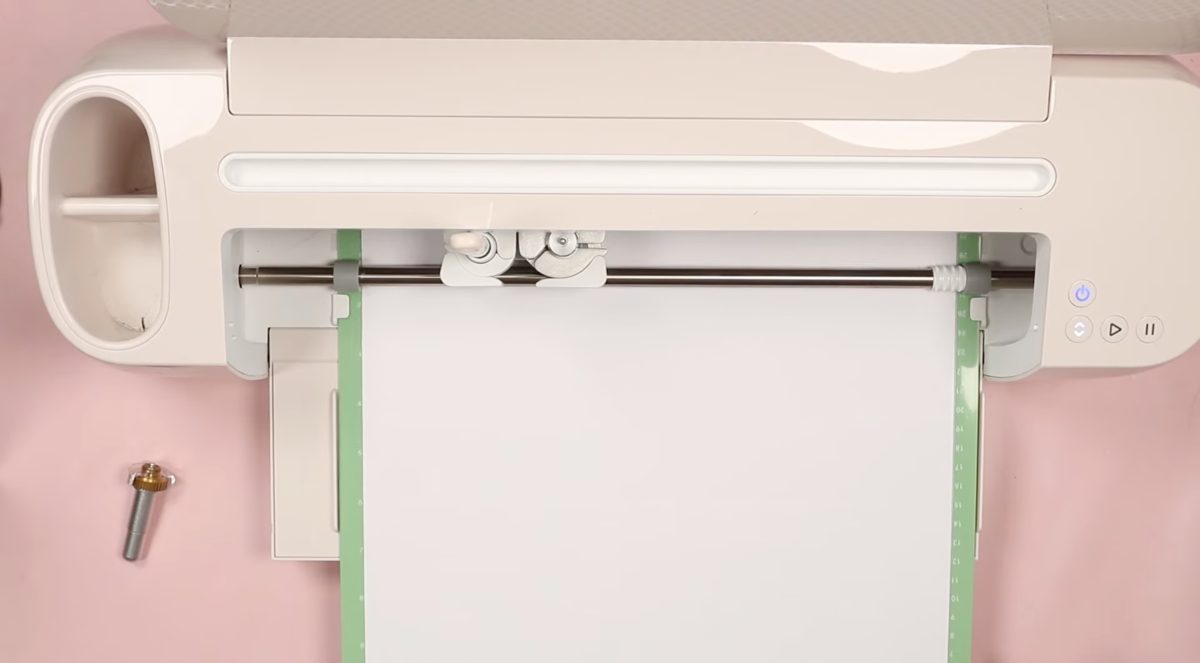
- Select the material and load the correct tool into the machine.
- Press Go and allow the machine to cut out the material.
- When the machine is finished, unload the mat.
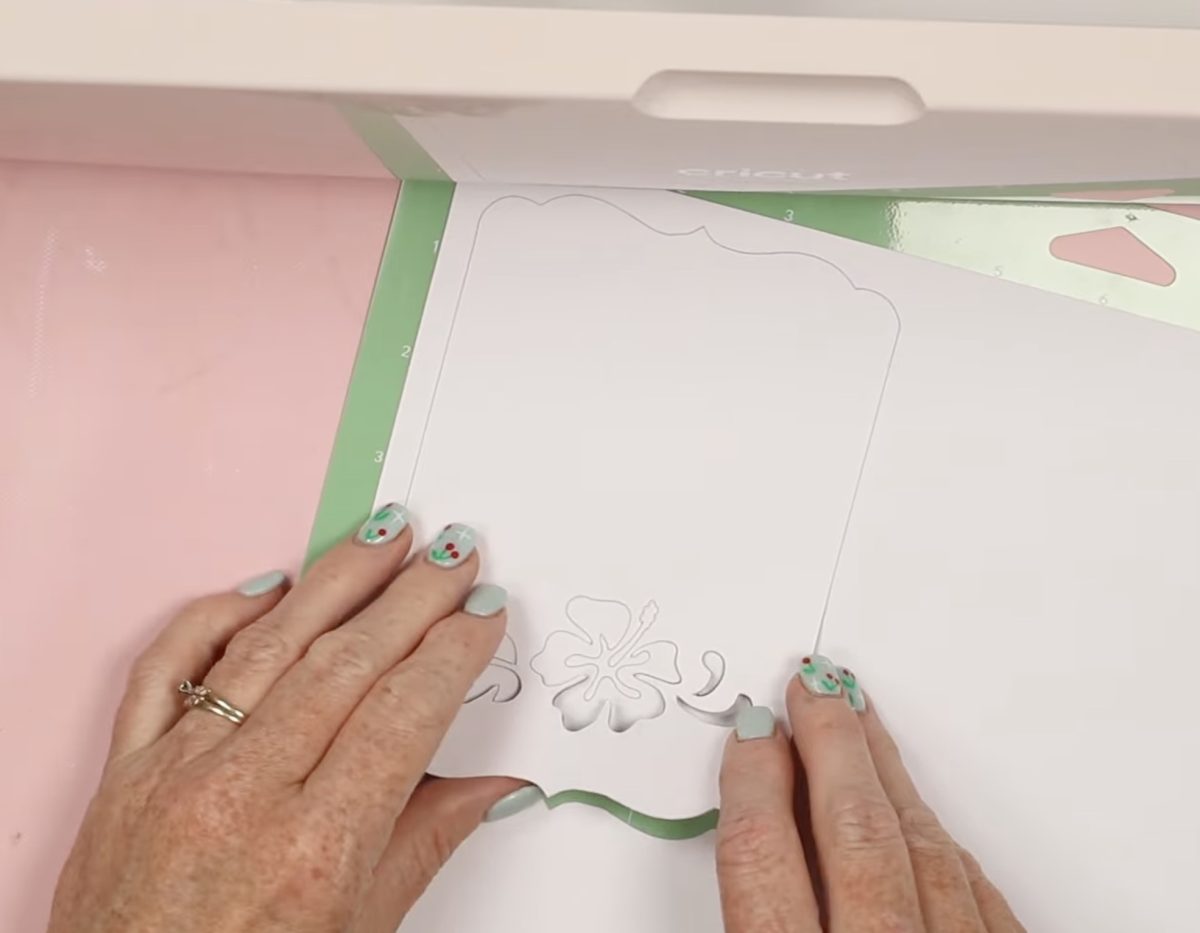
- Weed away the card piece, leaving the outer frame and the inside pieces on the mat.
Cut and Score the Card
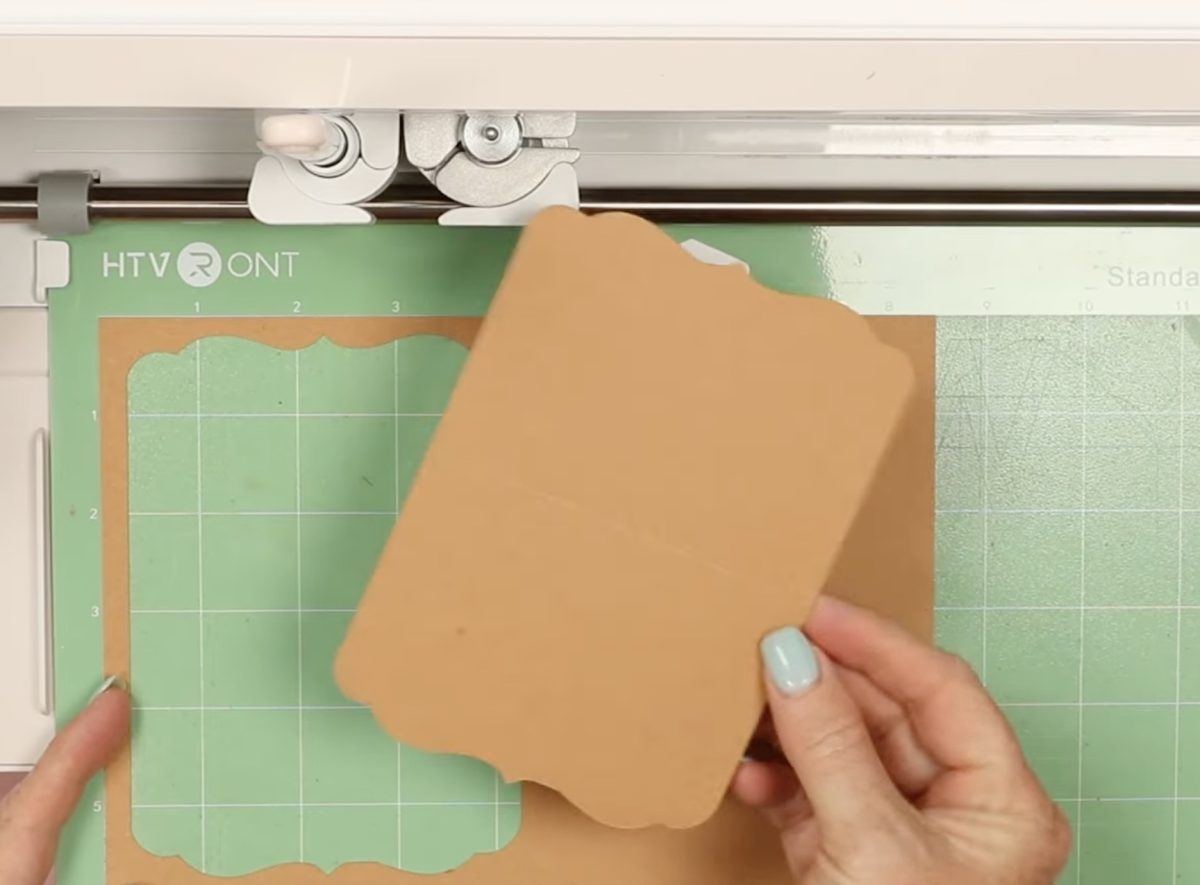
Next, we're going to cut out the card piece and score the fold line. This is the second layer and should be the material you want your finished card to be.
- Place the material onto a separate cutting mat. You can use a green StandardGrip mat or a blue LightGrip mat.
- Use a brayer to press the material onto the mat.
- Select the material in Design Space.
- Load the mat into the machine.
- Press Go and allow the machine to cut and score the material.
Step 3: Emboss the Final Card
Now it's time for the magic. This step is where you'll create the final embossed card, with the design located perfectly every time.
- First, place the cut-out card piece that will be the finished card on the mat with the heavy cardstock. You're going to place it right on top of the white flowers.
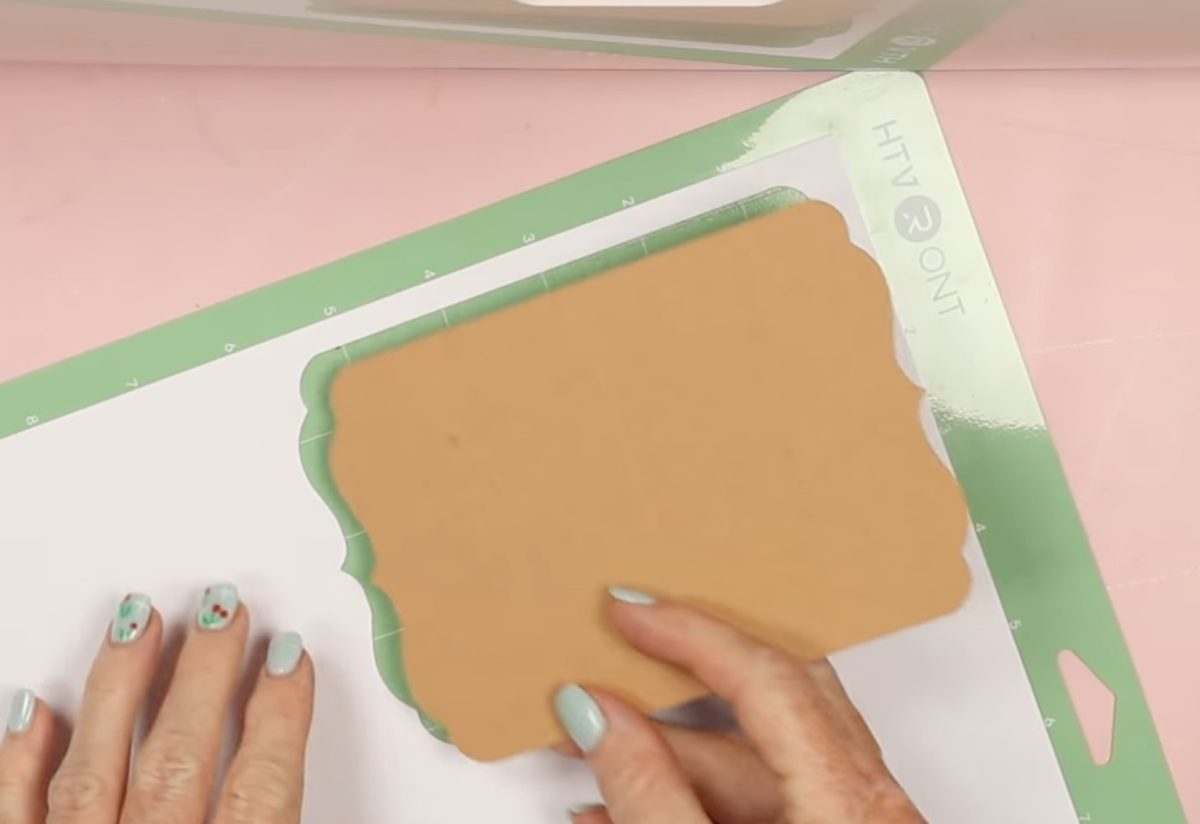
- Use a brayer to press the cardstock onto the mat so it's stuck down really well.
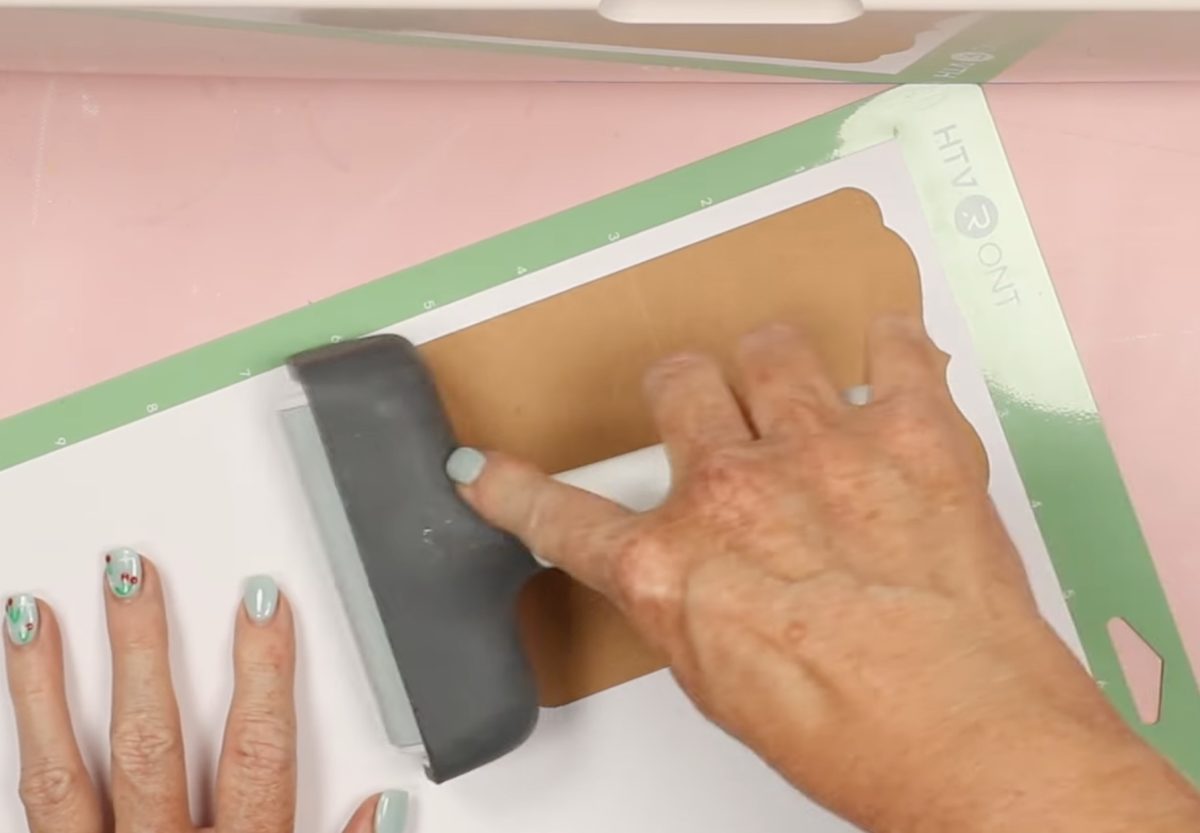
- Load the mat into the machine.
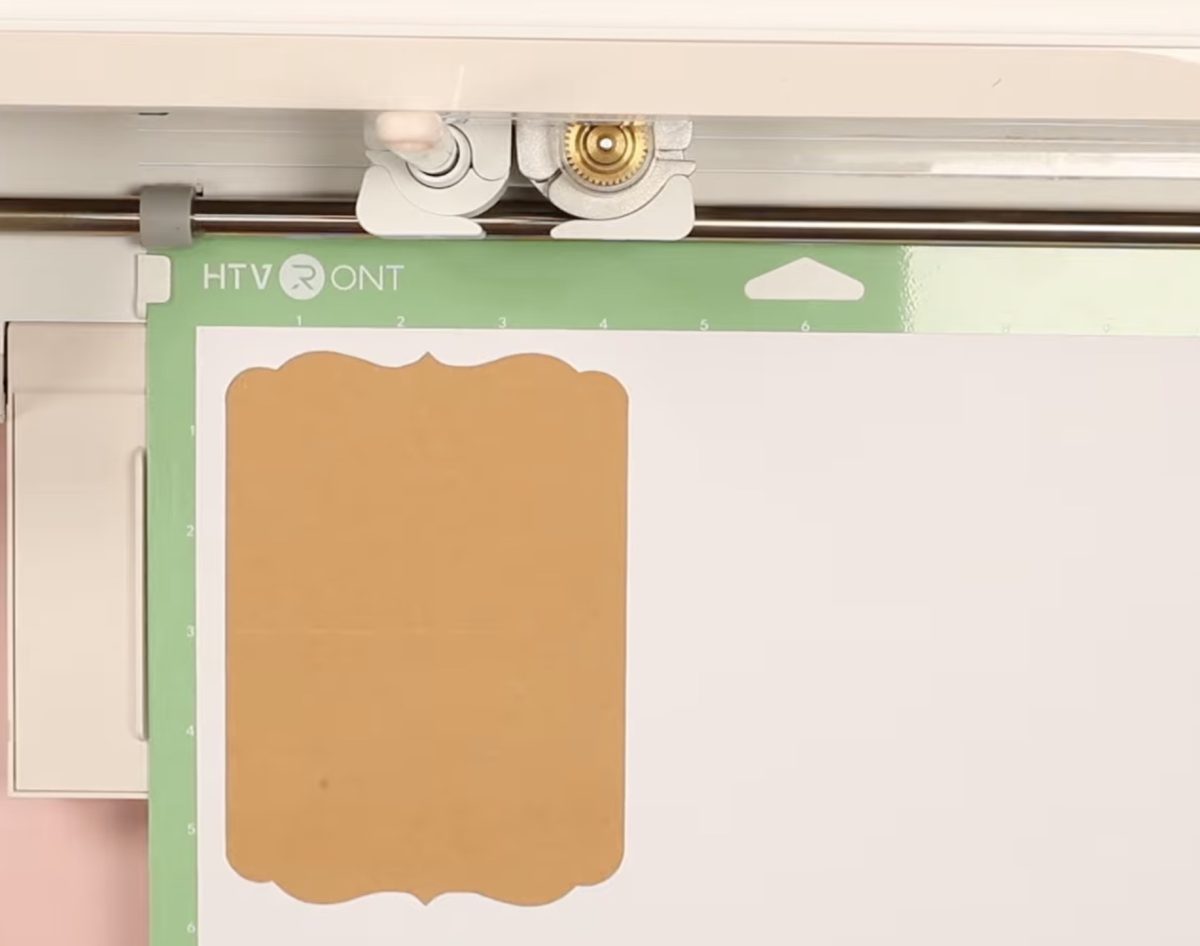
- Make sure you have the correct tool loaded into the machine. I am going to try the deboss tool, scoring stylus, and foiling tool.
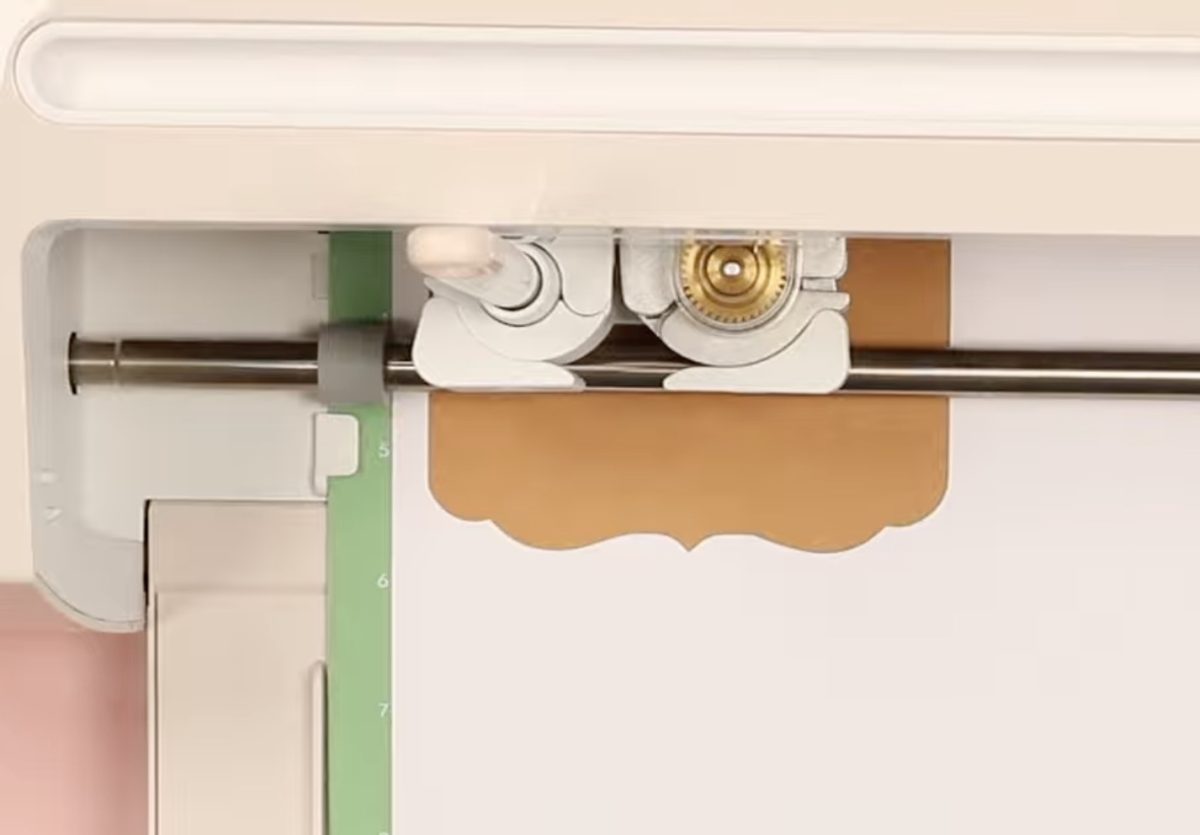
- Press Go, and the machine will trace the offset design on the card layer.
Because the cardstock sits on top of the design cutout, the tool following the offset presses the paper down into the gap between the card and the design; the result is a crisp, raised embossed design on the card.
When the machine is done, unload the mat . NOTE: It will say on your screen that you need to do a cut but there is no reason to cut the card again. Just unload the mat.
Peel away the top card piece. Be careful not to remove the template pieces if you want to reuse it. You can leave the template on the mat and reuse it as many times as you'd like.
Which Tool Worked the Best?
Now we're ready to look at the results. I tested the Bold Foil Tip, Deboss Tool, and the Scoring Stylus in the Cricut Maker, with this process to see which one worked the best.
Deboss Tool
Using the Deboss Tool with the template gives a raised emboss look instead of the regular deboss indentation. The impression is soft around the edges.
Below you can see what the design looks like just using the traditional debossing.
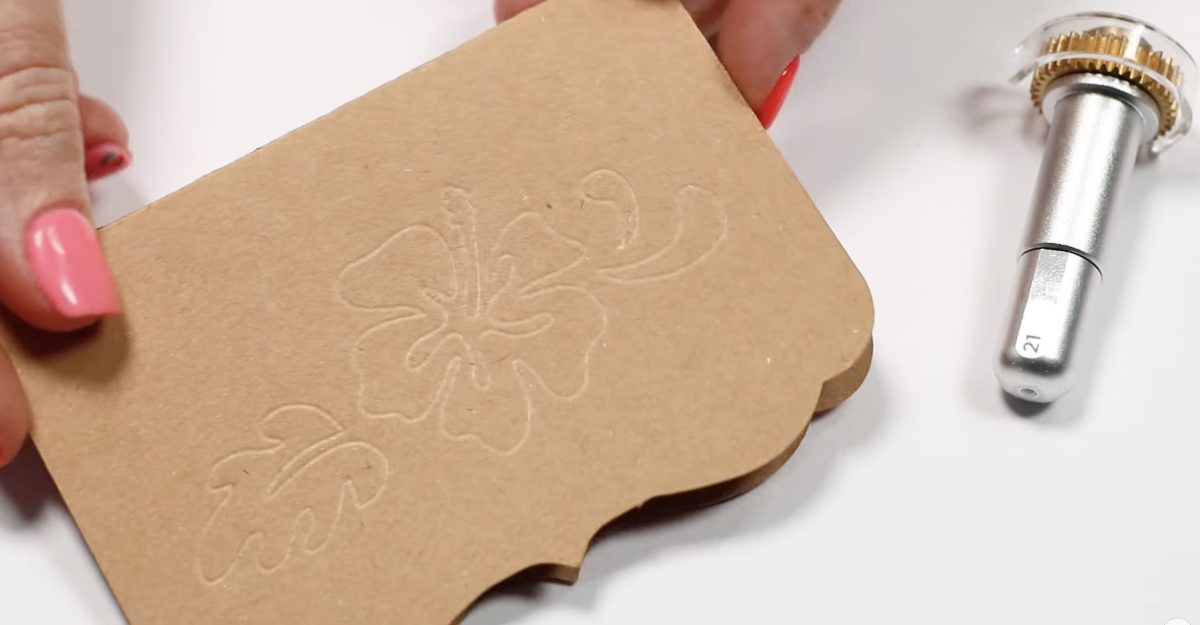
Here you can see the difference. The design is actually raised up on the card surface, and you can feel it when you run your fingers across it.
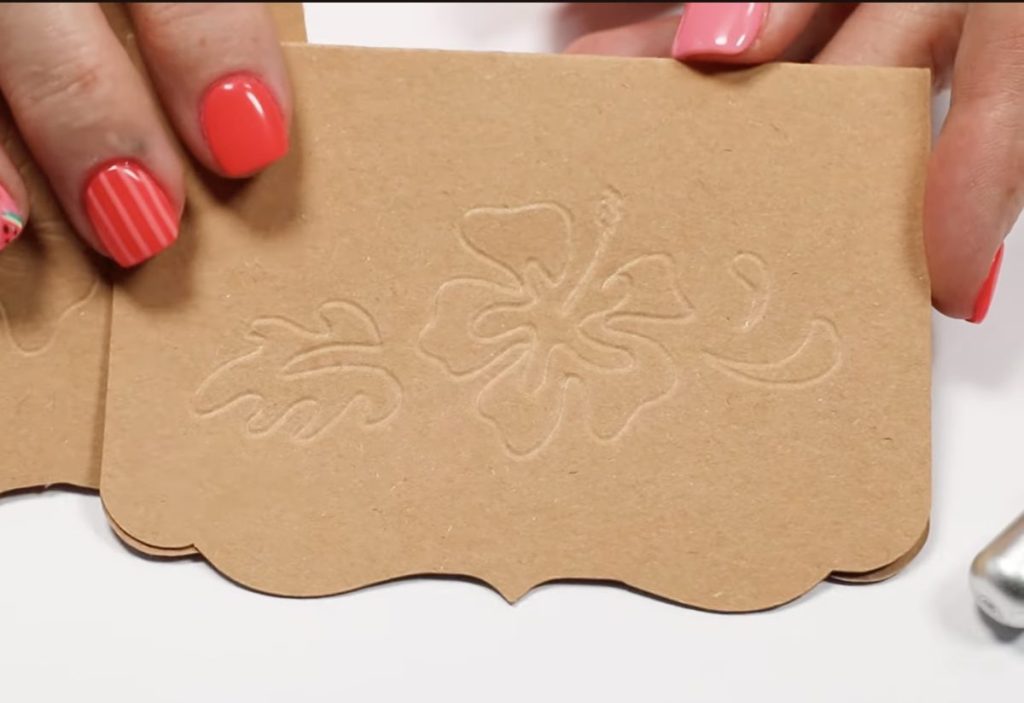
Scoring Stylus
Using the same process with the Scoring Stylus gives a slightly crisper line, and the embossment looks really good. Just like above, you can feel the design raised up on the surface.
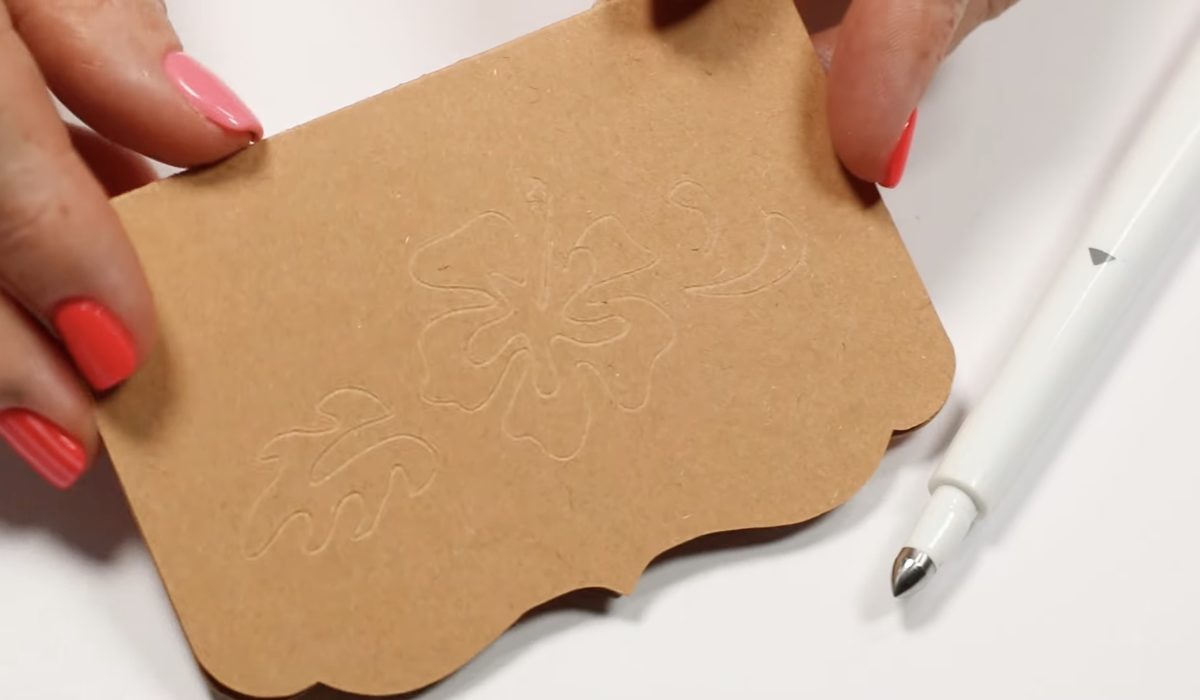
Cricut Bold Foiling Tool
Hands down, I got the best results with the bold foiling tool in the Maker.
The edges are really crisp, and the design is raised up beautifully.
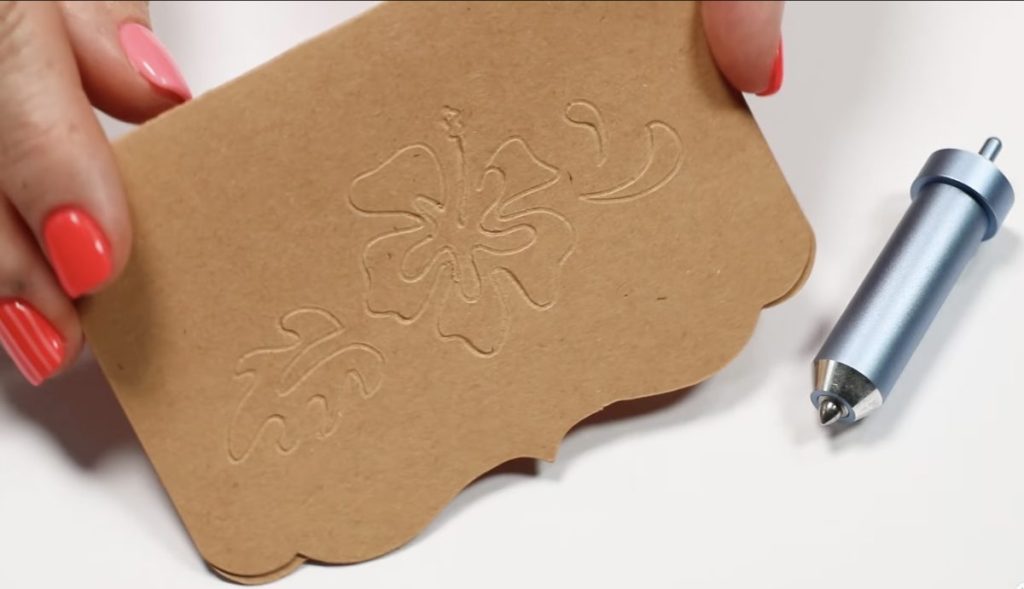
When I think of embossing, this is what I imagine.
Can I Emboss Using the Foiling Tool in Explore or Joy Machines?
After I tested the Maker, I decided to try Explore and Joy machines to see if I could get the same results.
Unfortunately, the answer is no.
Technically, the design does raise a little bit, but I don't think it's enough to really call it embossing.
With the Explore machine, I tried both the Foil Tool and the Scoring Stylus.
Neither did very well, especially compared to the Maker.
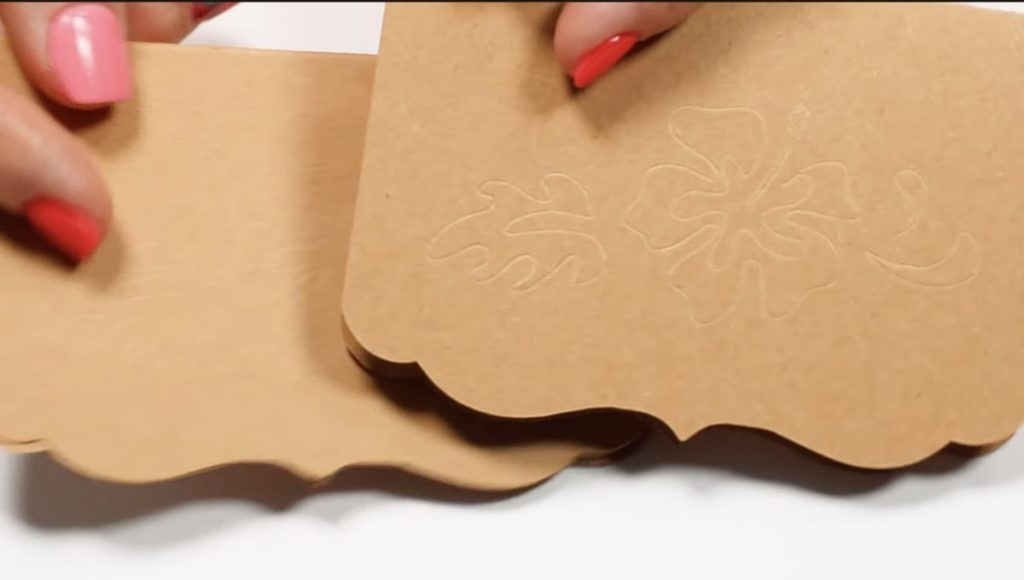
In the Joy machine, using the foil tool, the results were similar, maybe even a little worse. While you can see the line in certain lighting, you can't really feel it, so the design doesn't really stand out at all.
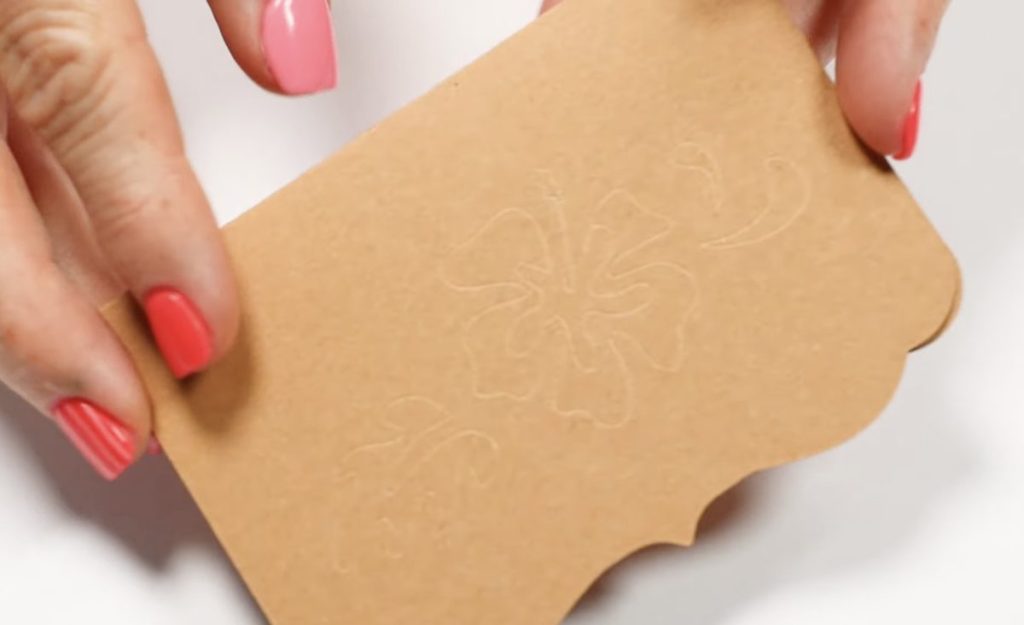
In the end, Joy and Explore machines just don't have the force that the Maker machines have. If you want real embossment, I recommend using a Maker machine and the Bold Foil Transfer Tool.
What Materials Work Best?
I did want to note that I tried a variety of cardstock materials, and with all of them, the Maker and Foil Transfer Tool gave me the best results.
If you're using a metallic or coated cardstock, you may get cracking using this technique. The same thing often happens when trying to create a score line. If you want to use those materials, I would definitely do a test to see how it holds up to the paper being raised up and the foiling tool going around the template.
Are You Ready to Emboss with Your Cricut Machine?
I'm really pleased with how this project turned out. I'm glad that I tested the different tools and machines, because the foil tool in the Maker really does give the best results.
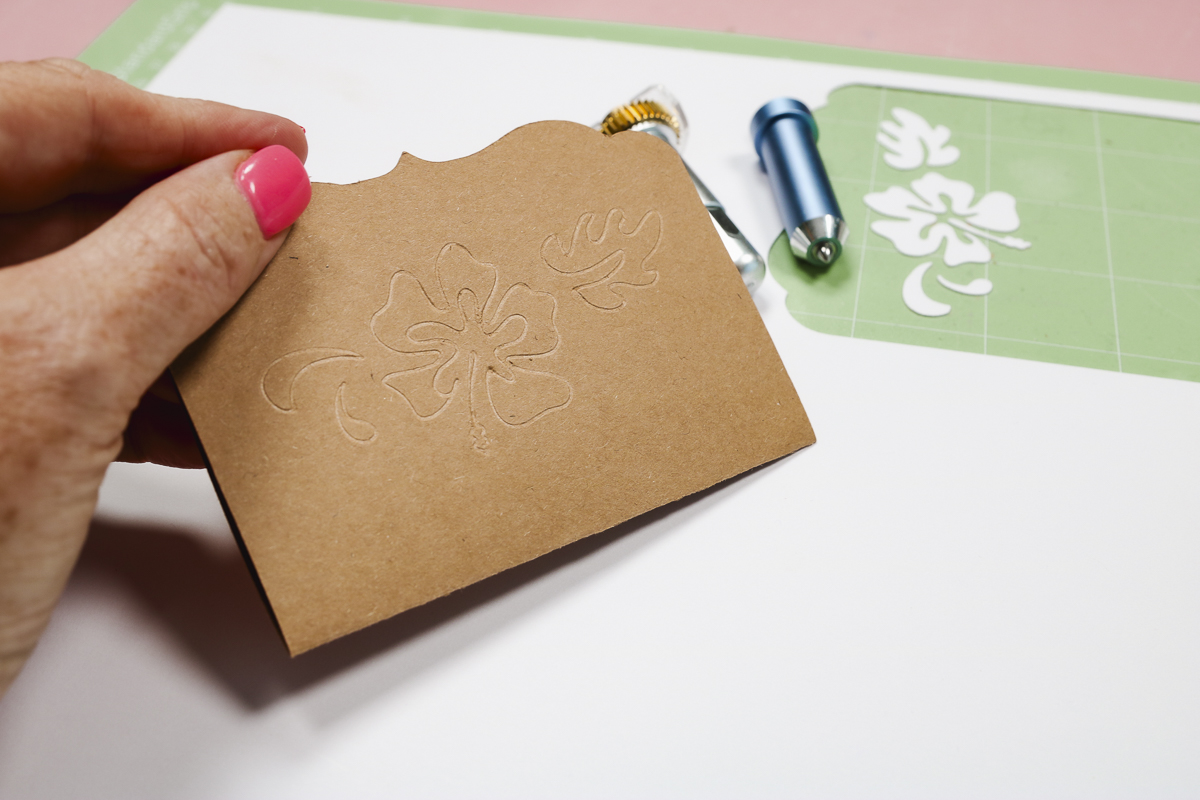
Creating the template the way I did ensures that you get everything located perfectly every time, which is necessary if you're creating something like wedding invitations or if you want to sell the finished product. Imagine a matching set of Cricut embossed thank you cards; they'd be beautiful.
I hope I've answered any questions you have about the best way to emboss with a Cricut machine. If you have any additional questions, leave them in the comments, and I'll be happy to answer them for you.