
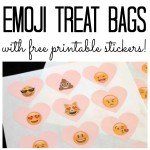
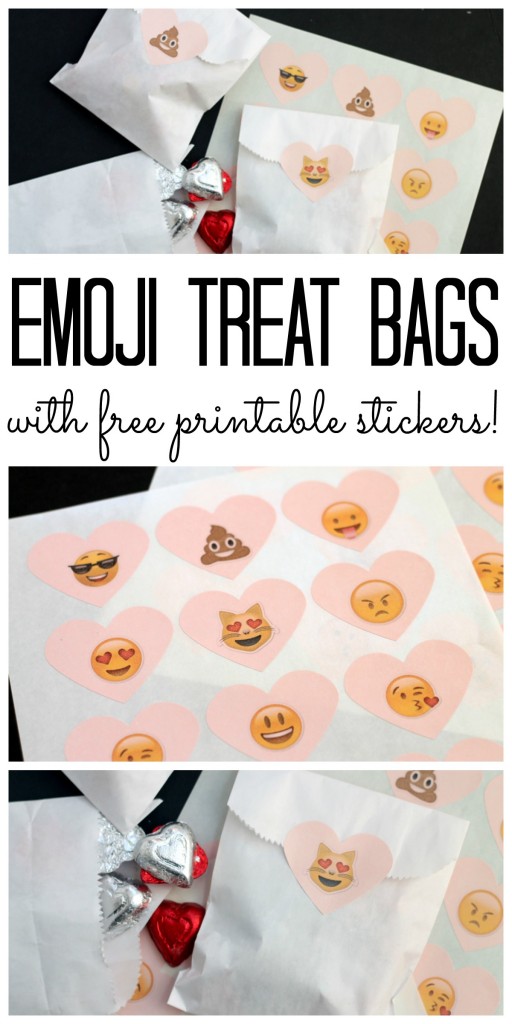
Fun emoji goodie bags are the perfect way to hand out treats on Valentine’s Day! You can print our free printable emoji stickers below, then add them to simple goodie bags for one-of-a-kind treats that are perfect for sending to school with the kids.
Excitingly, this is also a part of the Craft Lightning series, where we post 15-minute crafts every day for an entire week (whew!). This week, our theme is Valentine’s Day crafts, one of my very favorite holidays.
Be sure to catch up on all of the Day 1 and Day 2 posts, including my Valentine’s Day chocolate bark and EOS lip balm Valentine’s Day card. And don’t forget to scroll all the way to the bottom of this post to see all of the fun and festive crafts from day 3.
So, without further ado, let’s get crafting!
How To Make Emoji Goodie Bags
Y’all aren’t ready for this adorable treat bag idea!
These emoji bags are beyond easy to make, with just two materials and free printable emoji decals. I love the idea of using them for Valentine’s Day treat bags, birthday party favors, student reward bags, or anything else you can come up with!
NOTE: This is a sponsored post for Online Labels. All projects and opinions, as always, are my own.
Supplies Needed To Make Emoji Goodie Bags
- OL196 Labels (we used pastel pink)
- FREE printable emoji file (download it here)
- Treat bags (we used white ones like these)
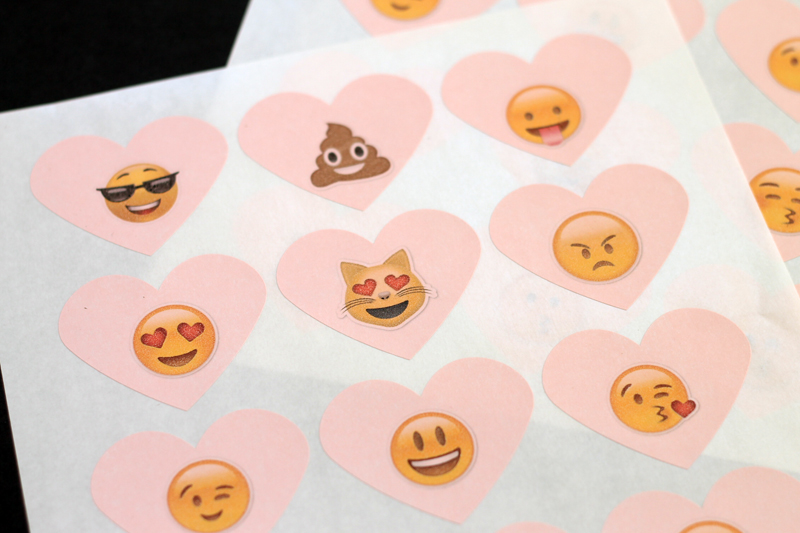
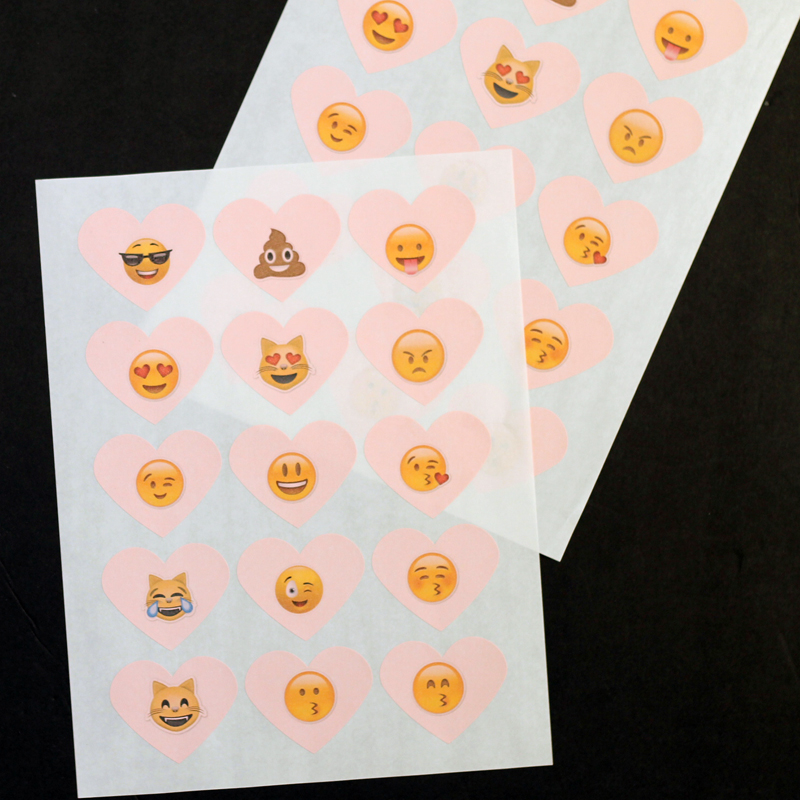
Step 1: Download and Print Your Emoji Stickers
First, download the sticker file.
Christmas Crafts Cricut Cricut Explore Cricut Joy Cricut Maker Quick Crafts
Burlap Canvas Nativity Scene – DIY Project
By: Angie Holden | May 16, 2025 | 3 Comments(Edit)
This post and photos may contain Amazon or other affiliate links. If you purchase something through any link, I may receive a small commission at no extra charge to you. Any supplies used may be given to me free of charge, however, all projects and opinions are my own.
Are you looking for some gorgeous Christmas art for your walls that shows off the real meaning of the season? Then learn how to make this canvas nativity scene on burlap! You can make this easy project in just minutes using your Cricut or Silhouette machine and a few sheets of vinyl!

How To Make Canvas Nativity Scene
If you have been following my blog for a while, then you know that I love working with burlap! It’s so easy to use, inexpensive to purchase, and makes great farmhouse decor!
I’ve used burlap for several other Christmas crafts on my website, like these burlap angle ornaments and this Christmas garden flag. However, I wanted to do something a bit different this Christmas.
Over the years, I’ve fallen in love with nativity scenes. There are so many creative ones out there, so I thought why not combine a nativity scene with burlap to create a unique piece of wall art?!
This quick and easy burlap canvas nativity scene can be made before the holidays! The process of making this project is similar to my nativity scene on mason jars and only requires a few supplies. Plus, the best part, is that you can easily make the design larger or smaller depending on your preference, the look you are going for, or how you would like them to be displayed.
For example, you can easily place the whole scene on a larger canvas or break it up over multiple canvases. In this tutorial, we will use two 12 x 12 burlap canvases.
Let’s get started!
Join my free Cricut class!
Get 7 days of Cricut classes right in your inbox! Learn how to use ANY Cricut machine and make gorgeous crafts in just a week!Join now!
We use your personal data for interest-based advertising, as outlined in our Privacy Notice.
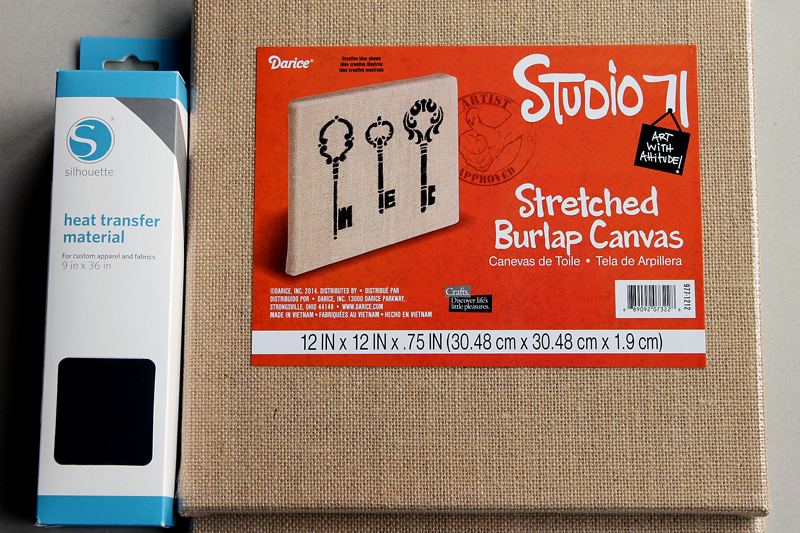
Supplies Needed To Make Canvas Nativity Scene
- 12 x 12 Burlap Canvas (2 used)
- DIY Nativity Scene Printables (download them here)
- Silhouette Heat Transfer Material in Black
- Silhouette
- Iron
- Weeding Tool (optional)
Step 1: Download the FREE Nativity Files
First, download the files to your computer.
Click here and fill out the form to get the stickers sent to your email. Then from your email, you can download the file to your computer. If you have issues accessing the file, be sure to email thecountrychiccottage@yahoo.com and I will try to help you. Please note that this file is for personal use only. Contact me if you would like to use commercially.
Print the file onto your sheet of labels. In the image above, I removed the excess material from around the labels so you could see the cute emoji stickers better.
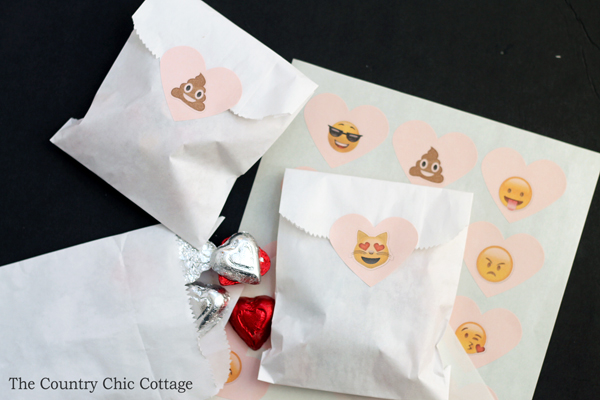
Step 2: Add Stickers To Treat Bags
Then, just peel and stick to any treat bag that you have on hand!
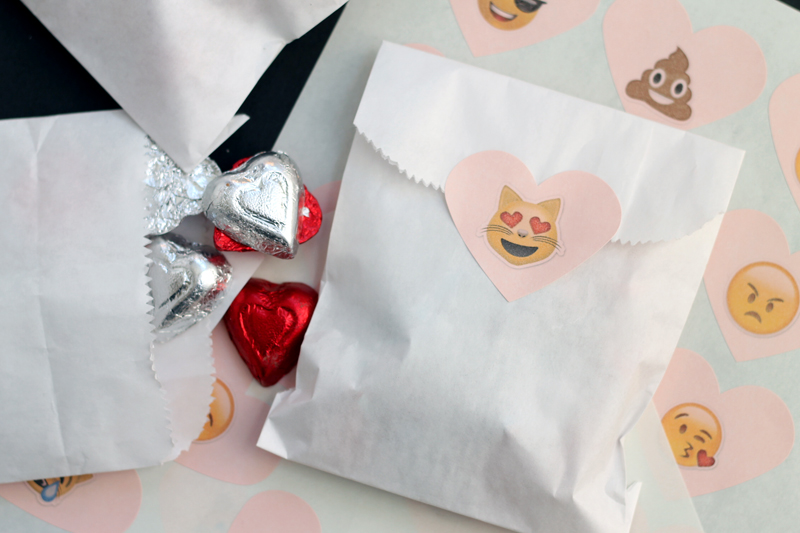
I love the pastel pink hearts with the plain white treat bags here. The emojis are perfect for kids of all ages, and I am sure they will love them!
FAQs About Emoji Goodie Bags
If you have questions about these emoji goodie bags, I have the answers. For any future questions, please leave them for me in the comments down below. I’m happy to help!
Can I Use Regular Sticker Paper If I Don’t Have Heart Labels?
Yes, you can! You can print out the emojis onto regular sticker paper, then cut out each heart by hand or use a heart-shaped punch.
How Can I Customize My Emoji Goodie Bags?
The easiest way to customize these fun emoji treat bags is with color and your emoji choice! While I chose white bags, you can use any color you prefer.
You can also switch up the color of your labels.
Finally, choose your emoji stickers wisely. If you prefer an entire pattern of emoji kissy faces – go for it! Want to throw in a few poop emojis? I’m not judging!
What Can I Put In These Emoji Goodie Bags?
These emoji treat bags are super versatile for any of your favorite treats. Use them to share homemade cookies, fudge, a sweet and salt snack, chocolate-covered nuts, or muddie buddies.
You could also add any of your favorite store-bought chocolate or candies; anything yummy is always welcome.
If you prefer a non-sugary route, fill these treat bags with homemade Valentine cards, bouncy balls, pencils, surprise miniatures, stickers, slime, bubbles, lip balm… the list goes on!
Can I Use This Project As A Party Favor Bag?
Absolutely! These emoji treat bags can be used for any of your party favor needs. Use them for birthday parties, graduation celebrations, school's-out soirees, and more.
How Else Can I Use These Emoji Stickers?
You can use these emoji stickers on so many things! If you don’t want to use them on treat bags, you could also use them on the following:
- Cards
- Notebooks
- Planners
- Home Decor
- Cellophane Bags
- Gift Bags
Craft Lightning Valentine’s Day Crafts
Now for even more fun Valentine’s Day crafts that take 15 minutes or less to complete!
Simply scroll down and when you see a project that you like, click the ”read more” button and you will be taken to that project’s tutorial. Then you can pin or bookmark those that you want to make later!
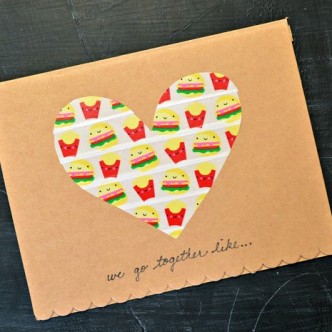
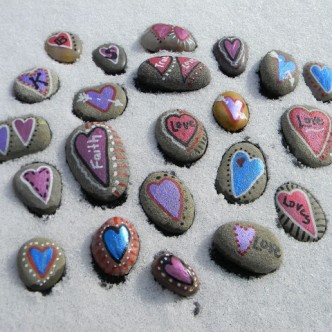
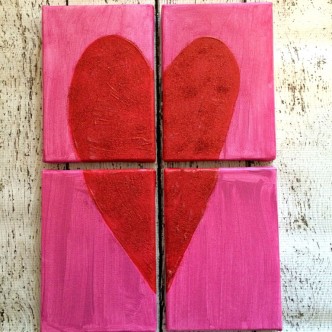
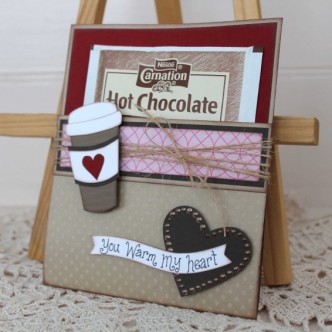
4 More Valentine's Day Crafts
Did you love these emoji goodie bags and want more Valentine’s Day crafts? Then check out the projects below!
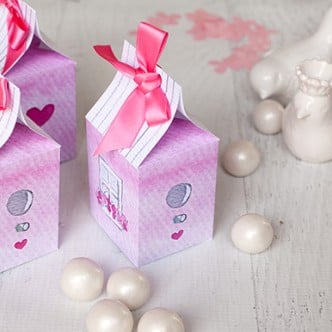
- Valentine Heart Boxes You Can Make in Minutes
- How To Make Valentine’s Day Goodie Bags
- Valentine Clothespin Craft: How To Make Clothespin Bugs
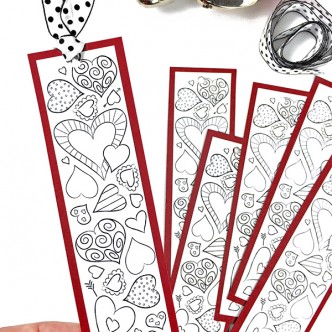
- Printable Heart Stickers


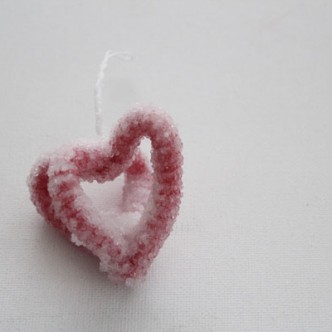
What a great round-up of projects again Angie! Craft Lightning never fails to deliver great fast projects for all interests and ages. I am already gathering materials and ingredients for the Borax crystal hearts and milk bath. Thanks for all the hard work you do to host such fantastic round ups.
LOVE theses emoji bags! Can’t wait to make them. SOOOO many cute ideas here. Thanks!
The Emoji treat bags are such a great idea! You are very crafty, I am impressed!
These are so fun! You can stick them to anything, not just treat bags 🙂 Pinned and sharing!
What a fun little craft! I’m loving the idea of using emojis on treat bags. Seems so fun, and it’s easy to make a variety too. 🙂