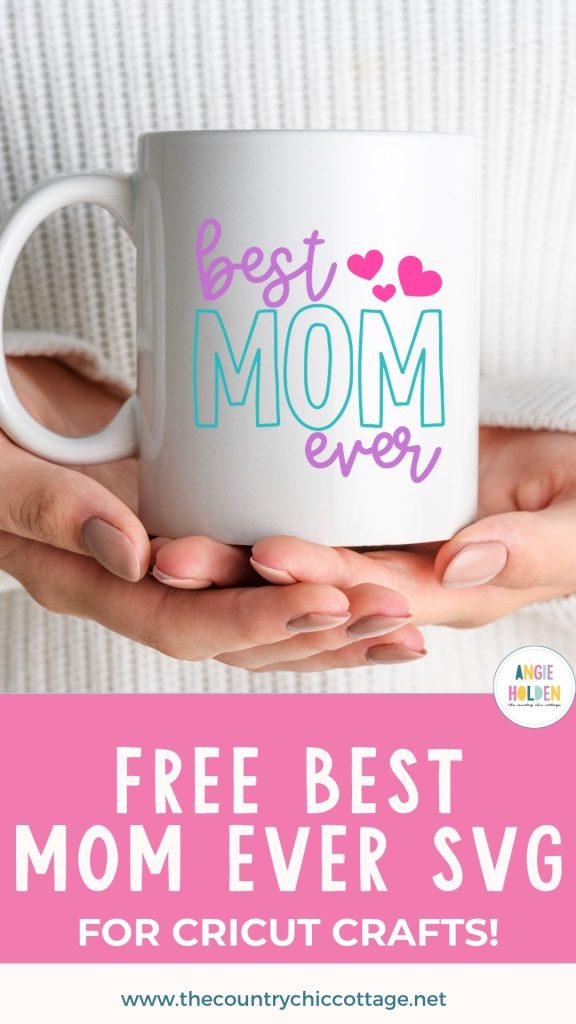
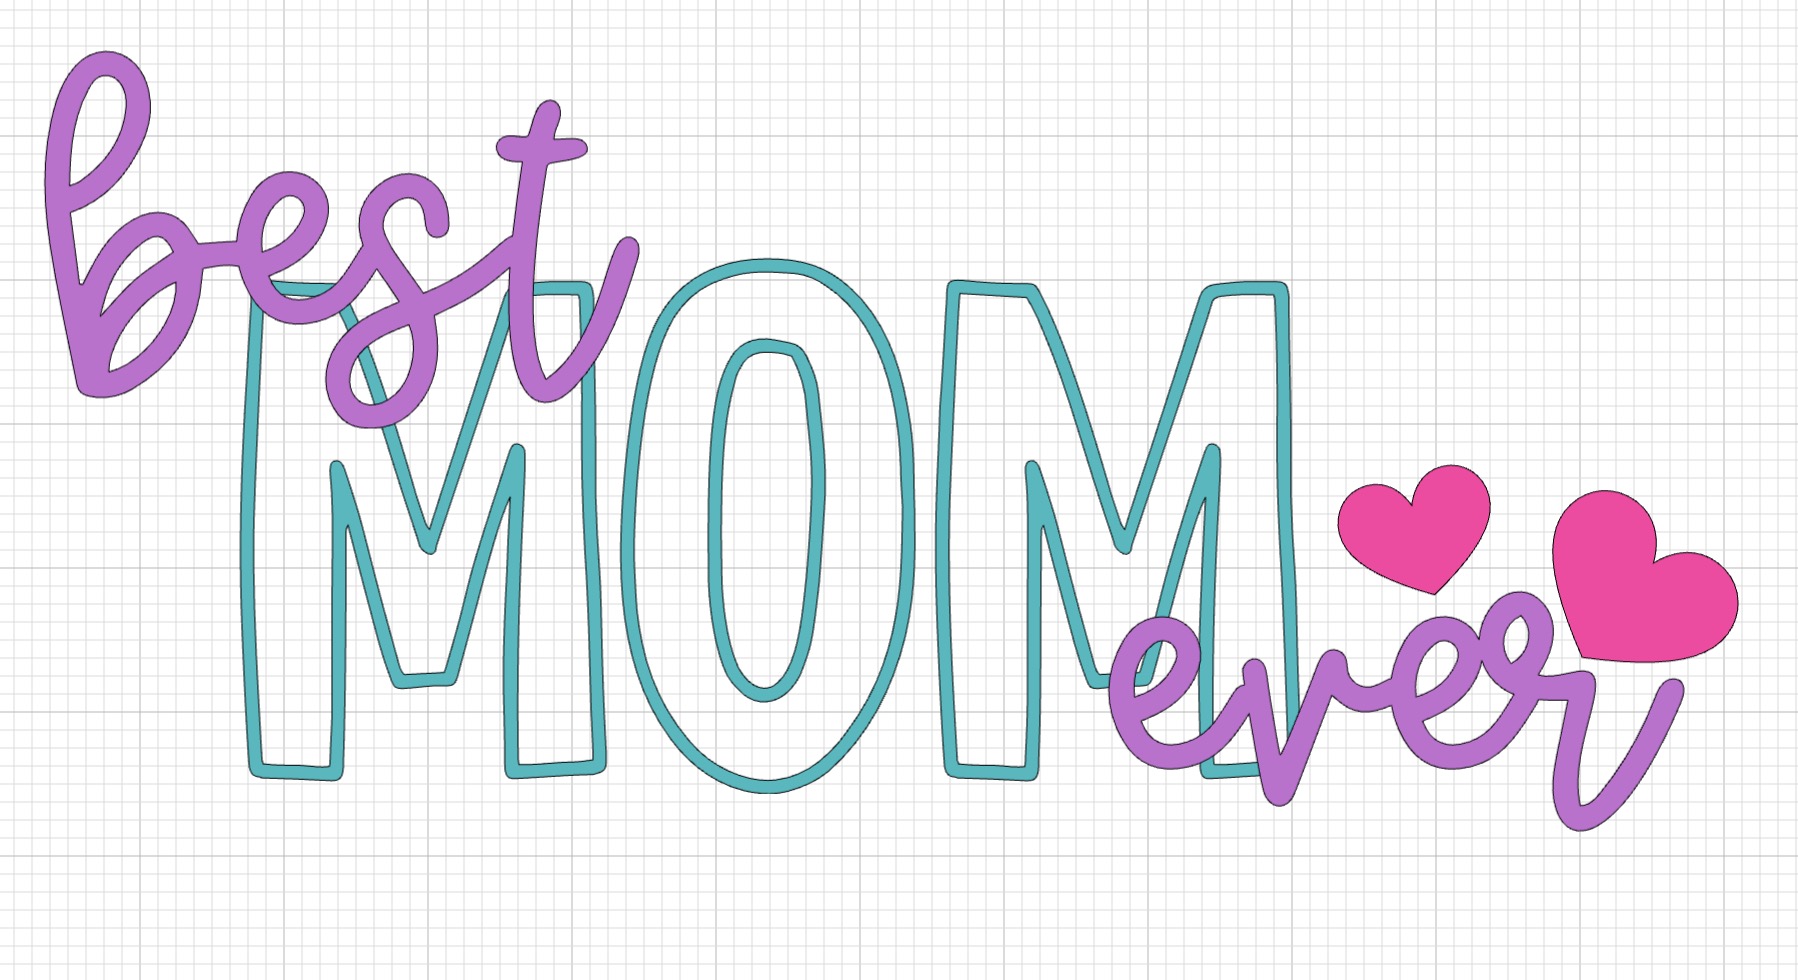
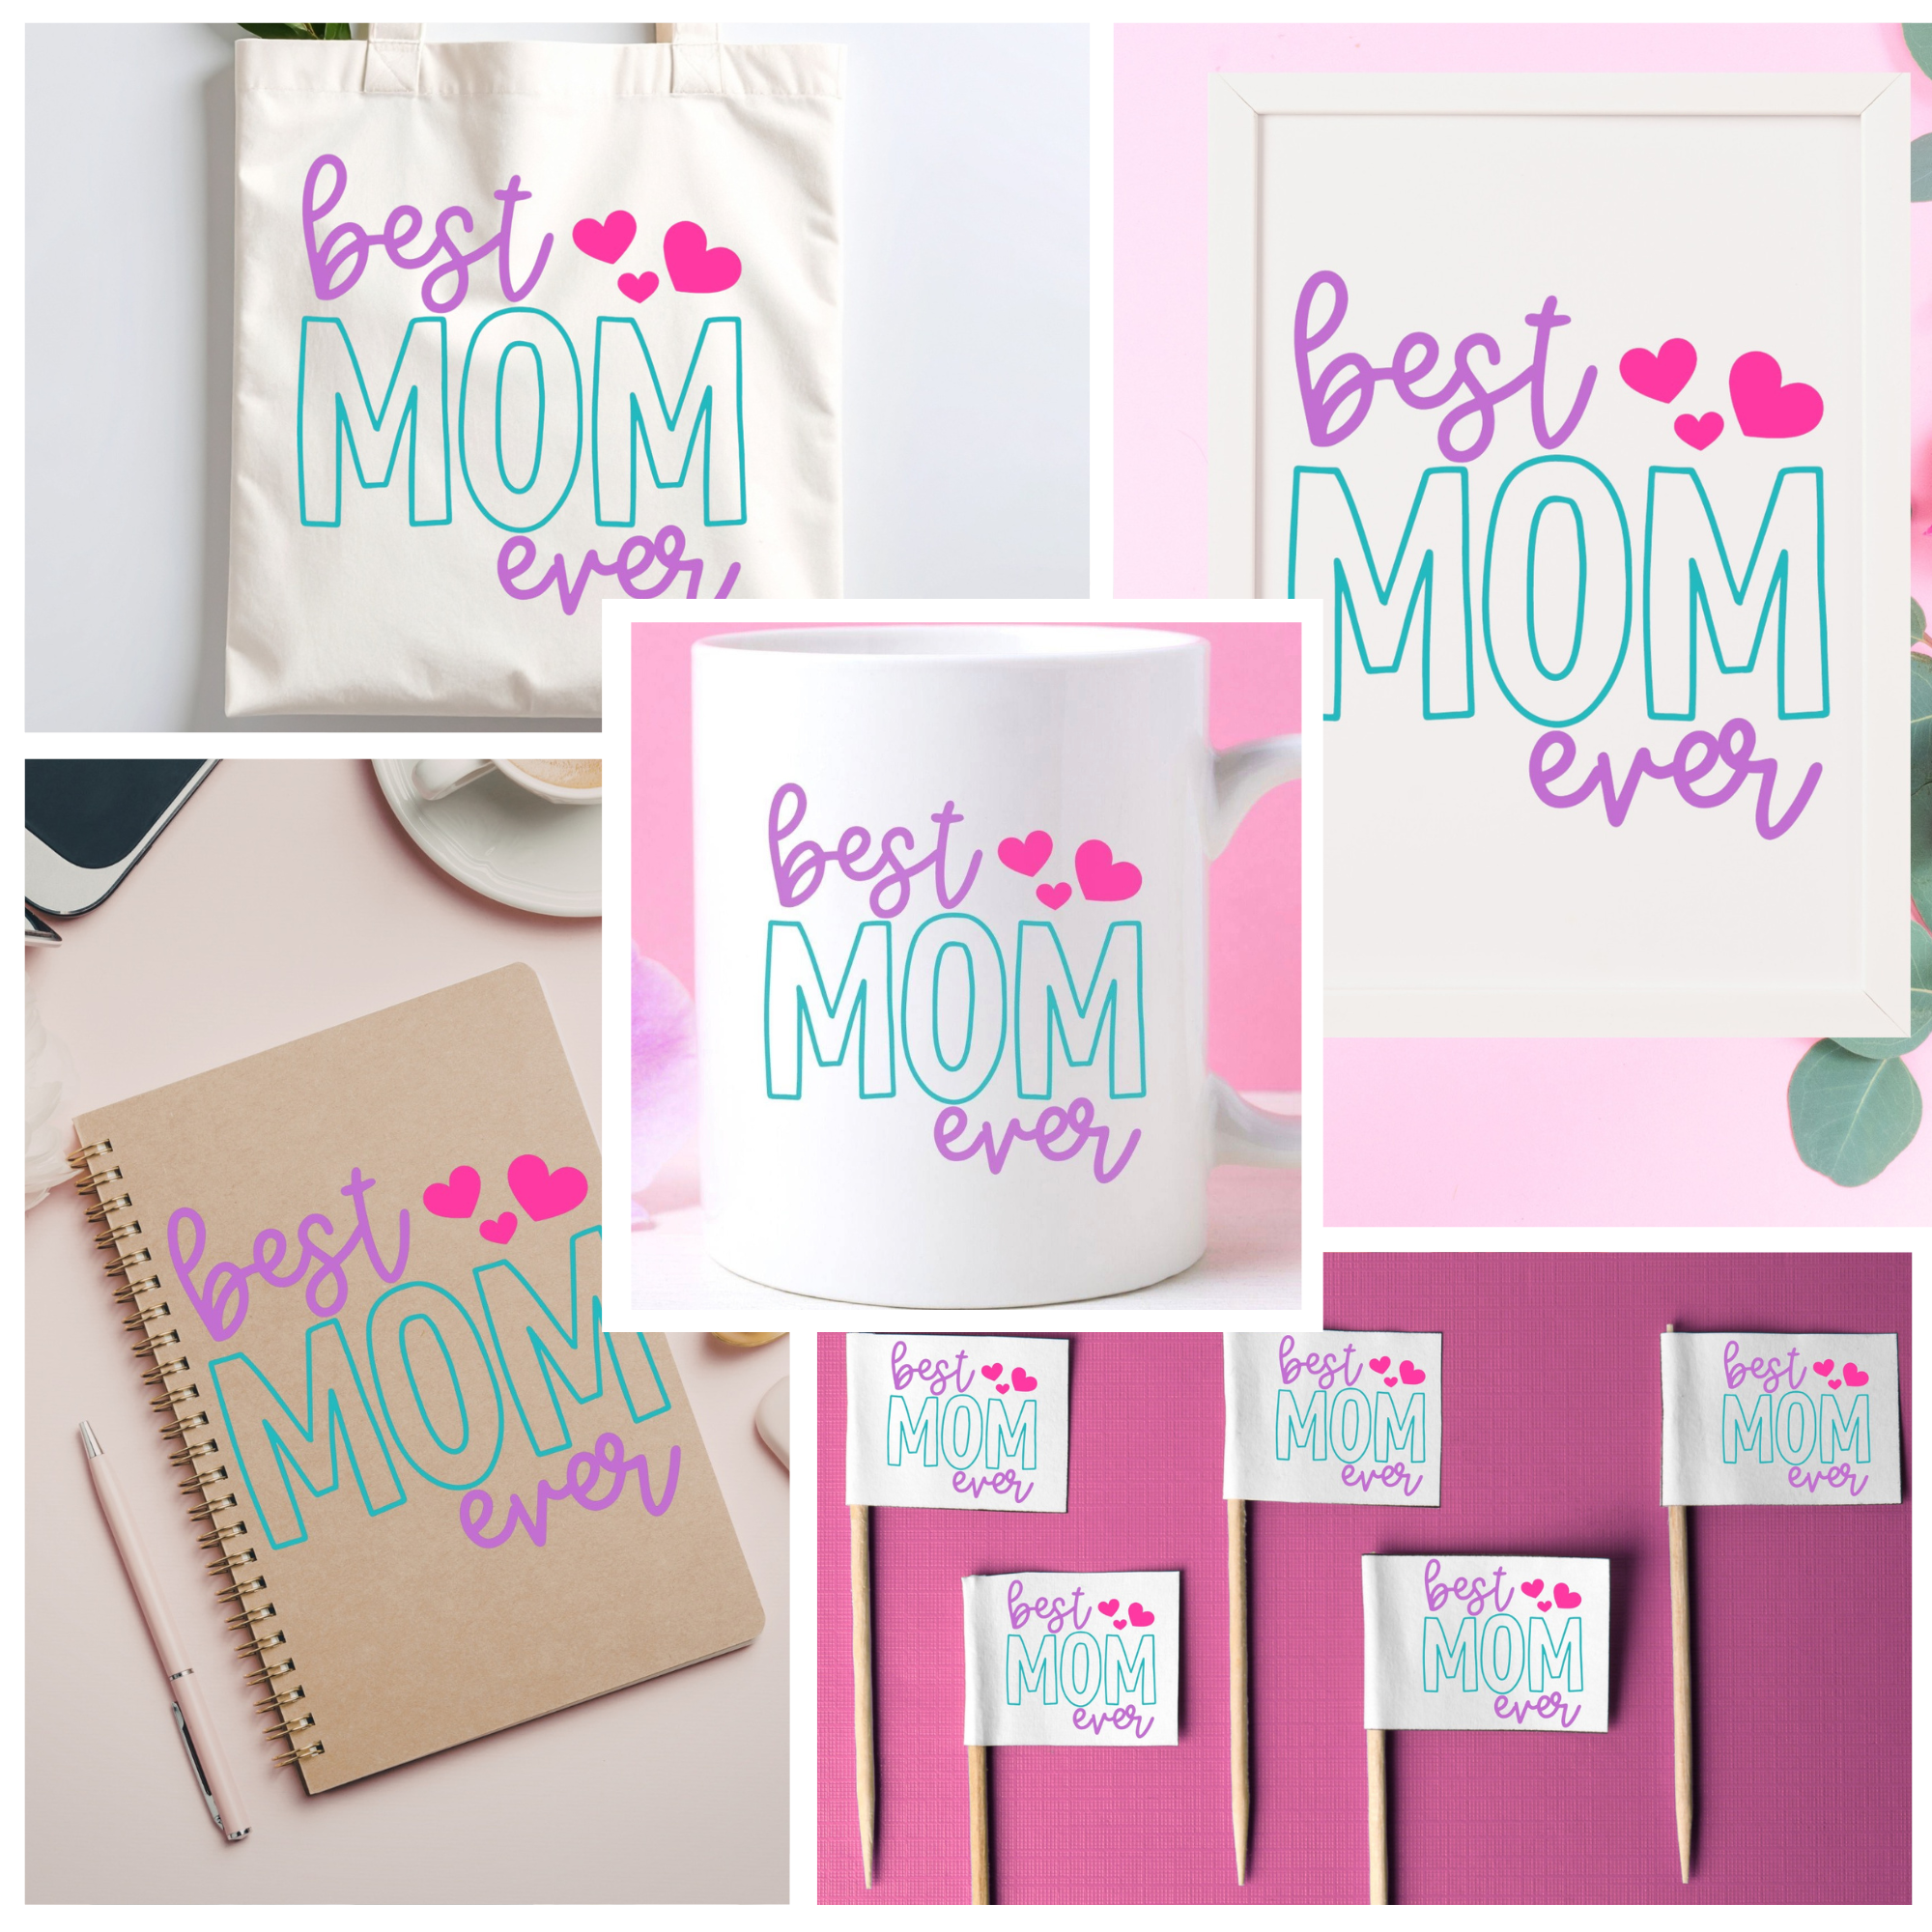
I have a free Best Mom Ever SVG perfect for all the Mother's Day gifts you're making this year. You can use this design to make mugs, cards, signs, notebooks, cupcake toppers, and more.
Depending on the project you want to make, you can use printable vinyl, HTV, regular vinyl, or even sublimation.
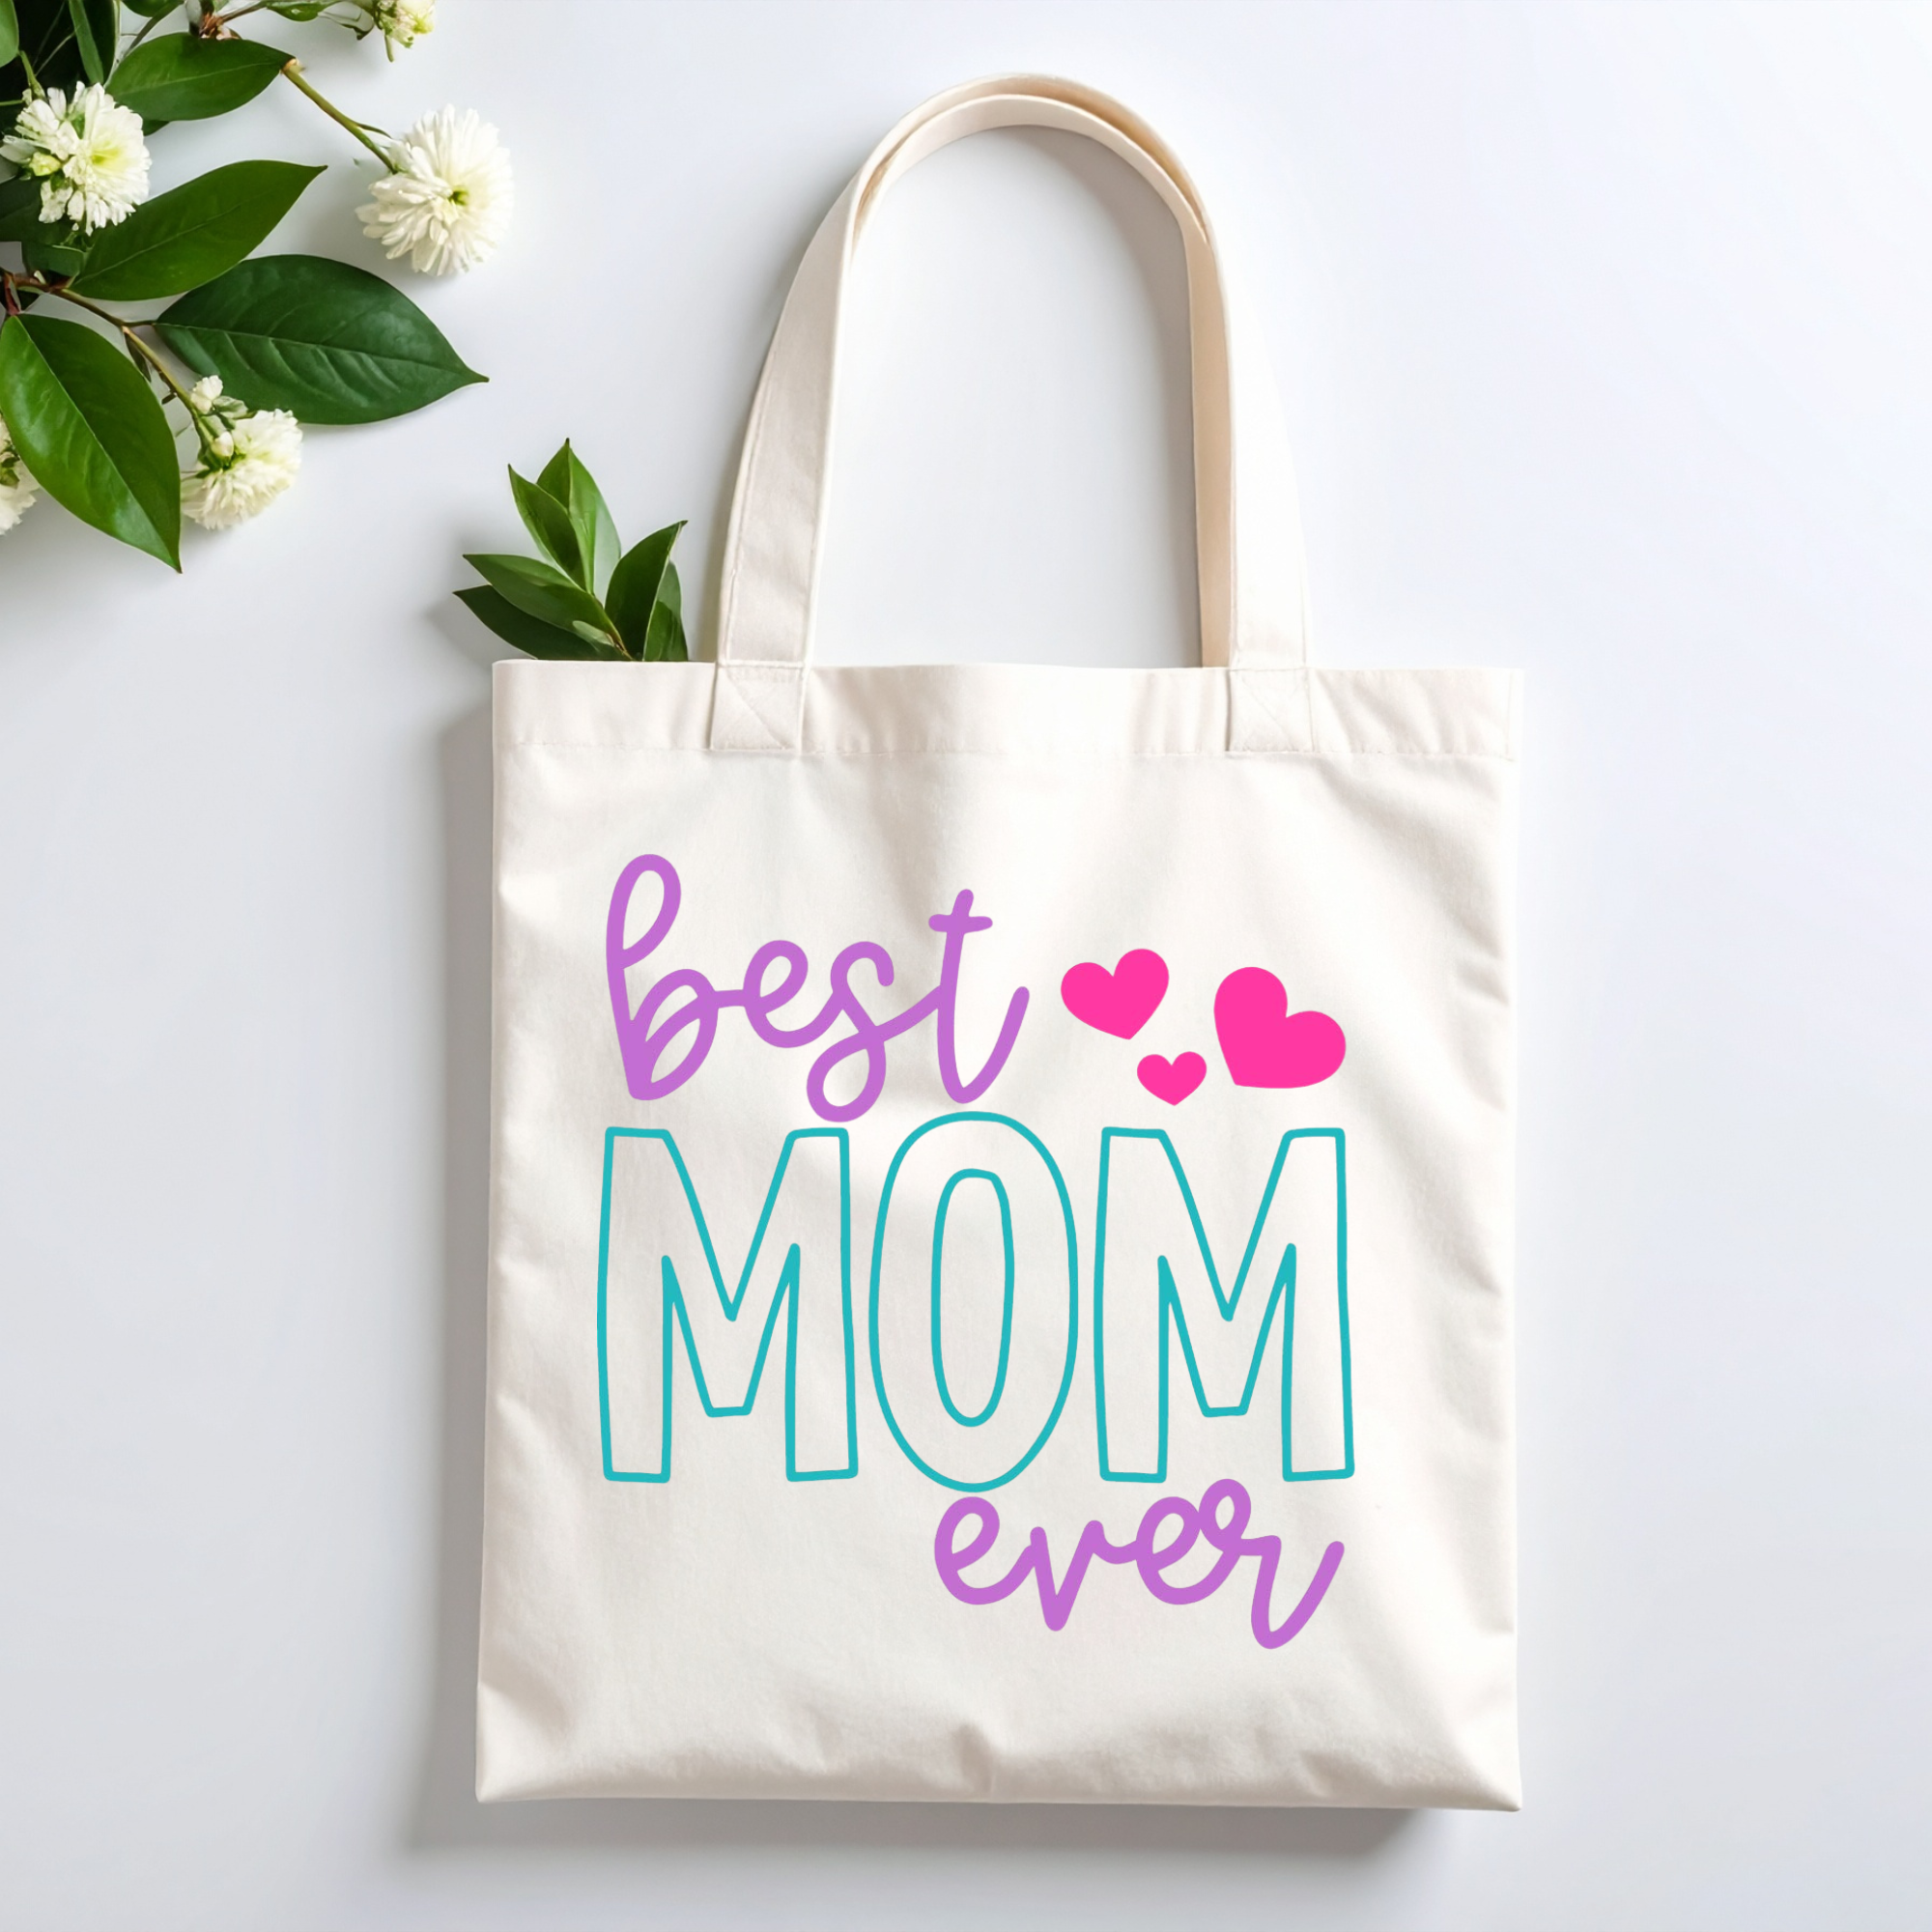
If you want to add this SVG to a canvas tote using HTV, my Layering HTV tutorial is a great starting place.
How to Make a Best Mom Ever Tote with HTV
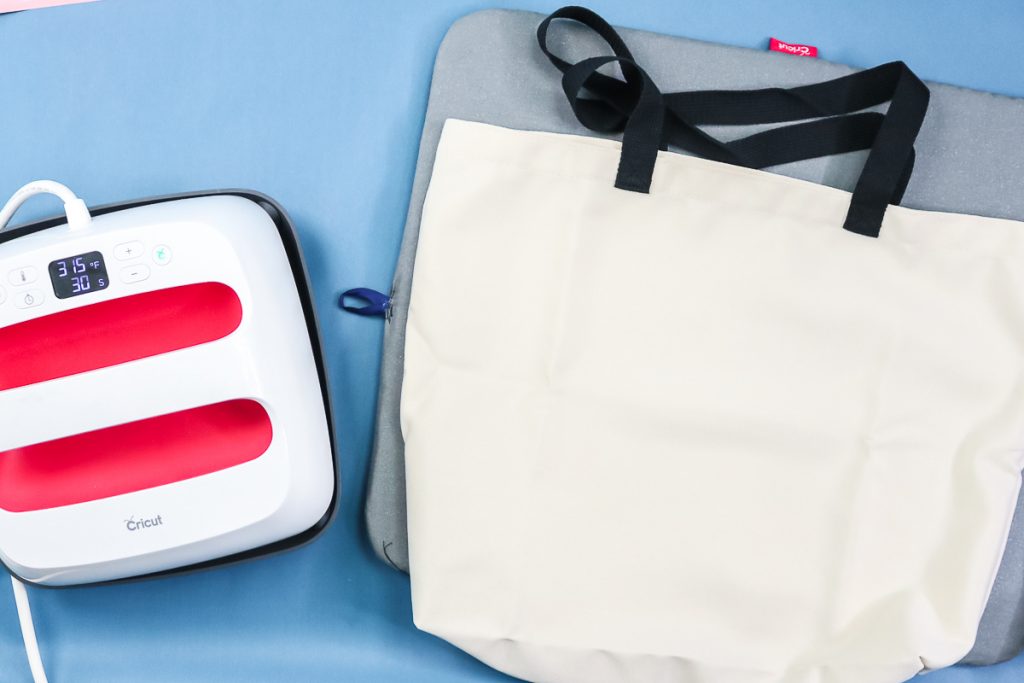
To make a Best Mom Ever tote, begin by gathering the supplies.
I am using HTV and a purchased tote bag for this project, but you can make signs, shirts, flags, ornaments, etc, with this design. You could also use this design to create sublimation projects.
Supplies Used
- Free Best Mom Ever SVG
- Cricut Machine
- Cutting Mat
- Weeding Tool
- HTV
- Brayer
- EasyPress
- EasyPress Mat
- Tote Bag (or other blank)
Step 1 – Download the Free Best Mom Ever SVG File
To download the file, click here and enter your name and email address. If you've already signed up for emails, you will not be signed up for anything extra. The file will be sent directly to your inbox.
Download the file to your computer. For Design Space, you'll want to use the SVG file. I've also included JPG and PNG files that you can use for sublimation or printed projects.
For today's project, I'm using a Cricut machine.
Step 2 – Upload the Best Mom Ever SVG into Design Space
Upload the SVG file into Design Space. If you haven't done that before, my How to Use an SVG with Design Space tutorial will help.
Step 3- Measure the Blank
I am using a tote bag for today's project. In order to make sure the design will fit on the tote the way we want, we need to measure the height and width.
Remember, unless your bag has a flat bottom, when the bags are full, the bottom part of the bag side is likely to round out.
I like to place the bottom of my design above the bottom 1/4 of the side to make sure the entire design can be seen.
Whether you're making a Mother's Day tote like I am or adding this SVG to a shirt, make sure you measure your blank. I am measuring both the height and width to ensure my design will fit the sign perfectly.
Step 4 – Adjust the Design for Your Blank
With the design on the canvas, you can resize the image to fit your blank. Remember to select all the layers before resizing so they'll all resize appropriately.
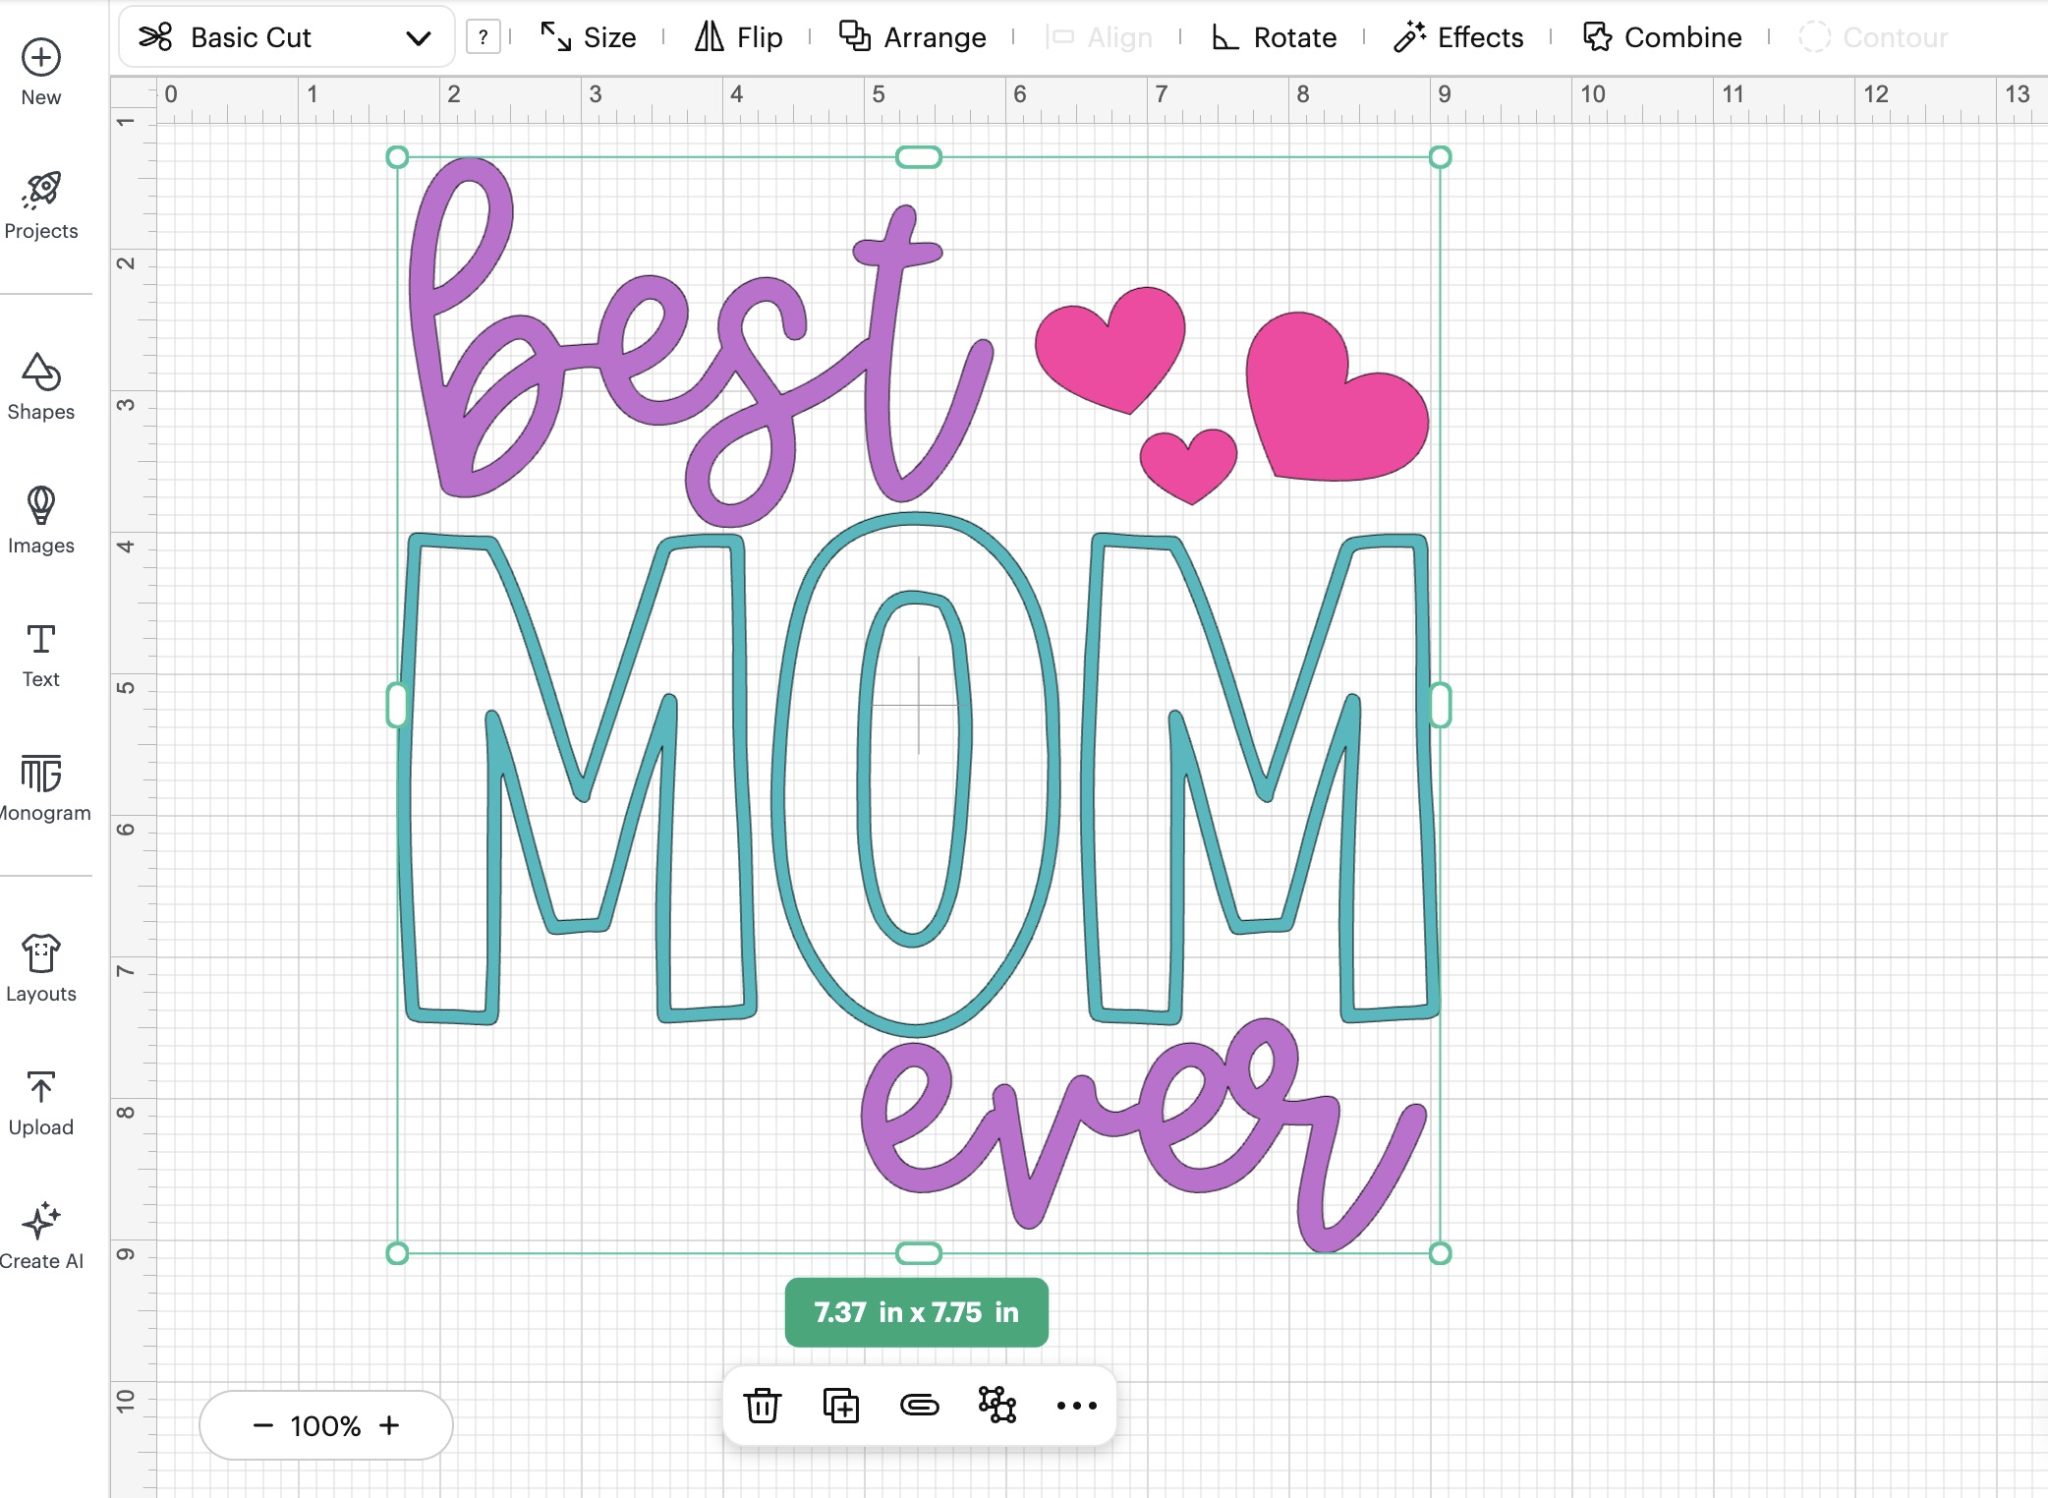
Remember – the colors on the canvas do not dictate the color of your project. The color HTV you add to the mat will be the color of your project.
If your tote is a different shape or size from mine, you can unlock the proportions when resizing. As long as you don't change the size too much, it shouldn't distort the image.
Step 5 – Cut Out the HTV
Now, we're ready to cut out the HTV.
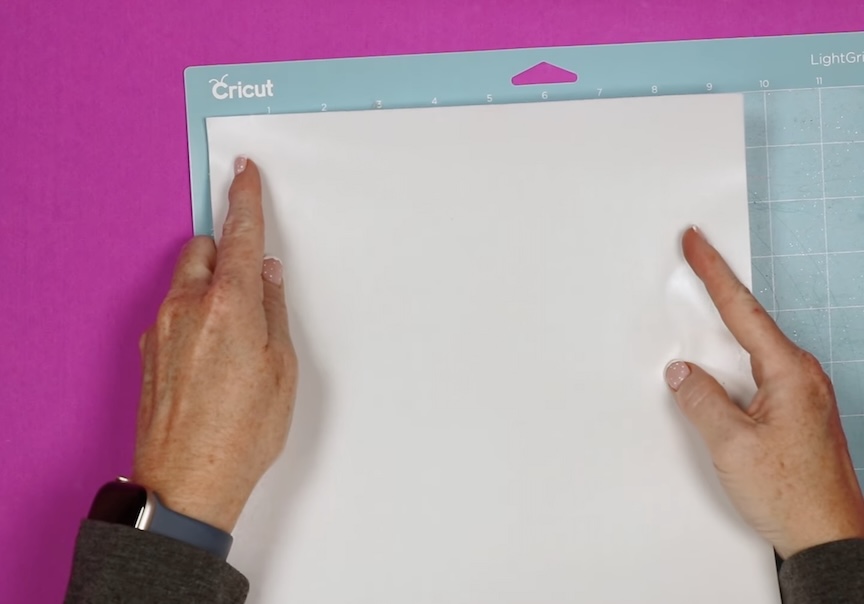
Load the iron-on material onto the cutting mat, shiny side down. I like to use a brayer to make sure the HTV is stuck to the mat really well.
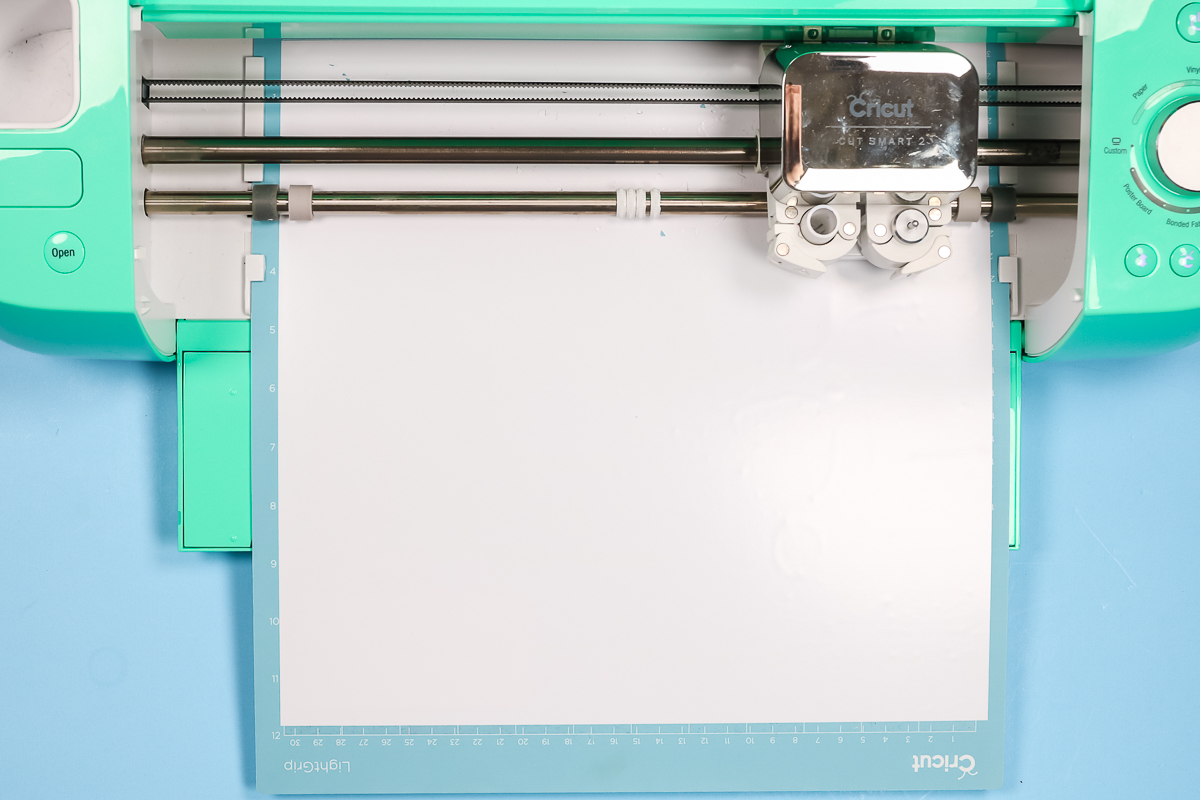
Load the mat into the machine.
You use the Fine Point Blade to cut HTV, so you can use any Cricut machine; the only limitations would be size restraints on Joy and Joy Xtra.
Select the material setting that matches the HTV you're using, and press Go.
Anytime you use a new machine or material, make sure to do a test cut. I always recommend a test cut if you have made any changes, including replacing the blade.
Step 6 – Weed Away Excess Vinyl
Use a weeding tool to remove all the excess Iron-on. Don't forget the inside pieces, including the insides of the letters.
Repeat these steps for each color of HTV.
Step 7 – Locate the Design on the Tote Bag
Preheat your tote before adding the HTV. Moisture in your blank can cause issues with the adhesive sticking.
The great thing about using HTV for projects like this is that you have the ability to locate your design perfectly.
Make sure to avoid the seams of the handle. If needed, place the EasyPress mat inside the tote to help lift the pressing area above the seams.
The back of the HTV material is not sticky until heat is applied. Relocate the design as needed until it's exactly where you want it, and then press it down.
If you find the carrier sheet isn't sticky enough, you can use heat-resistant tape to secure it in place.
Depending on your layered design, you may need to press the different colors one at a time. With this design, I can trim the carrier sheet close to the press it all at once.
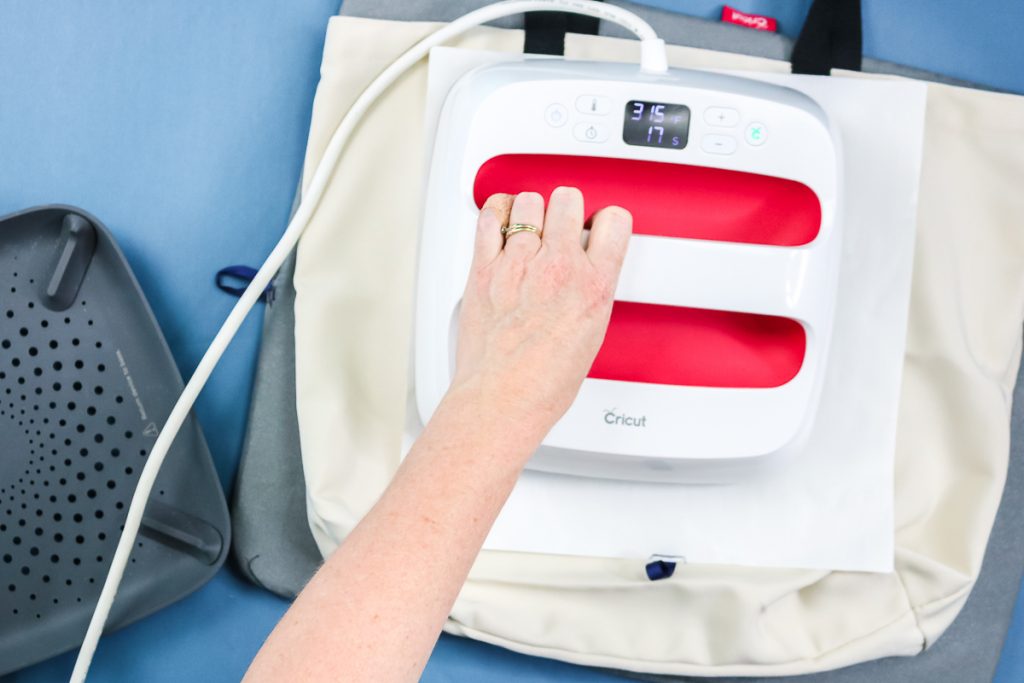
Step 8 – Apply Heat
I am using my EasyPress and EasyPress Mat for this project.
Because I trimmed the carrier sheet, I can press the entire design at one time.
When the time is up, remove the heat and follow the instructions for your HTV material. If it is a cold peel, allow it to cool completely before trying to remove the carrier sheet.
Even if your HTV says hot or warm peel, allow it to cool for at least a few seconds to allow the adhesive to bond to the fabric.
Step 9 – Remove HTV Carrier Sheet
Slowly remove the carrier sheet, making sure the HTV is stuck down really well.
After removing the carrier sheet, repeat the application process for all of the other colors of HTV. You will need to cover the HTV that is already pressed to your bag with a Teflon sheet or similar when layering.
Step 10 – Enjoy Your Finished Best Mom Ever Tote Bag
Once all of your layers are pressed, this one is ready to use or give as a gift.
I really like how this tote bag turned out, and I love how versatile this free Best Mom Ever SVG is.
NOTE: Because the SVG is in different layers, you don't have to have it laid out in a square as I have it. If your blank is more rectangular, you could rearrange it to fit the blank as I did below.
I hope you've had fun making this tote bag with me. Don't forget to get the free SVG today so you can make your own projects with it.
From tote bags to signs and mugs to notebooks, the possibilities are endless.
If you have any questions about making a tote bag with layered HTV, leave them in the comments, and I'll be happy to answer them for you.