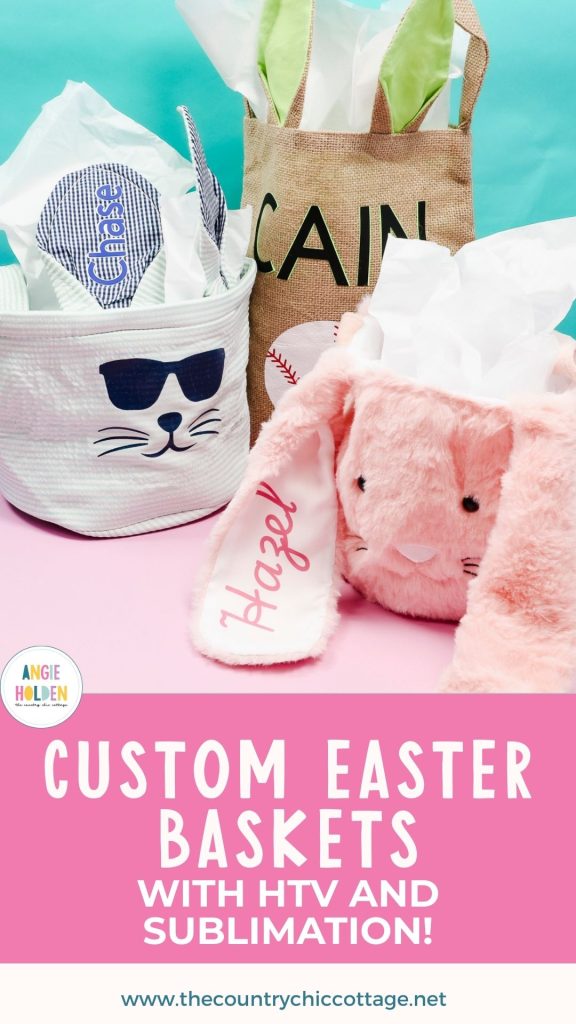
I'm so excited to show you how to make custom Easter baskets using sublimation and HTV. Whether you have a sublimation printer, a Cricut machine, or both, you can make these baskets.
Little ones will love having personalized Easter baskets that they can use year after year.
Today, I'm using sublimation and HTV. DTF and white toner prints are other options for making custom Easter baskets. You can also use any type of HTV; it doesn't have to be Super Pop HTV.
Watch me customize each of these Easter baskets by pressing play on the video below.
How to Make Custom Easter Baskets
Making custom Easter baskets can be done in minutes using supplies you may already have on hand.
Whether you have a Cricut machine or a sublimation printer, I'll walk you through the process, and you'll have the cutest Easter baskets this year.
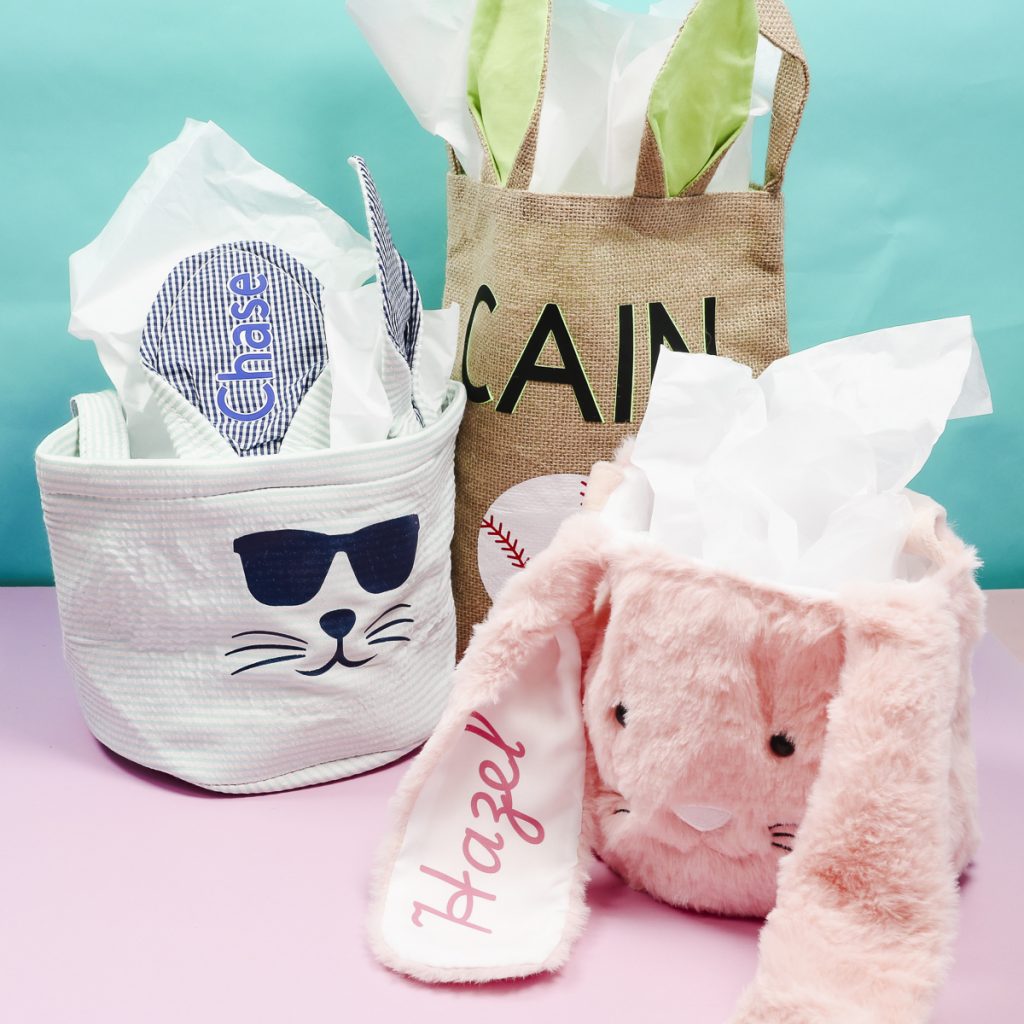
Supplies Used
NOTE: The supplies you use will depend on whether you're making a basket using sublimation or HTV.
Supplies for HTV Using a Cricut machine:
- Cricut Machine
- EasyPress Mini
- Heat-Resistant Mat
- Super Pop HTV
- HTV
- Lint Roller
- Weeding Tool
- Burlap Easter Bag
- Seersucker Easter Basket
Supplies for Sublimation Easter Basket:
- Fuzzy Bunny Basket
- Brother Sublimation Printer
- Sublimation Paper
- Lint Roller
- Protective Paper
- Paper Dispenser
- MakerFlo Heat Press
- Heat-Resistant Gloves
- Heat-Resistant Tape
- EasyPress Mini
- Heat-Resistant Mat
Custom Sublimation Easter Baskets
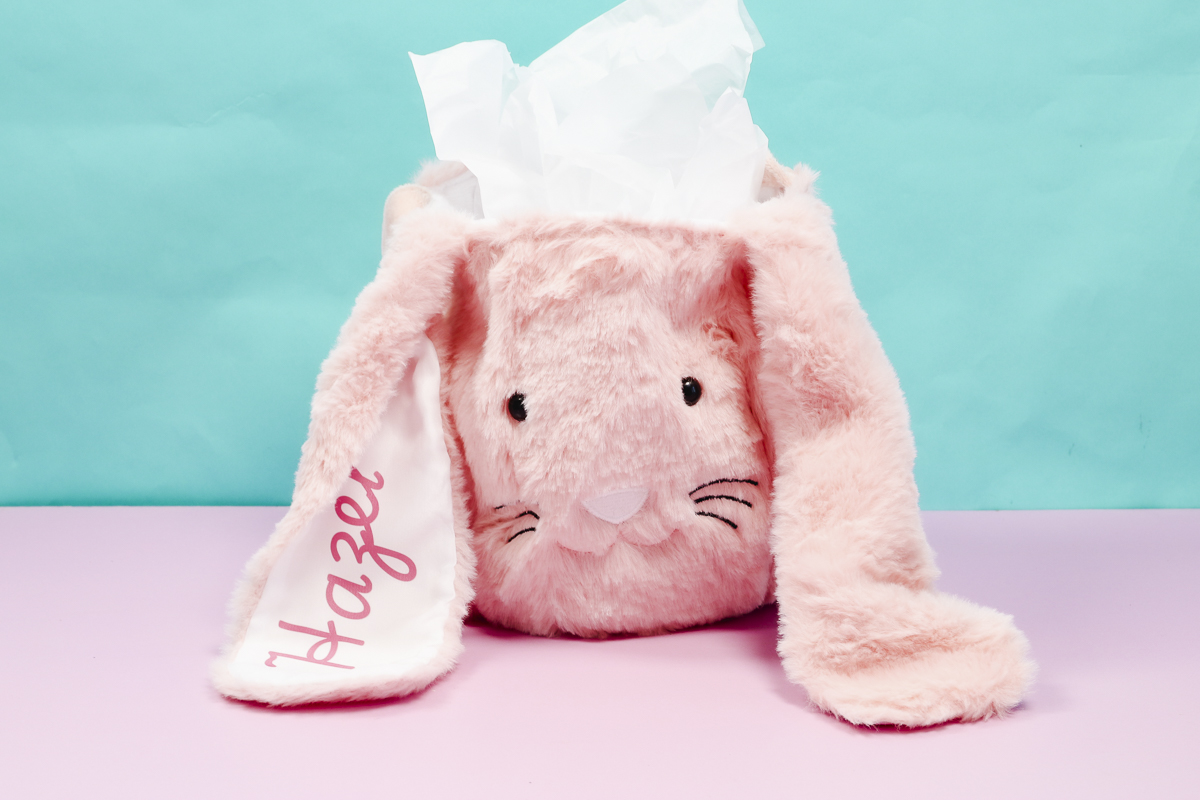
The first Easter basket I'm going to customize today is a plush bunny basket, and I'm going to use sublimation to add a name to the white part of the ear.
Step 1. Create a Sublimation Design in Canva
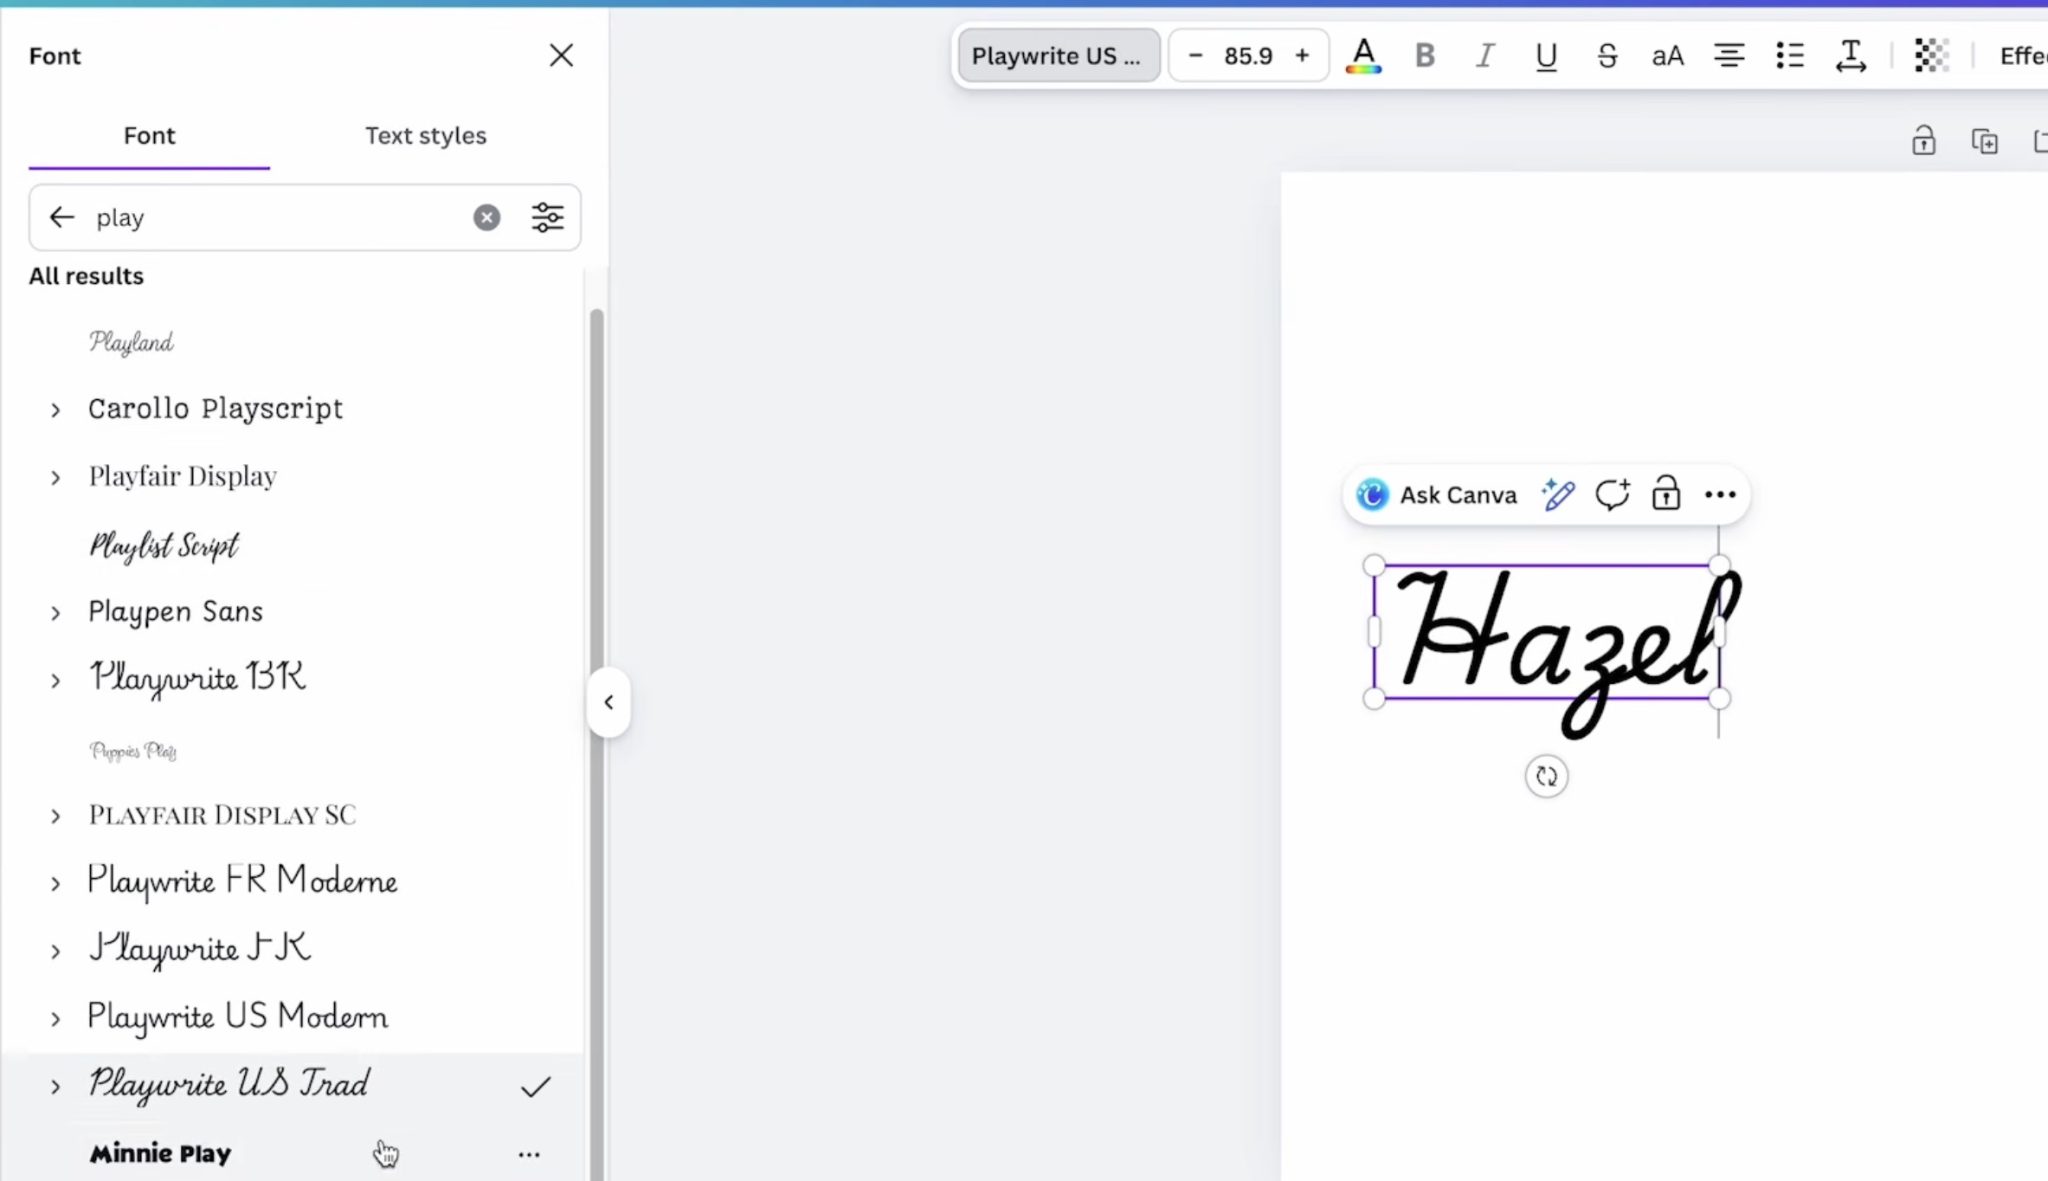
For sublimation designs, I like to create in Canva. Create a custom-sized canvas the same size as your sublimation paper. My paper is 8.5 by 11-inches so I have my canvas set to that size.
This design is very easy:
- Measure the ear of the basket so you know what size to make the name.
- Type the name.
- Choose the font you want to use. I used the Playwrite US Trad font.
- Resize the name to fit on the ear.
- Change the color to match or coordinate with the color of your bunny basket.
You cannot print directly from Canva. Click Share and then PDF for Print. I select CMYK because those settings work best with my Brother sublimation printer.
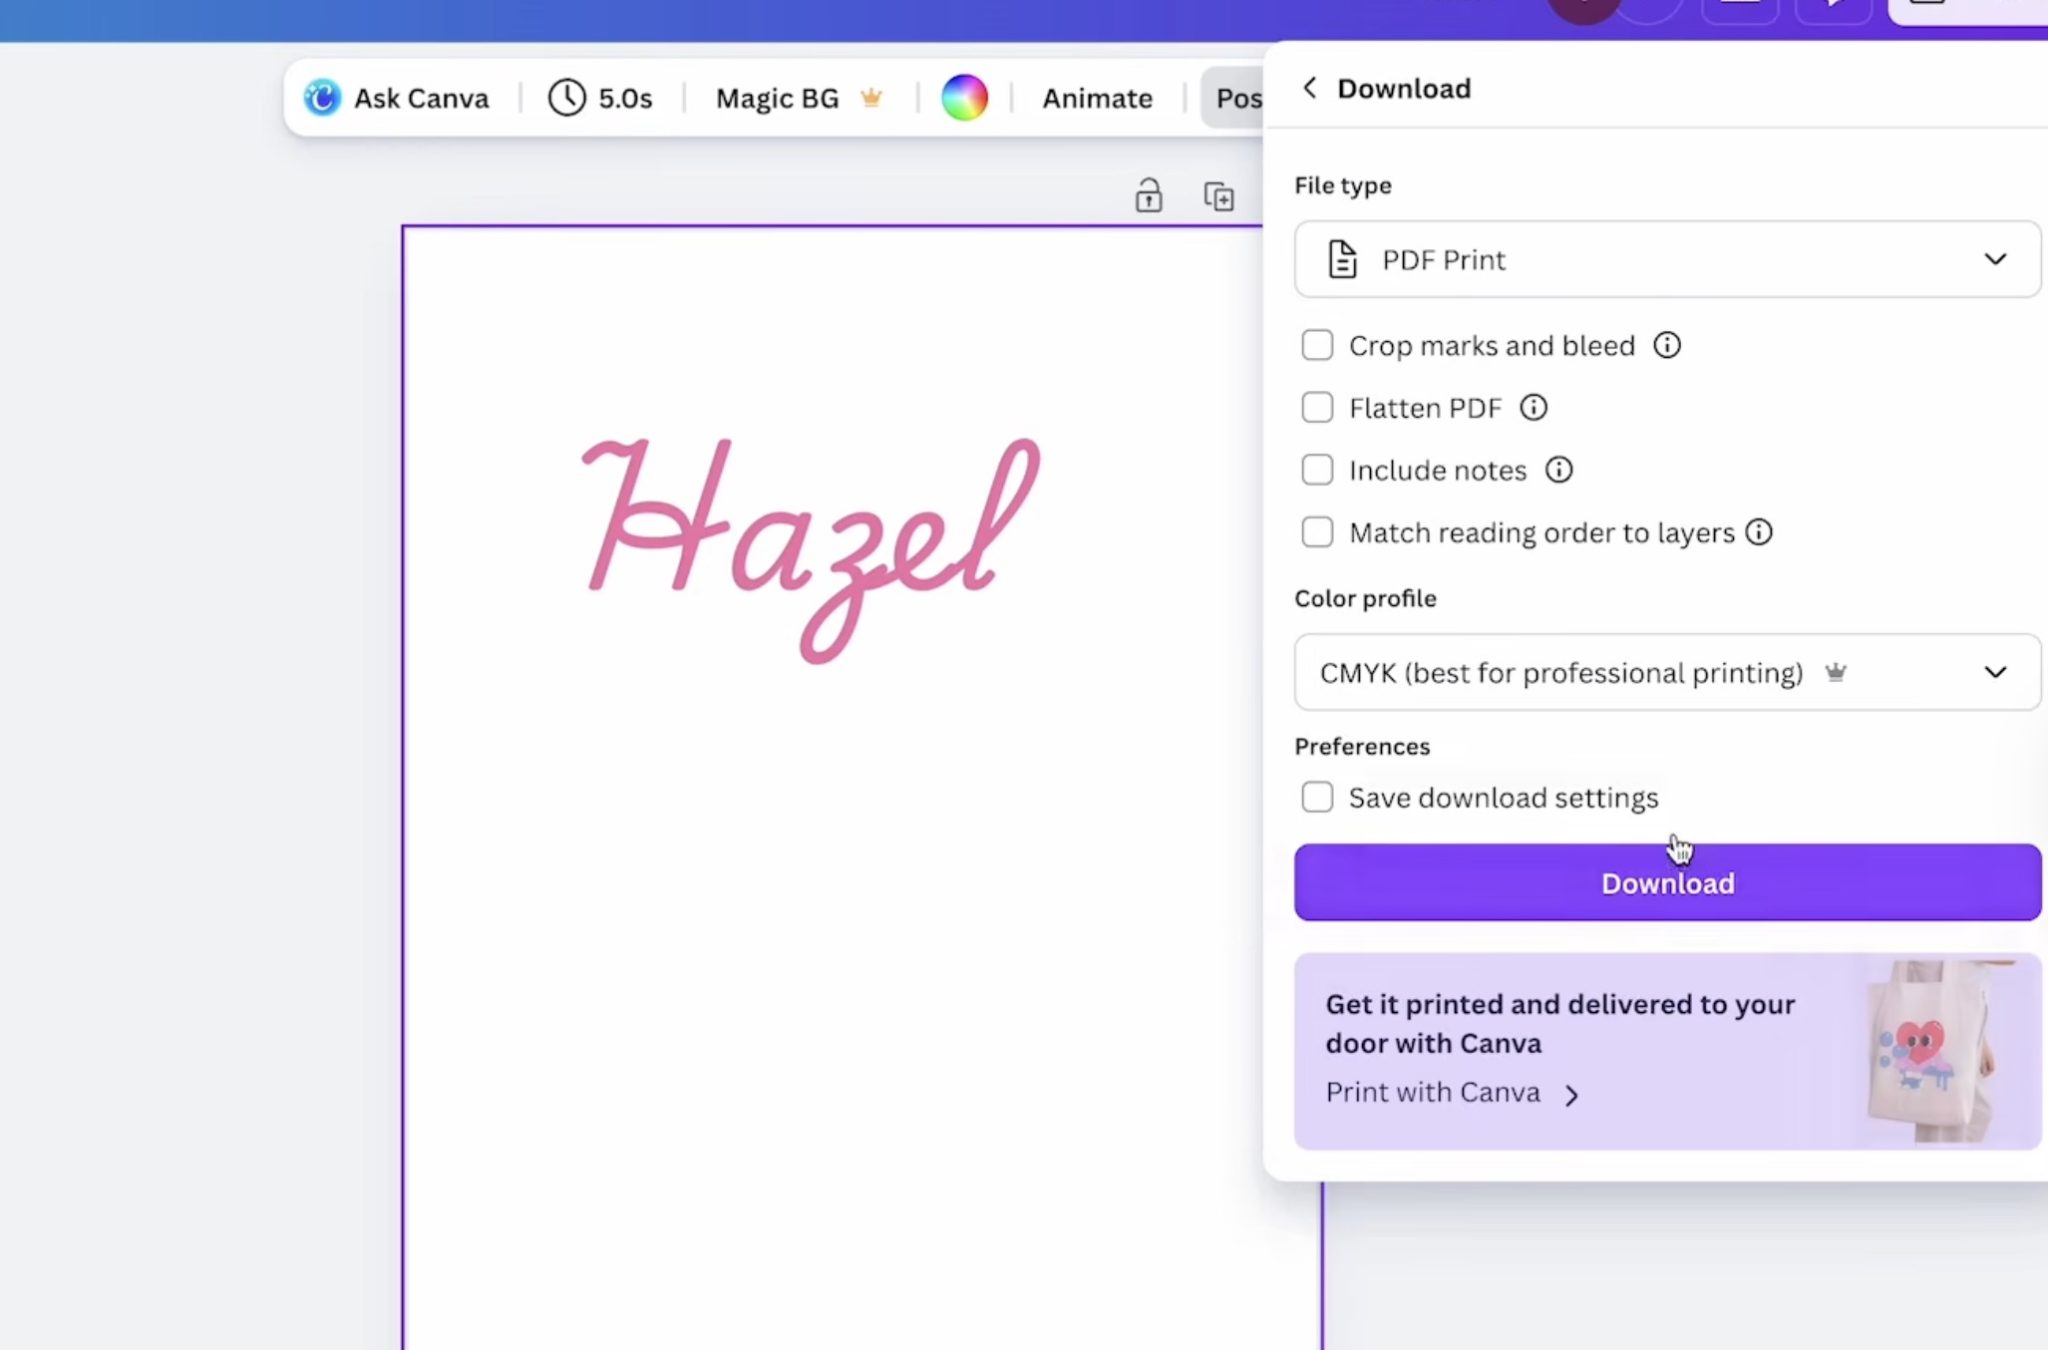
Find the file on your computer and send it to the printer. Make sure you mirror your design before printing.
With a sublimation printer, print on sublimation paper using sublimation ink.
Step 2. Add Sublimation Print to Ear
Decide which ear you want to put the design on and lint roll the surface to remove any hair, lint, dust, etc.
I am sublimating the white portion inside the ear since it's smooth and will sublimate well. You could try sublimating the fuzzy part of the ear, but I don't like the way sublimation looks on fuzzy fabrics.
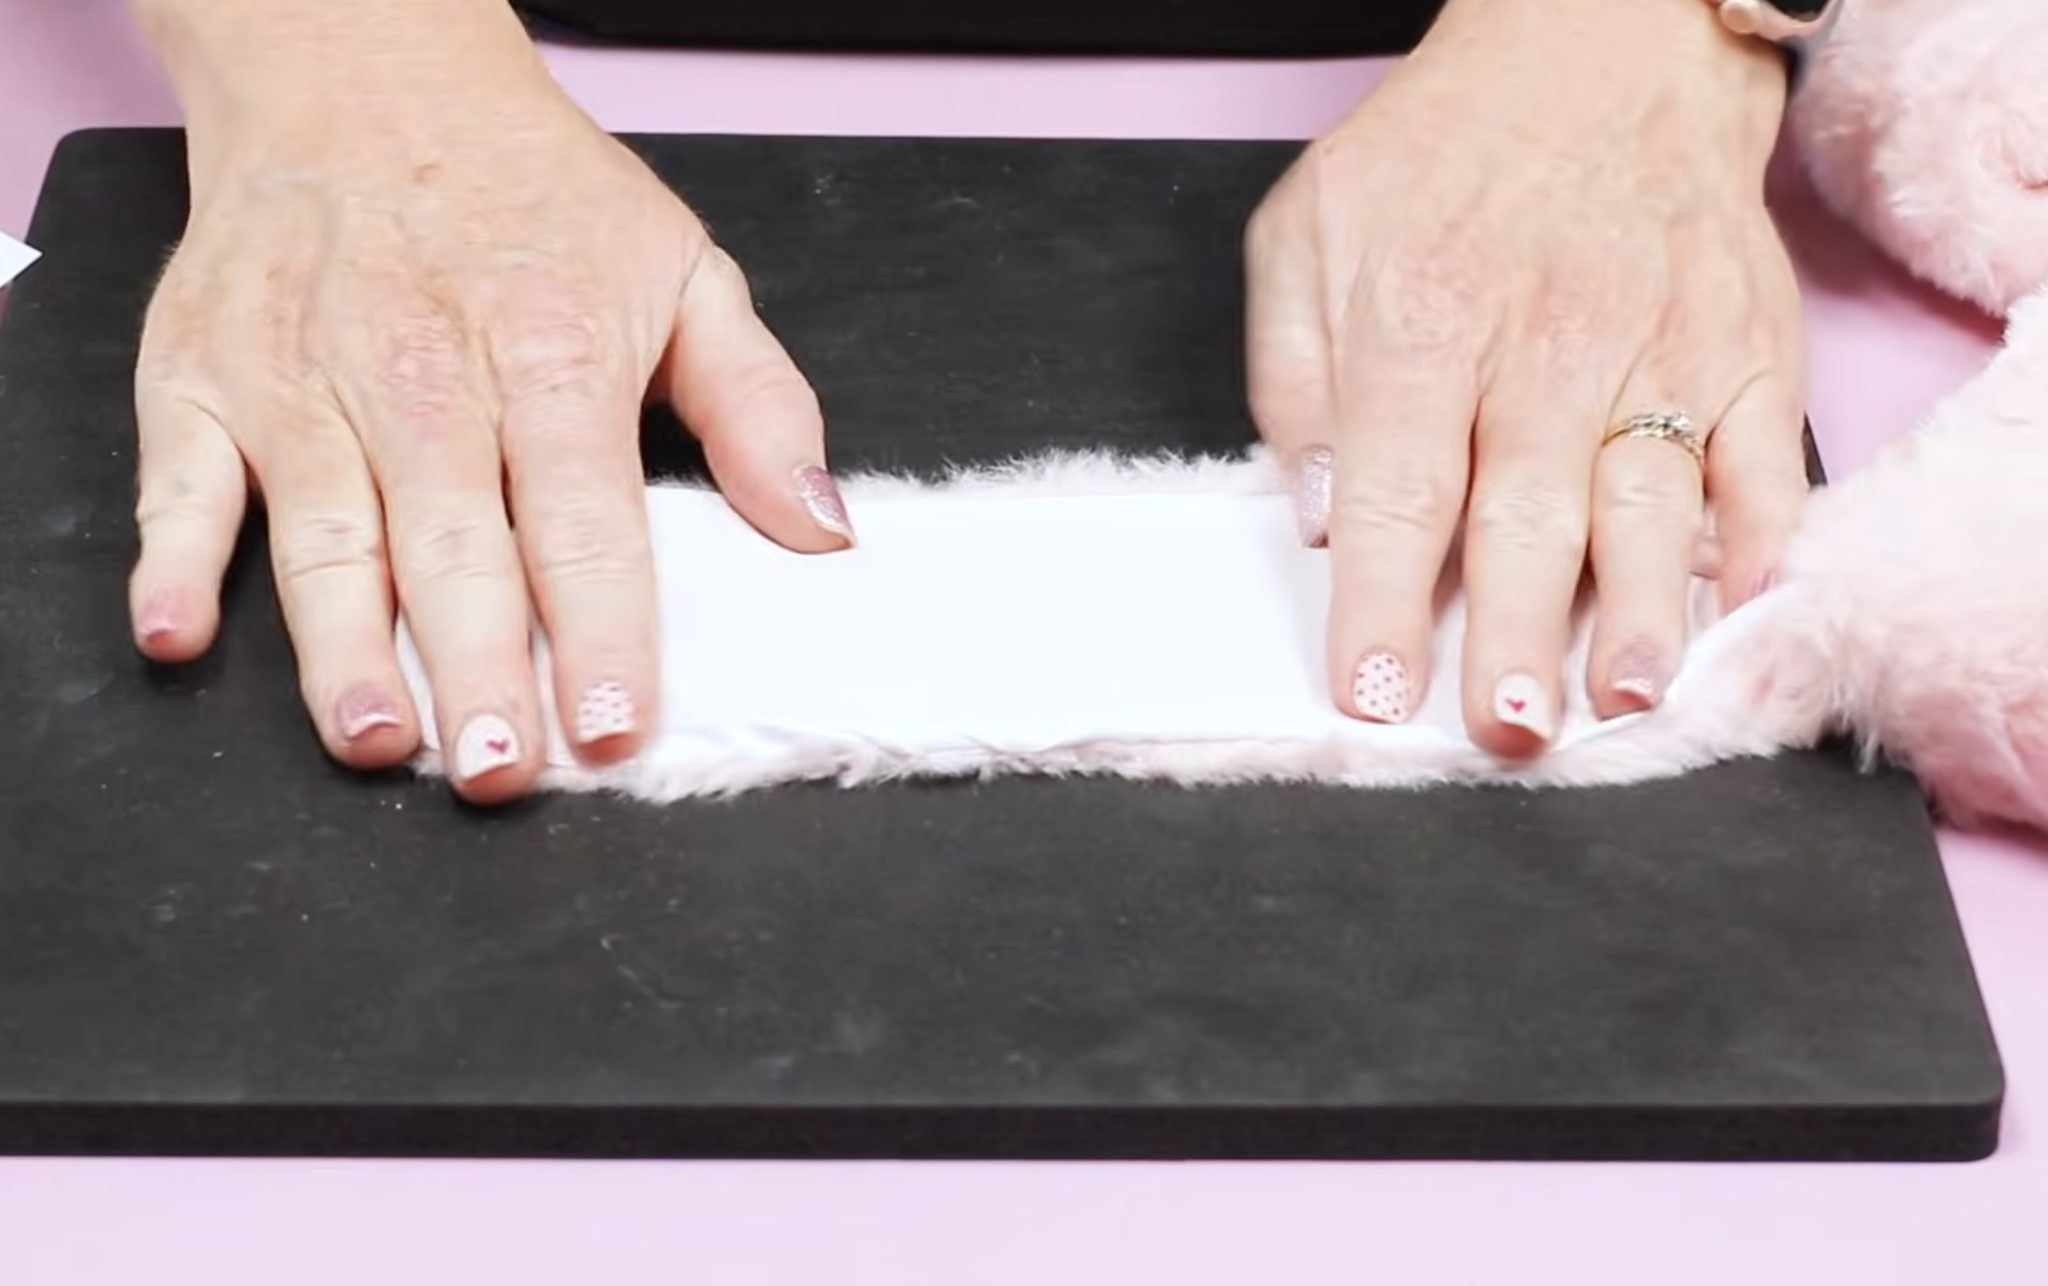
Preheat the EasyPress Mini to the third level because that is the temperature needed for sublimation projects. When the Mini is up to temperature, preheat the fabric to remove any moisture.
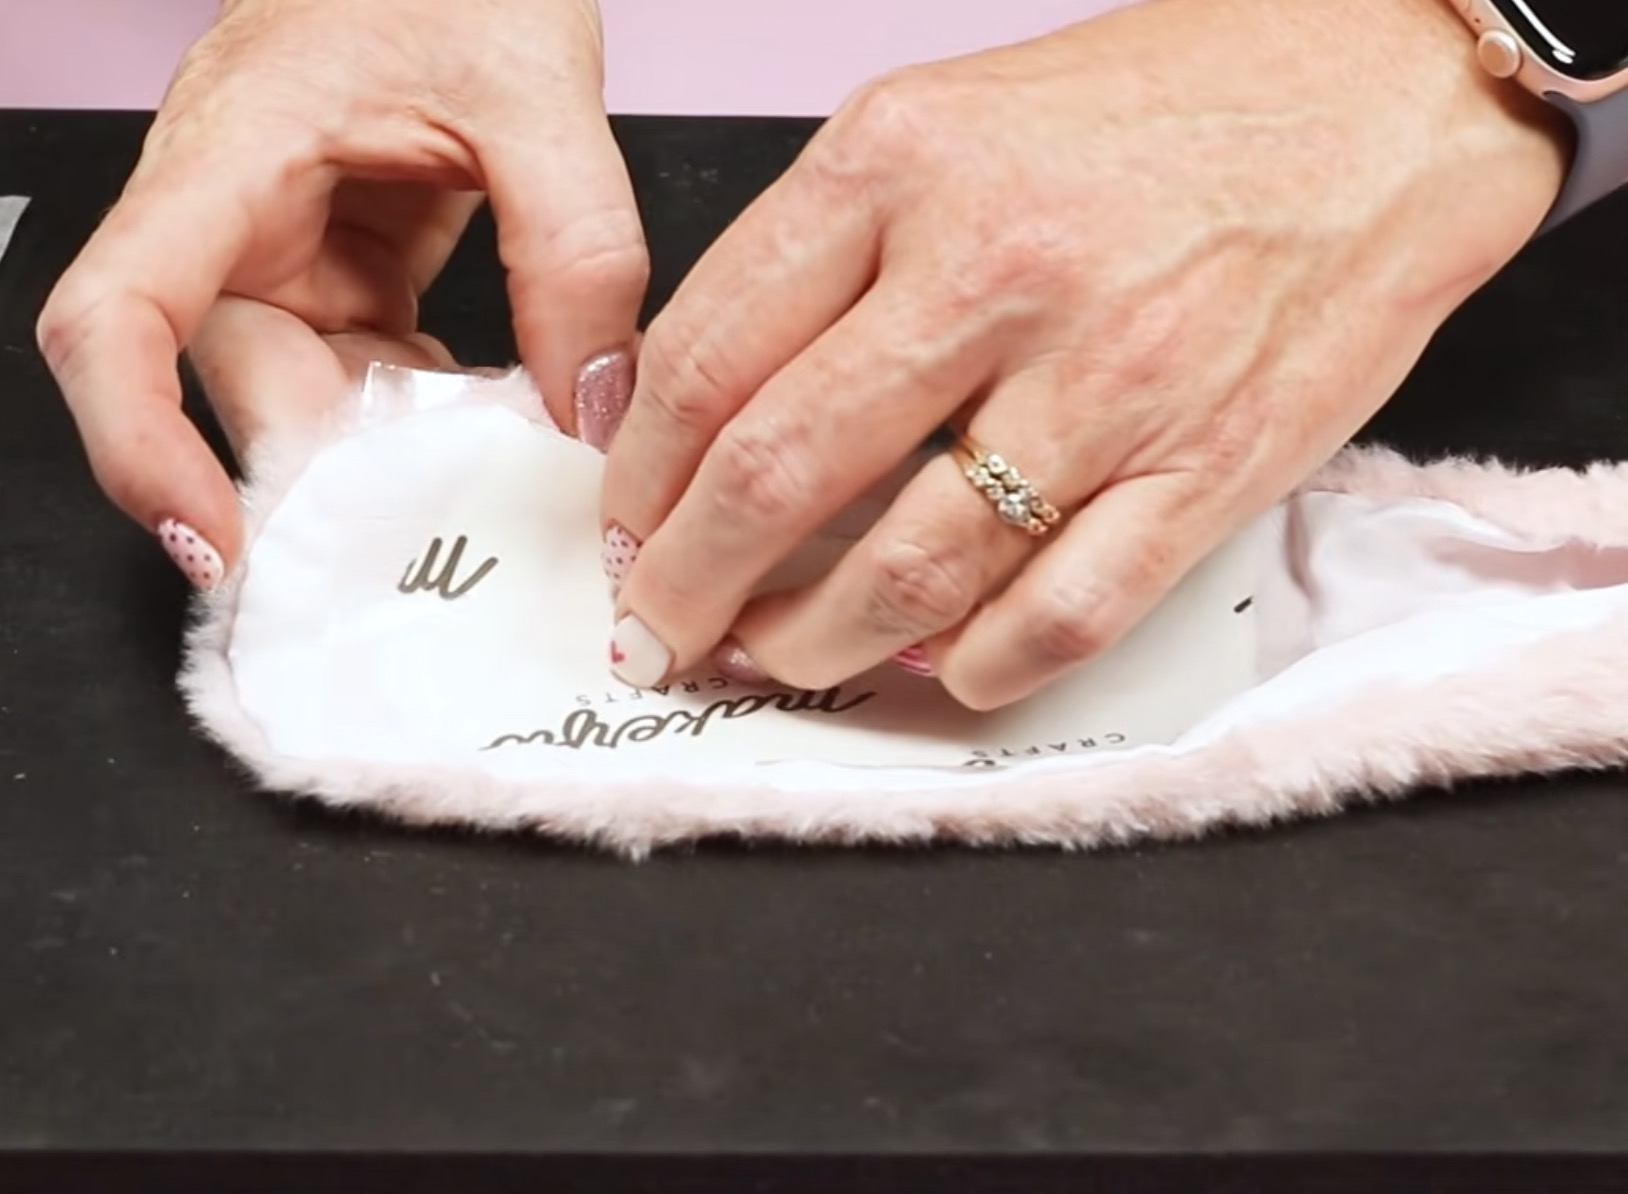
To help prevent pressing marks, I tear the paper around the design so there aren't harsh lines.
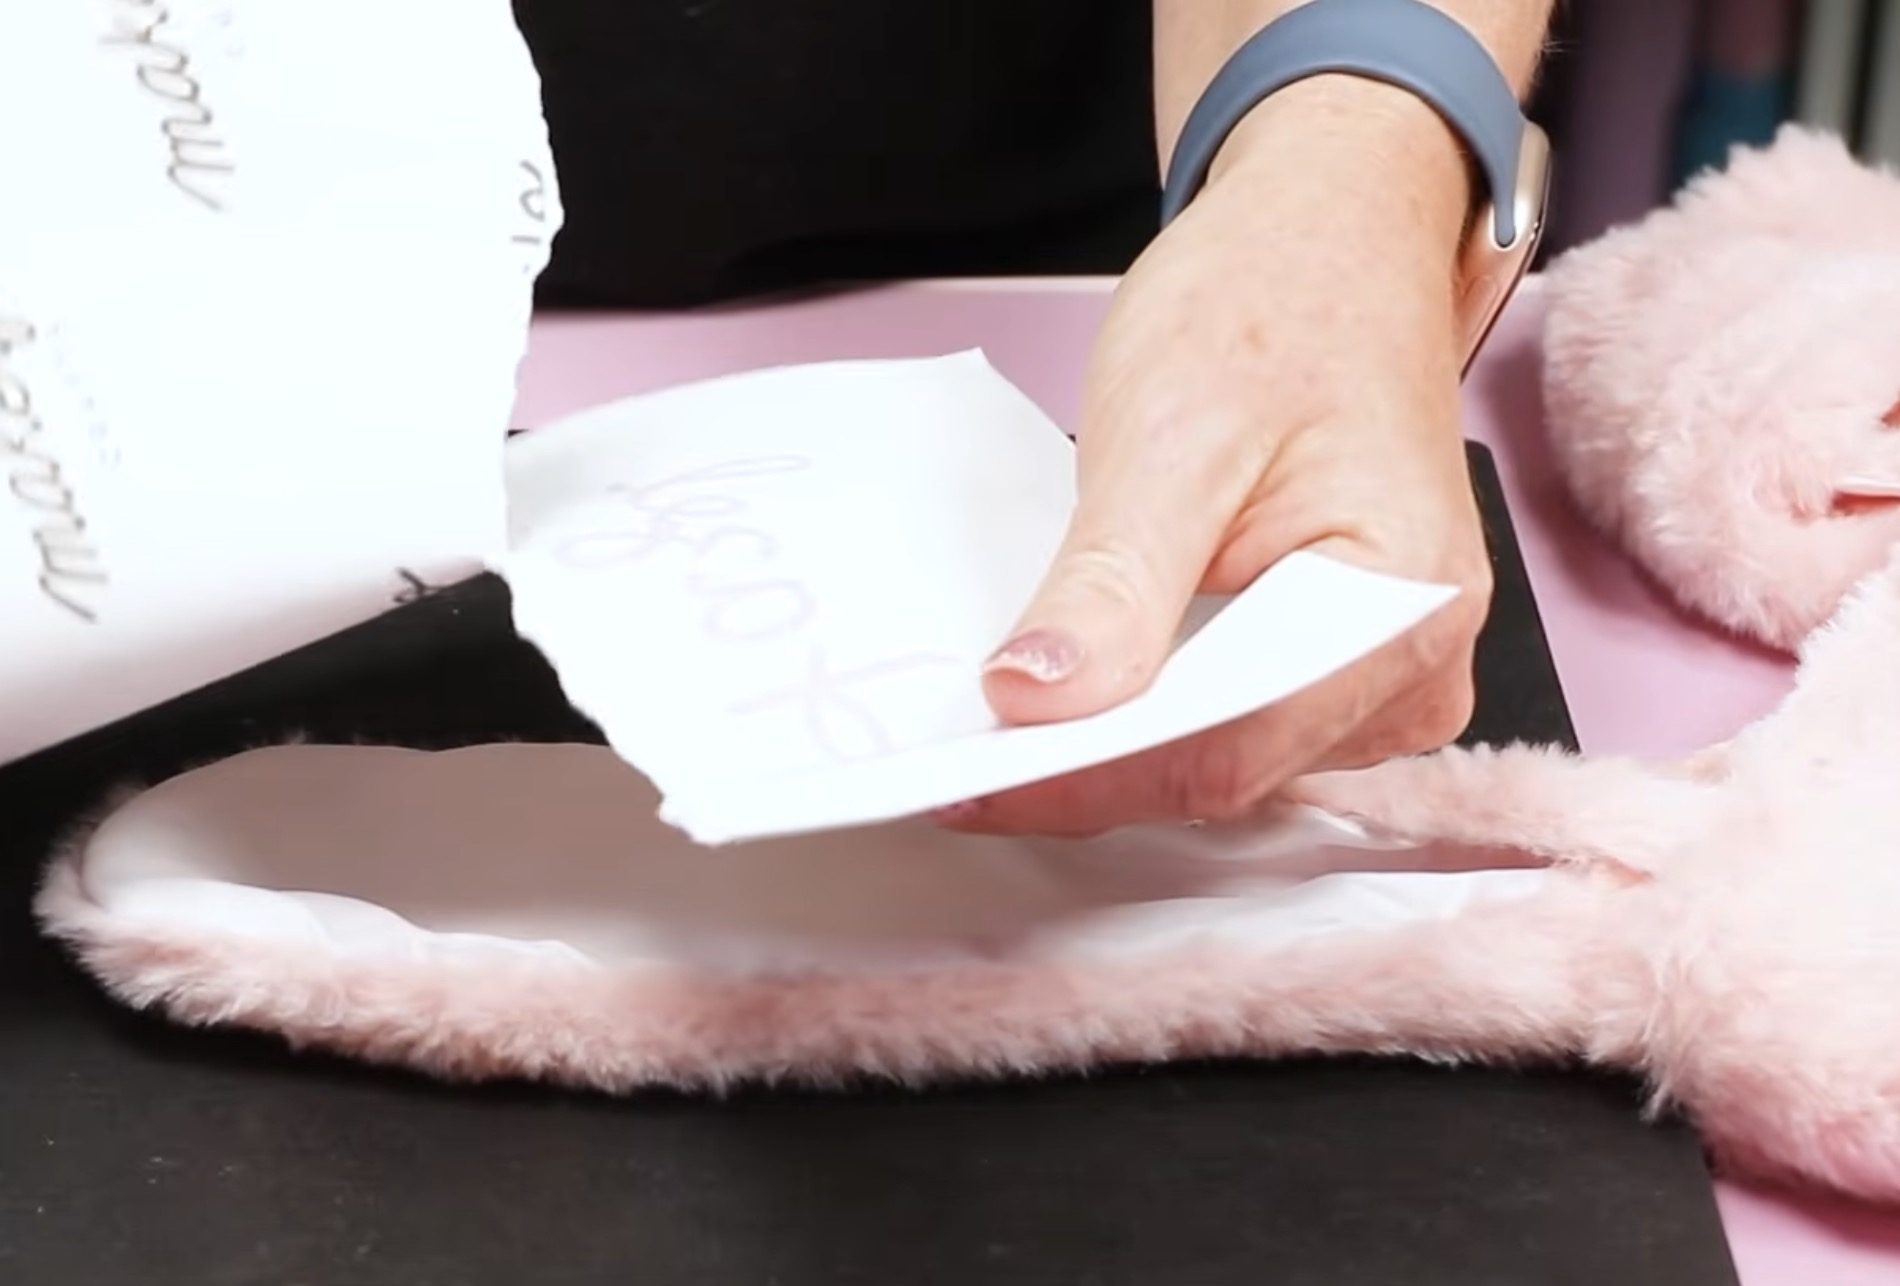
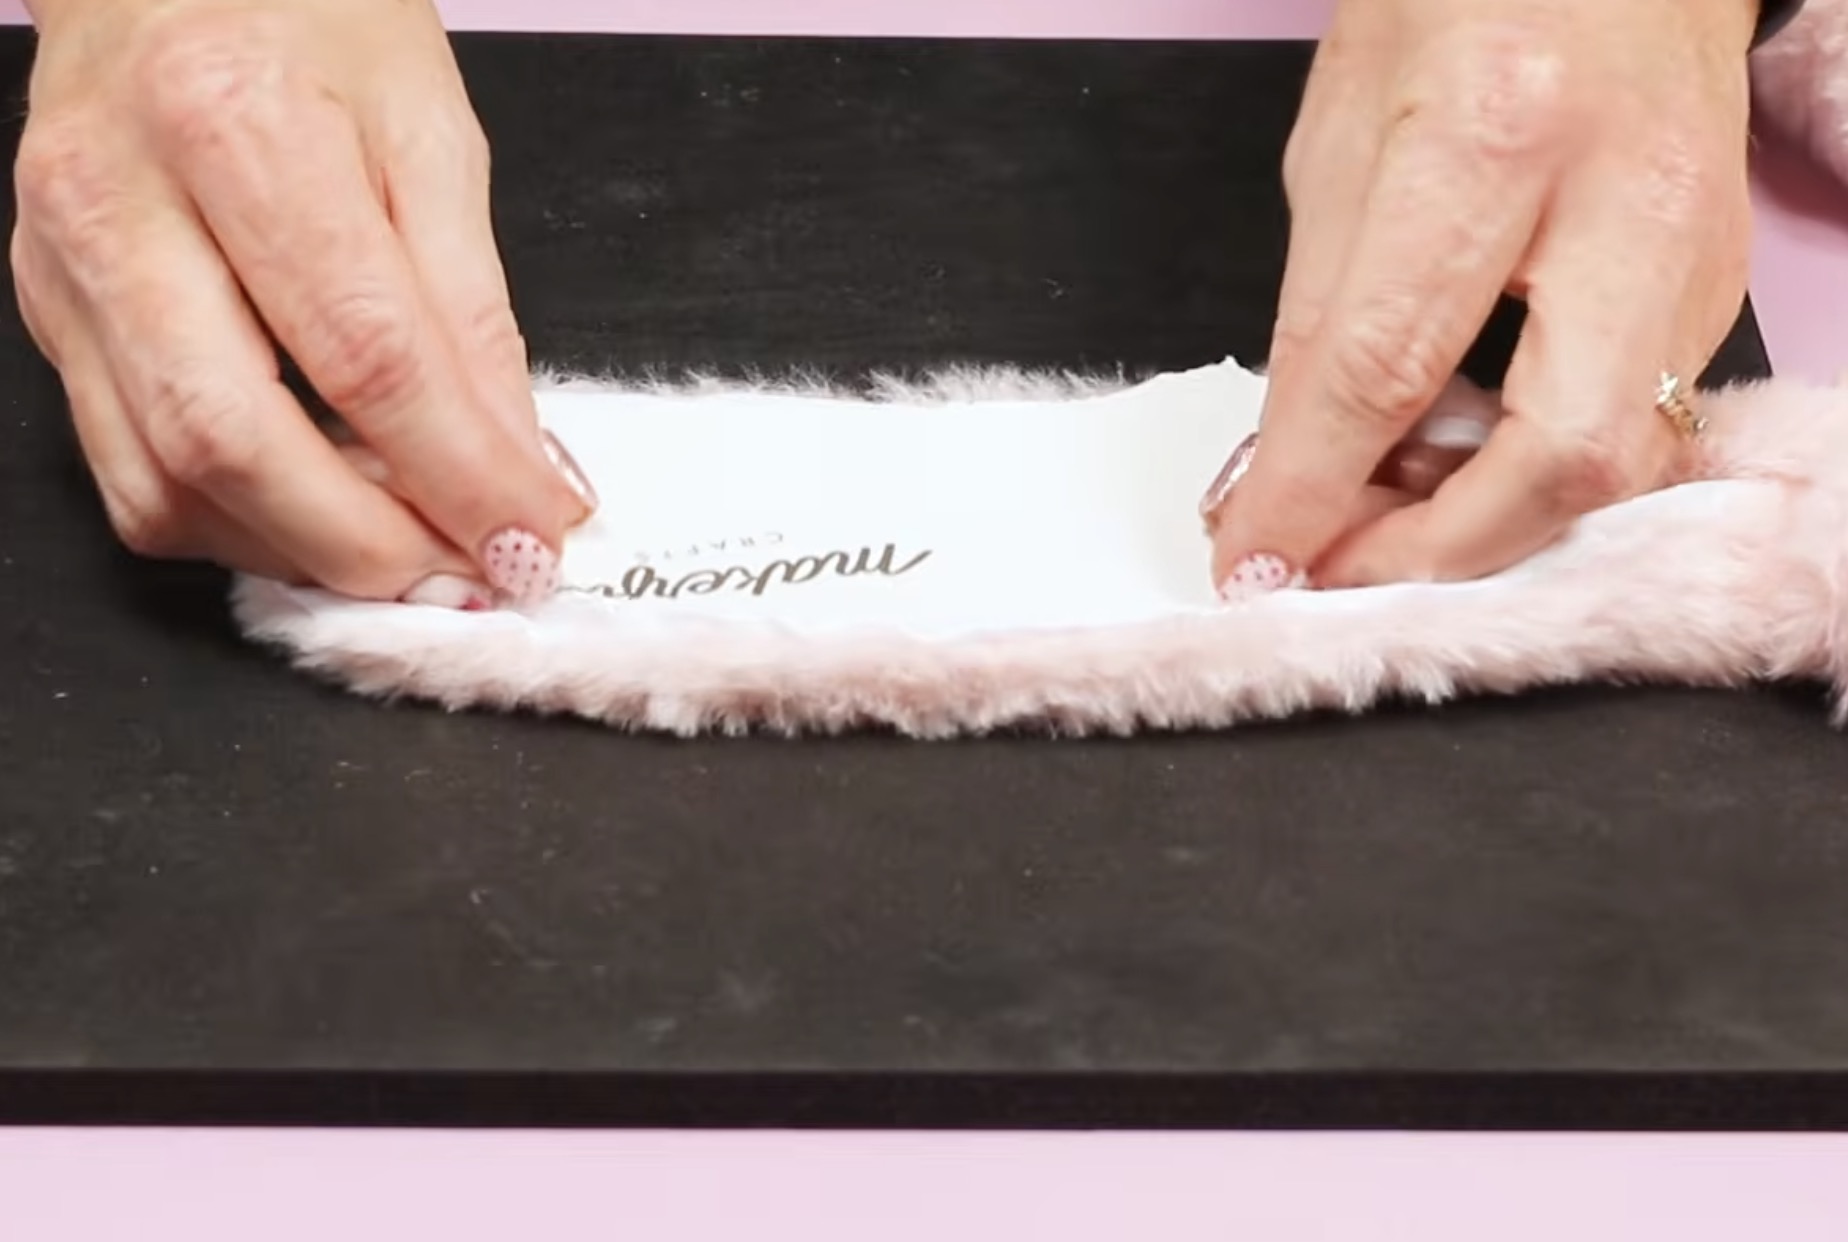
Locate the sublimation print on the ear and secure it in place with heat-resistant tape.
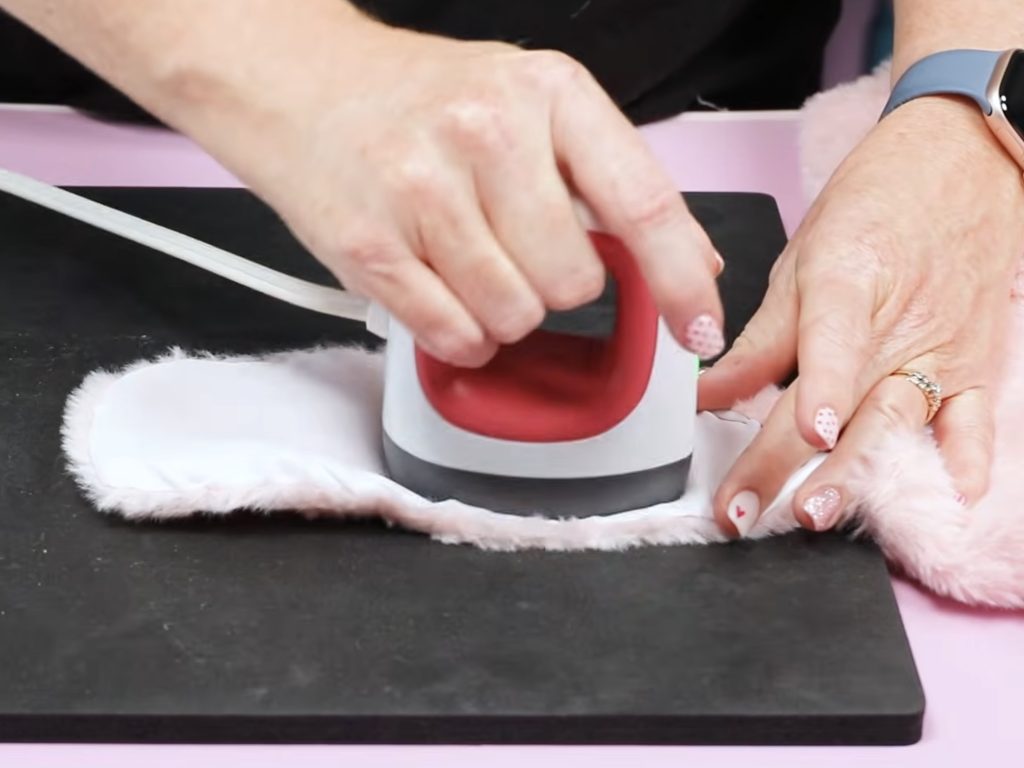
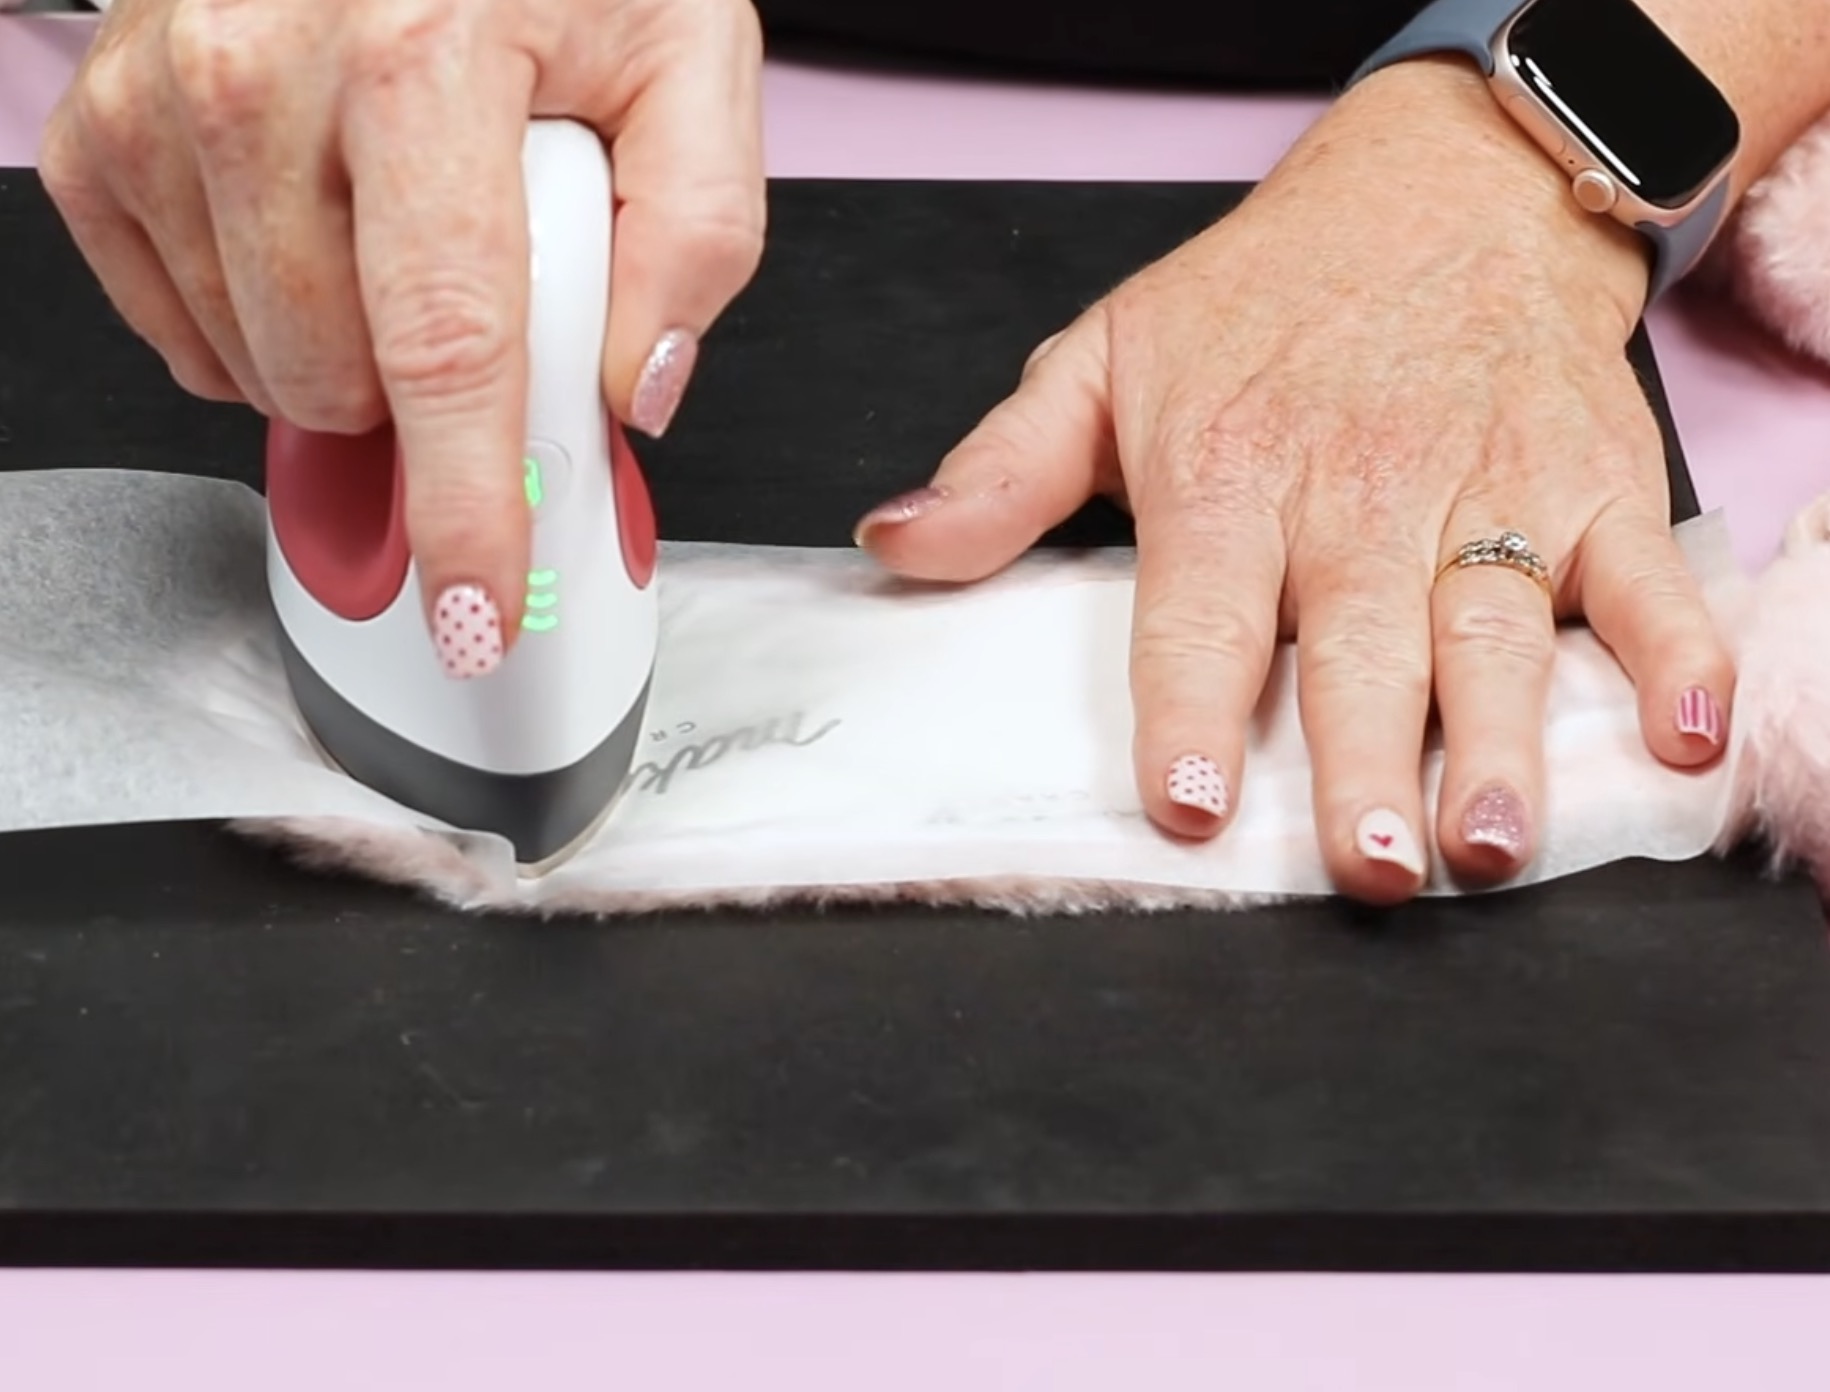
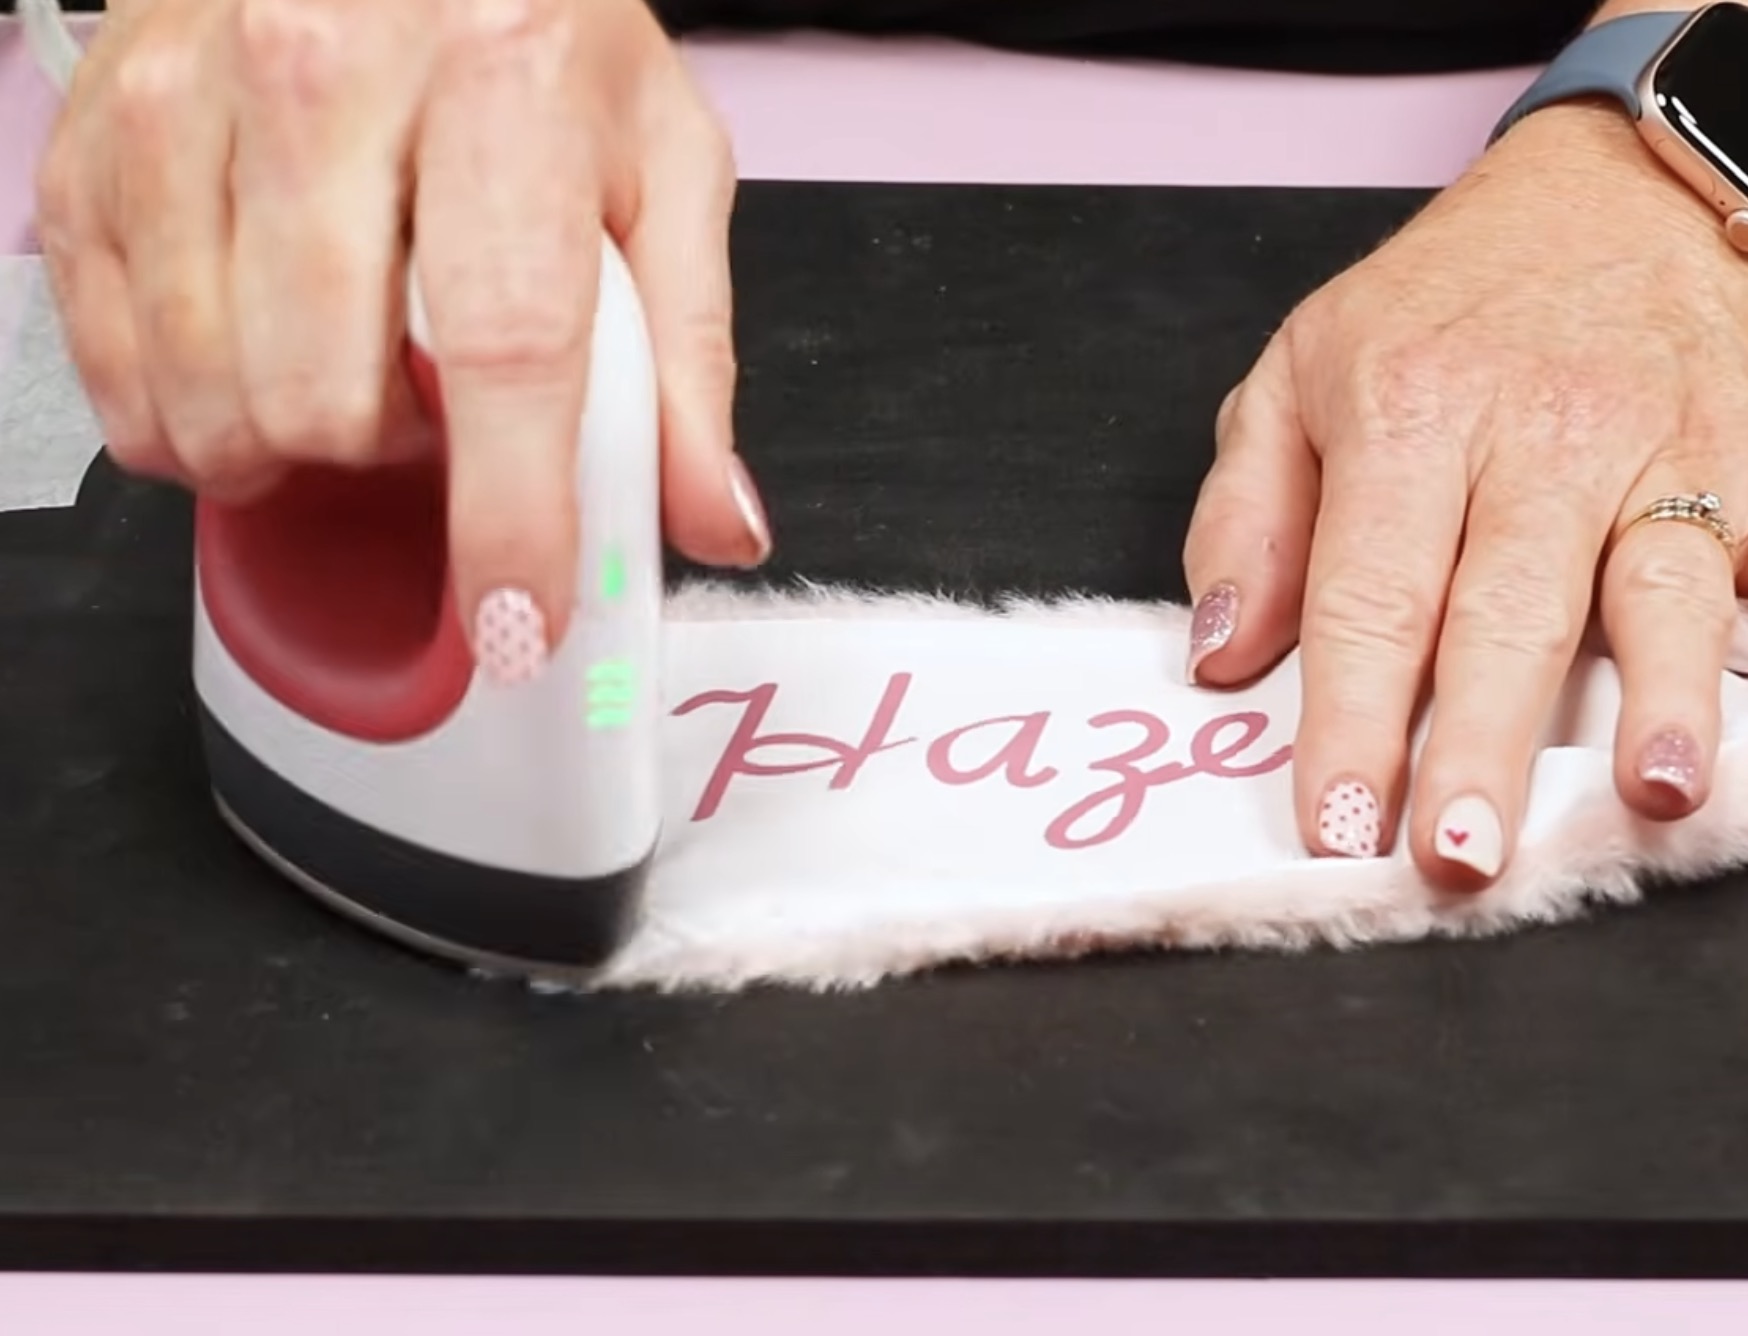
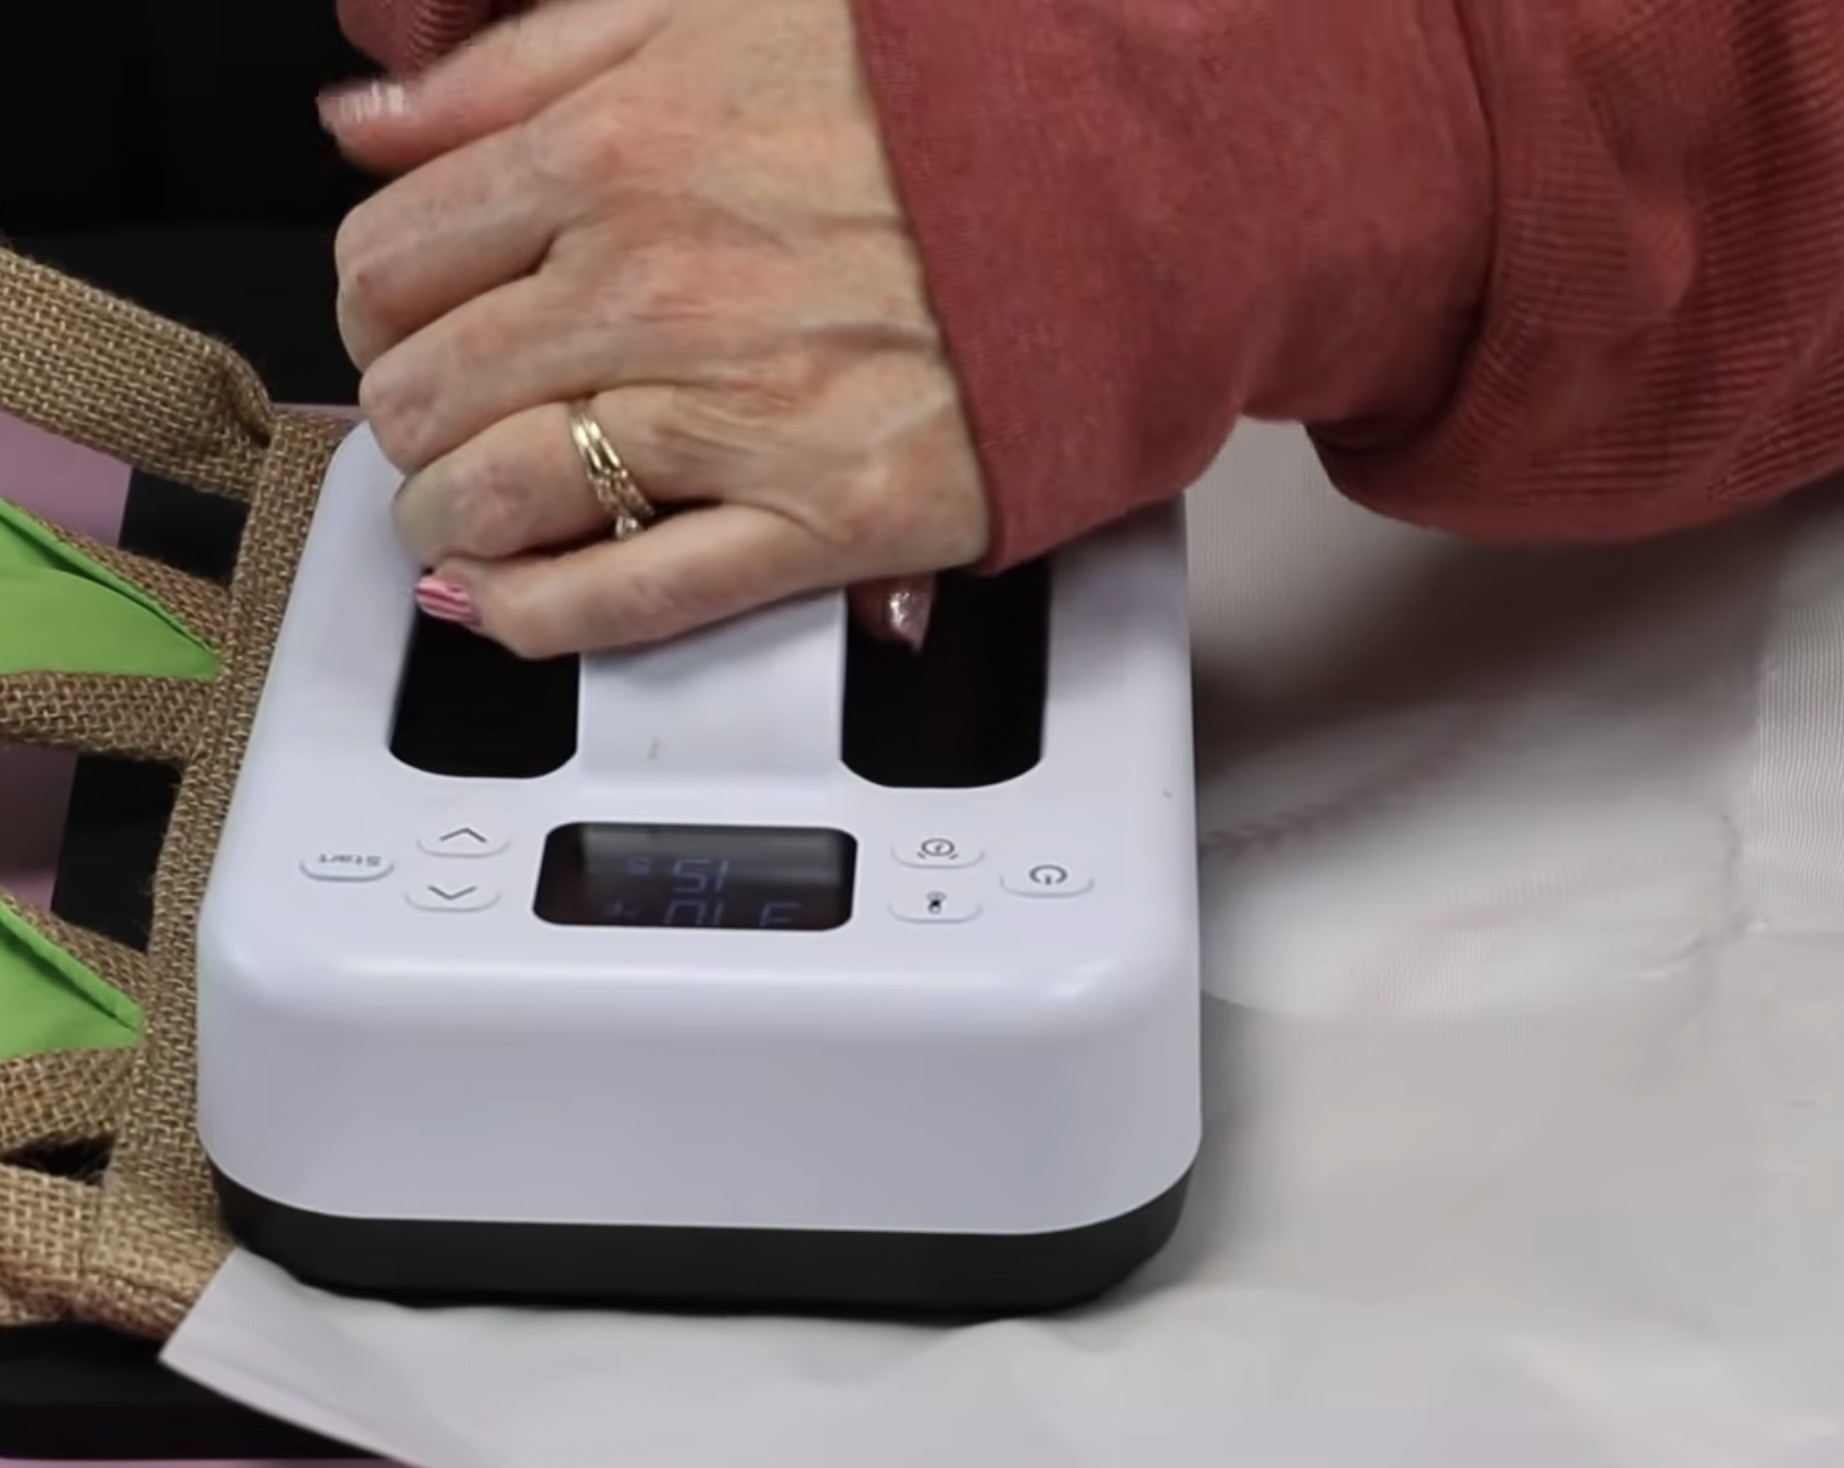
Step 3. Press with the EasyPress Mini
Cover the print with protective paper and press.
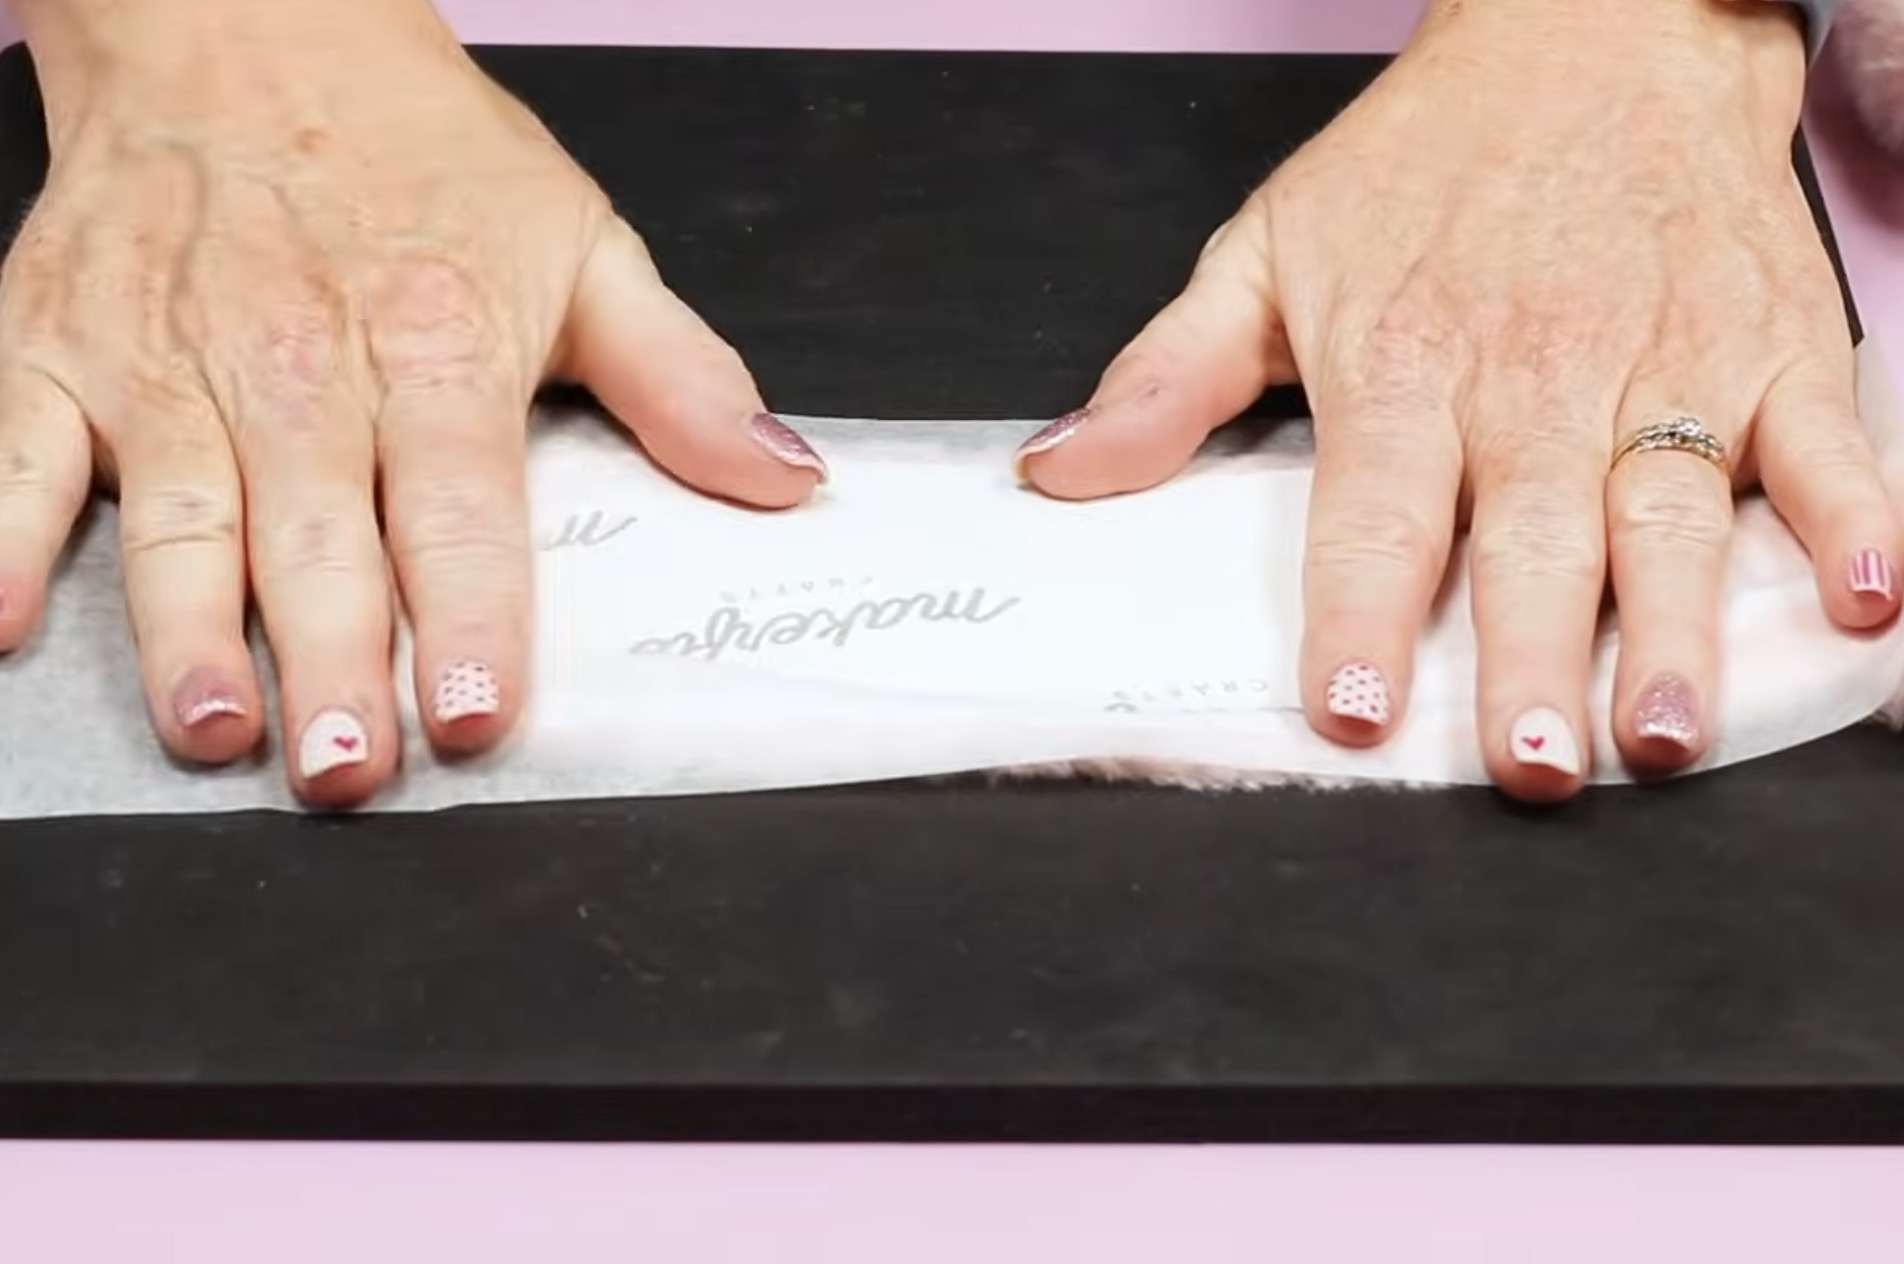
If you're using the EasyPress Mini, press each section for 30-45 seconds. To ensure the entire design transfers, I overlap where I press a little bit. Rotate the Mini a little bit if needed to cover the whole design.
When the whole design is pressed, lift the edge of the design a little to make sure the print has transferred fully.
My design looks really good, so I removed the print.
If your design did not transfer because you haven't moved the print, you can press again, and it will line up.
If you notice any press marks, use the EasyPress Mini to go over the marks and press them out. That process worked really well on this fabric.
Customizing this Easter basket with sublimation was so easy, even if you're brand new to sublimation, you can make this project.
Custom Easter Baskets with HTV
For the next two custom Easter baskets, I am using my Cricut, a couple of different types of HTV, and two different handheld presses.
Step 1. Create Designs in Design Space
Open Design Space and open a blank canvas.
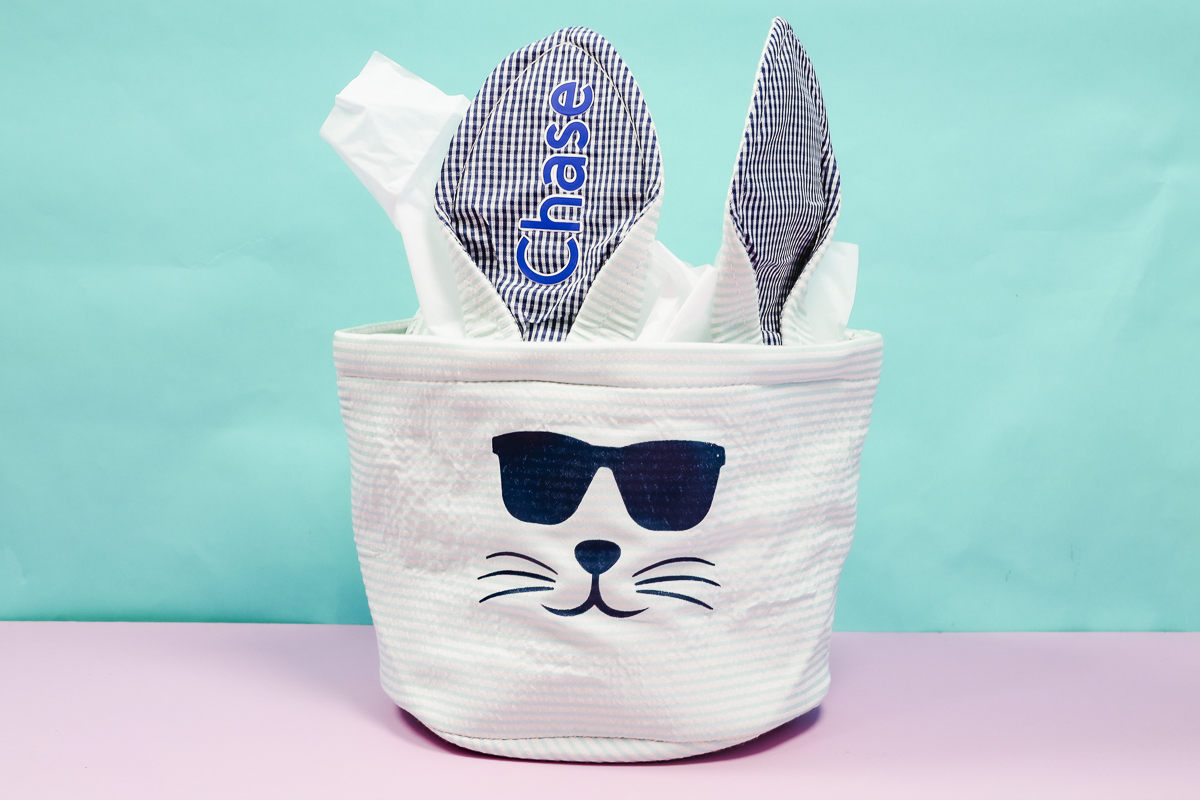
For the seersucker Easter basket, I want to add a cute bunny face and a name.
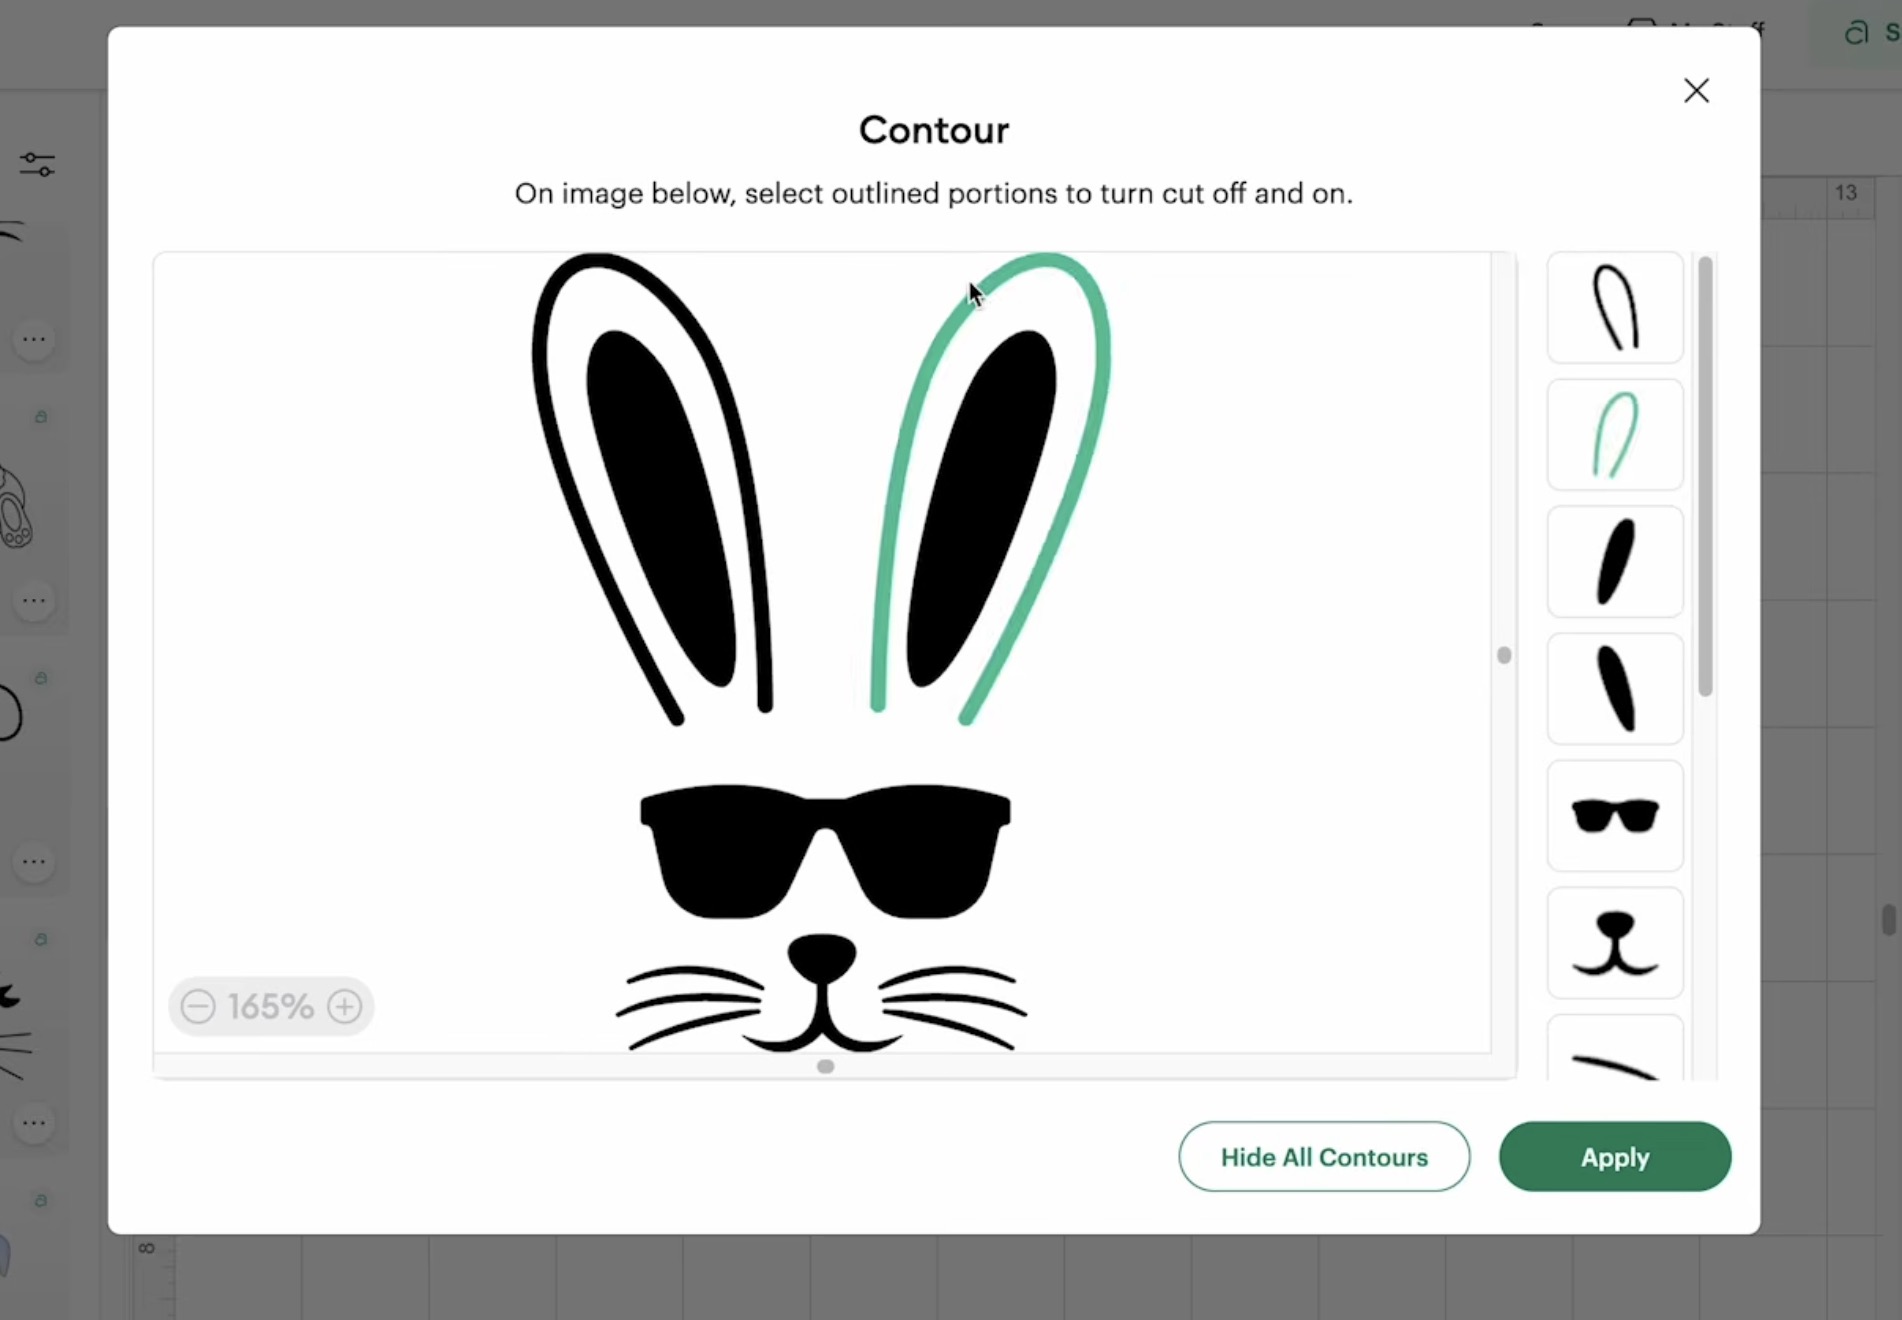
I searched Bunny Face and scrolled through until I found the image I wanted to use. I knew I wanted a design that had sunglasses.
This design has ears. I do not need those since my basket already has ears. To remove them, select the image, click Contour, and then click on each element you want removed.
If you don't have Cricut Access, you can find similar images on Creative Fabrica and upload them to Design Space.
Measure the ear where you want to add the name. Type out the name, and then choose the font you like best.
Next, I changed the colors to match the HTV I'm using.
For the burlap Easter basket bag, I am going to add a name and a baseball to customize it.
I'm adding both the name and baseball to the front of the bag. I want a baseball that is only 2 layers. I found a baseball I liked the look of. It had a black base layer, so I ungroupled the design and removed the black layer.
I resized the design to fit on the bag and changed the colors to match the HTV I'm using.

Step 2. Cut Out the HTV
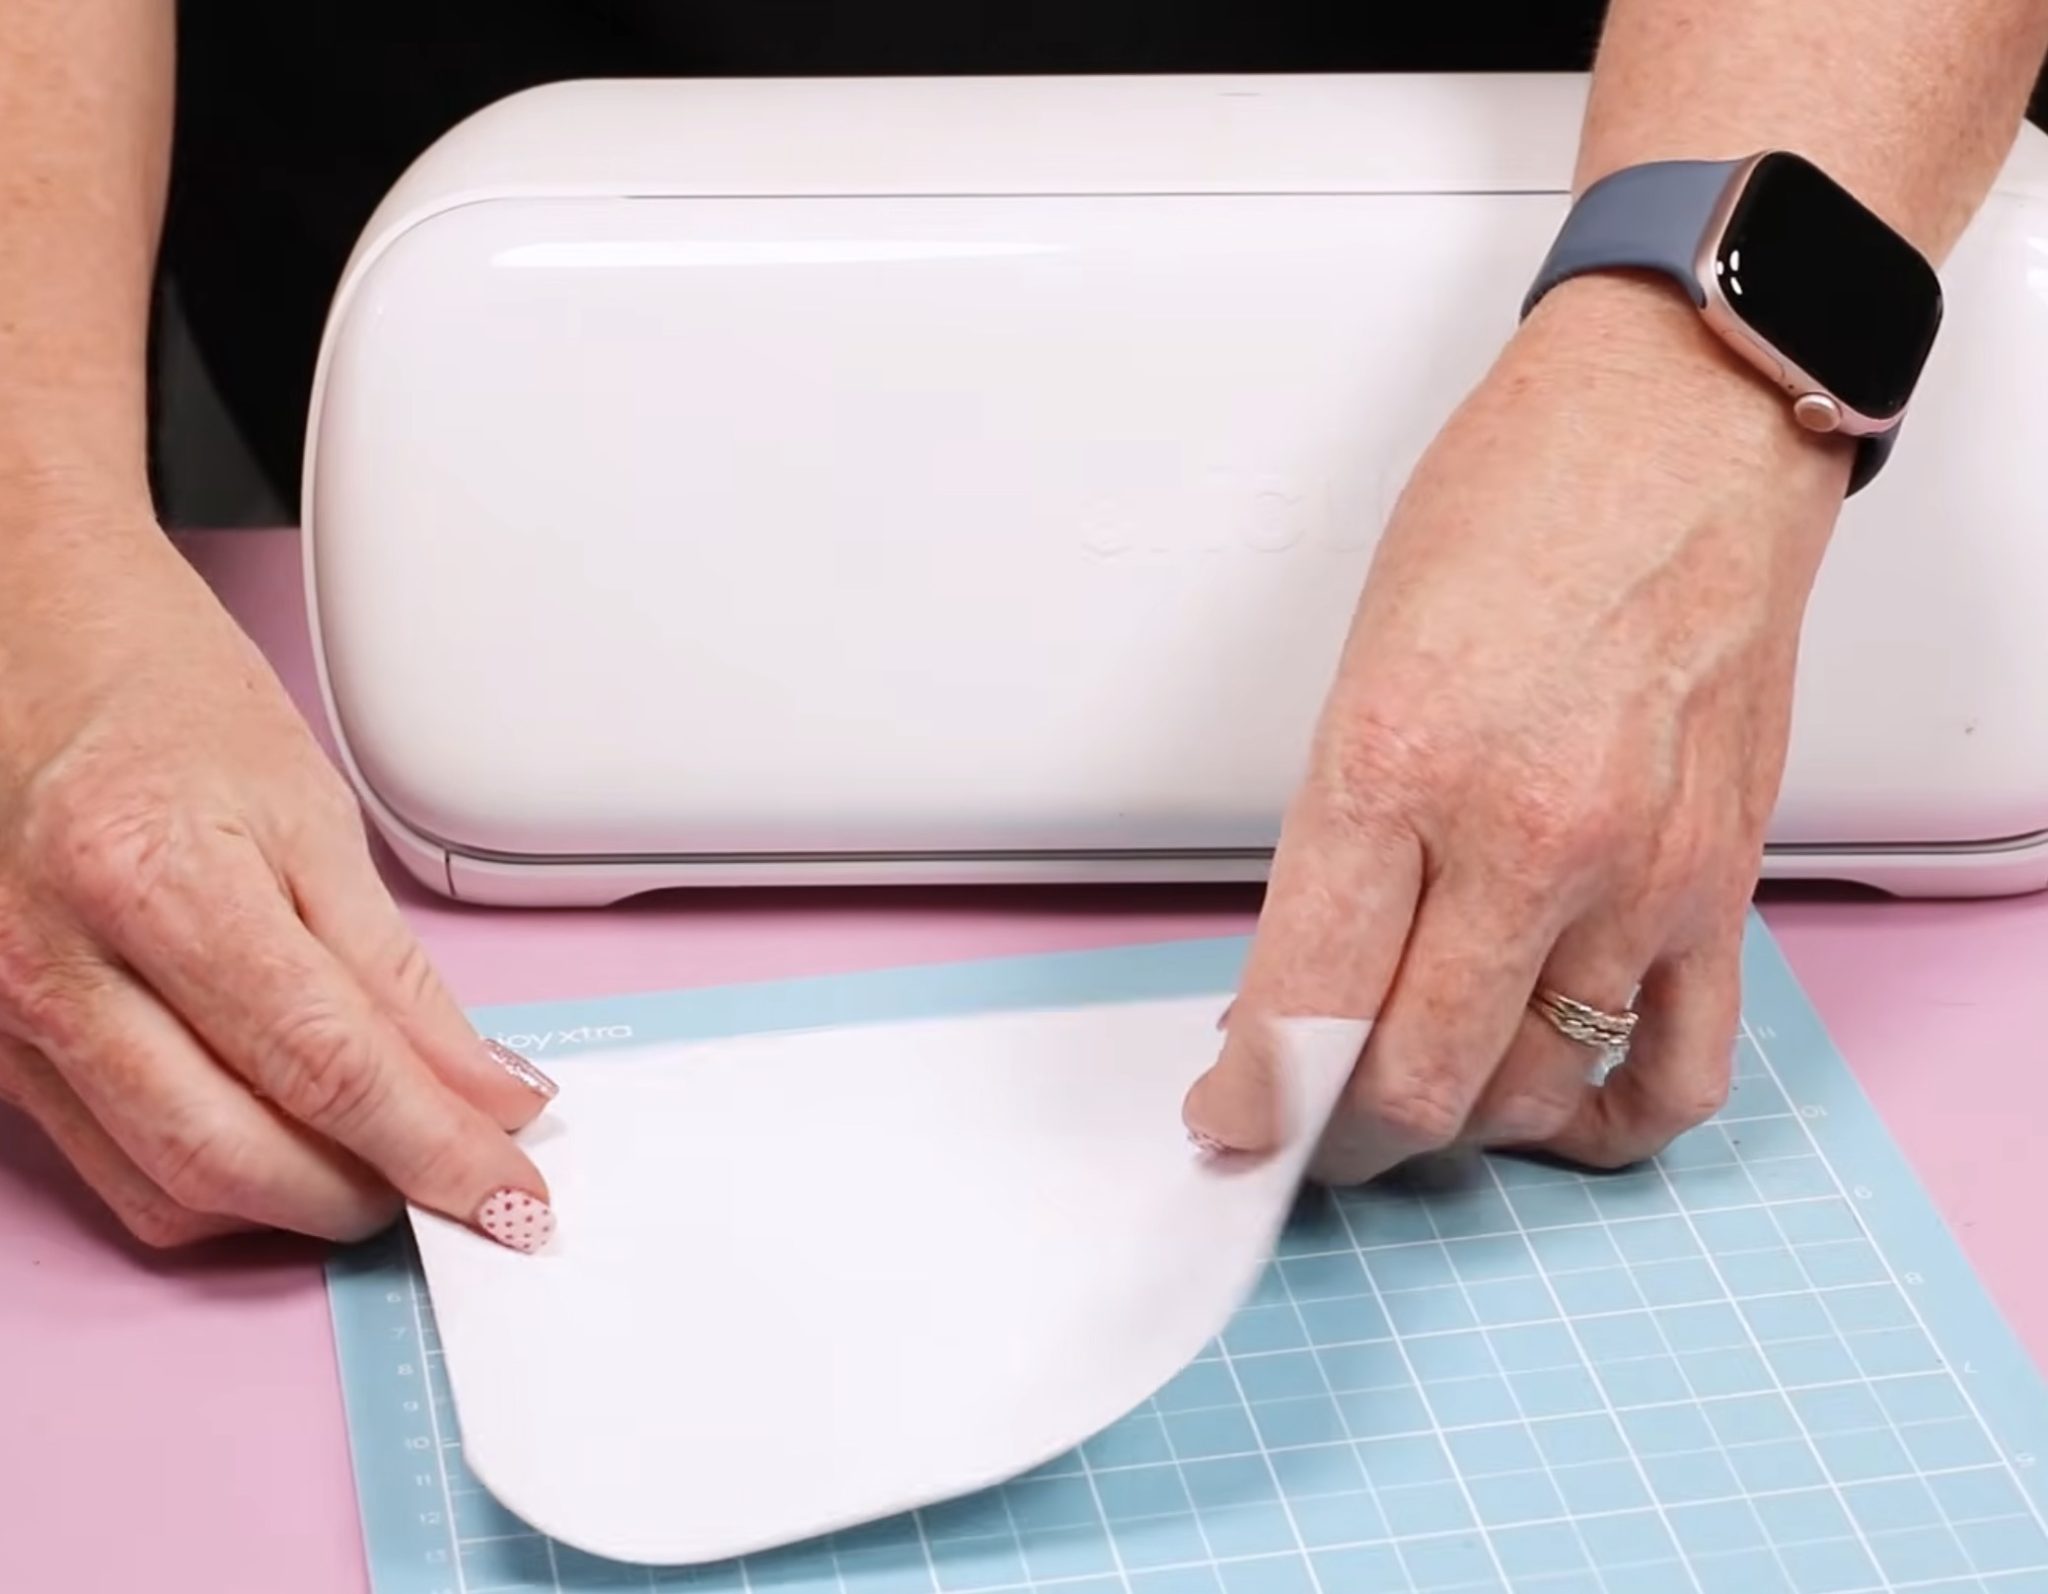
Make sure you have the right machine selected. I am using my Cricut Joy Xtra today, but you can make this project with any Cricut machine.
Click Make, and I am using a mat, so I selected that option. Go through each mat and make sure you mirror the design.
Place the HTV on the cutting mat, shiny side down, and use a brayer to make sure it's firmly stuck down.
For the regular HTV, I am using the Everyday Iron-on setting. For the Super Pop HTV, I had the best success with the Light Cardstock Setting.
If you have not used these materials before, make sure to do a test cut first. The setting you use will depend on the type of HTV you're using.
Press Go to cut out the design.
Step 3. Weed the HTV
When the machine is done cutting, unload the mat and remove the material from the mat. I like to flip the mat over and roll it away from the material.
Repeat this process for all of the different HTV colors.
Weed away the excess HTV, making sure to remove the centers of letters and any inside pieces of the designs. Anything you don't want transferred to your Easter basket needs to be removed now.
Step 4. Apply HTV to Easter Baskets
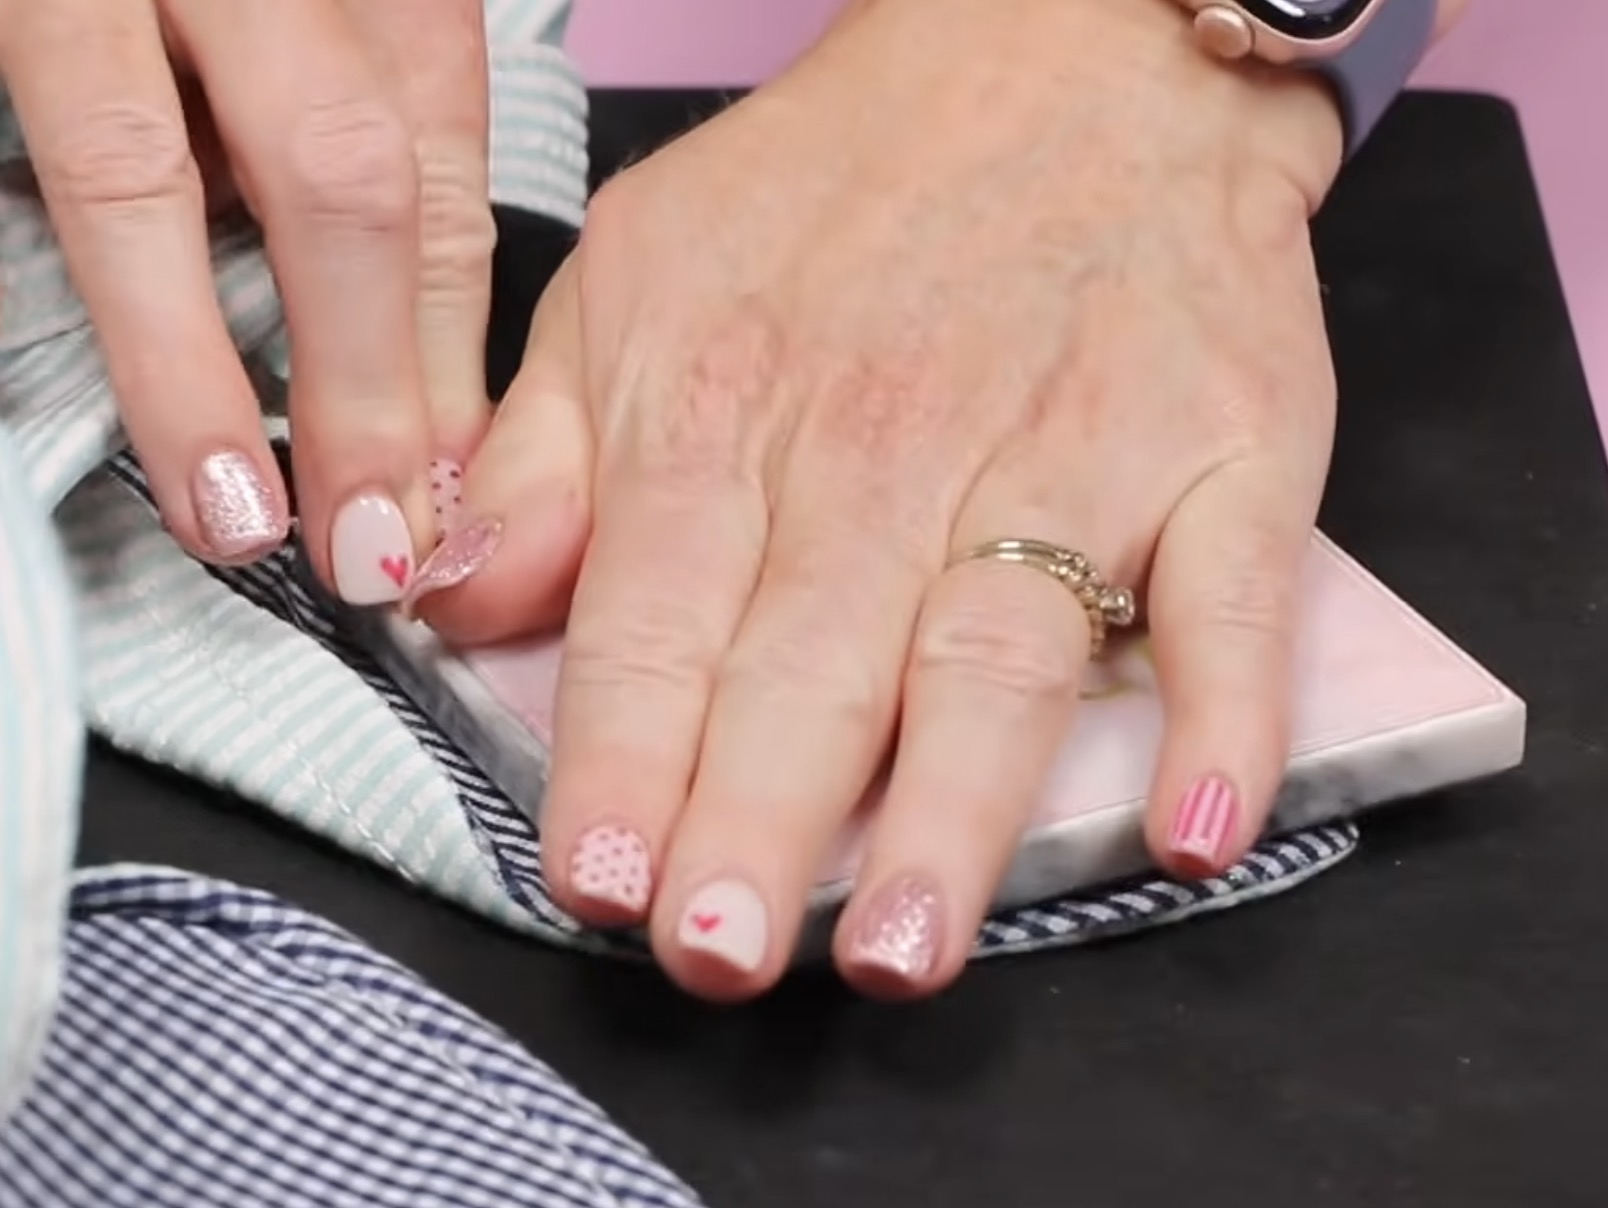
For the first Easter basket, I am going to use the EasyPress Mini. I have a heat-resistant mat under the basket and smoothed the basket down. I like to have a flat surface when pressing.
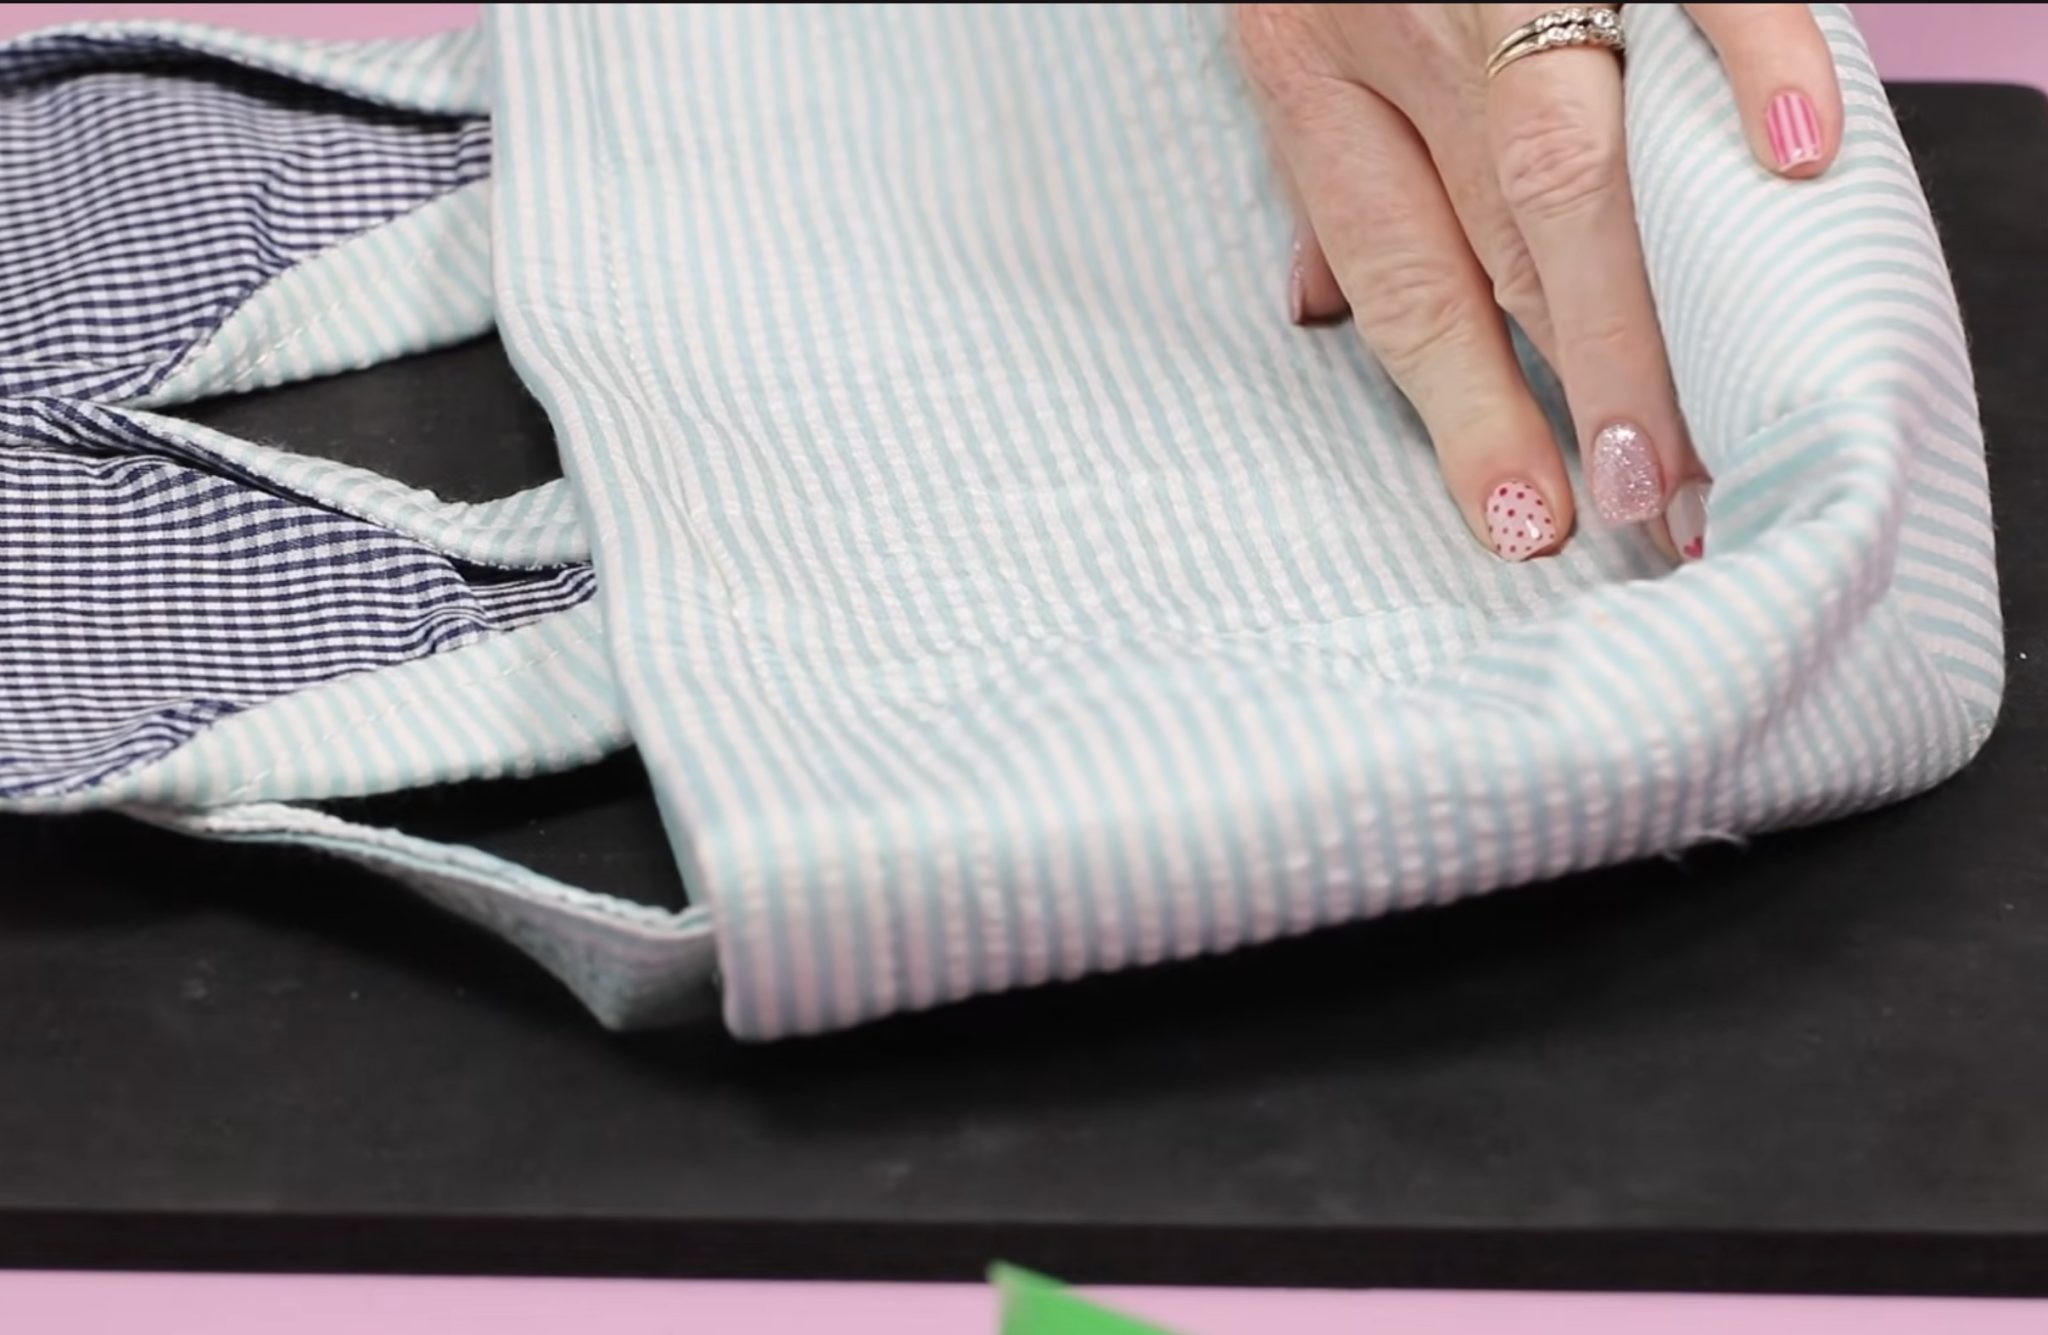
You could also try stuffing the basket to lift this portion up if you'd prefer that over flattening it.
I have the EasyPress Mini heated up to the 2nd line. That is the setting for HTV.
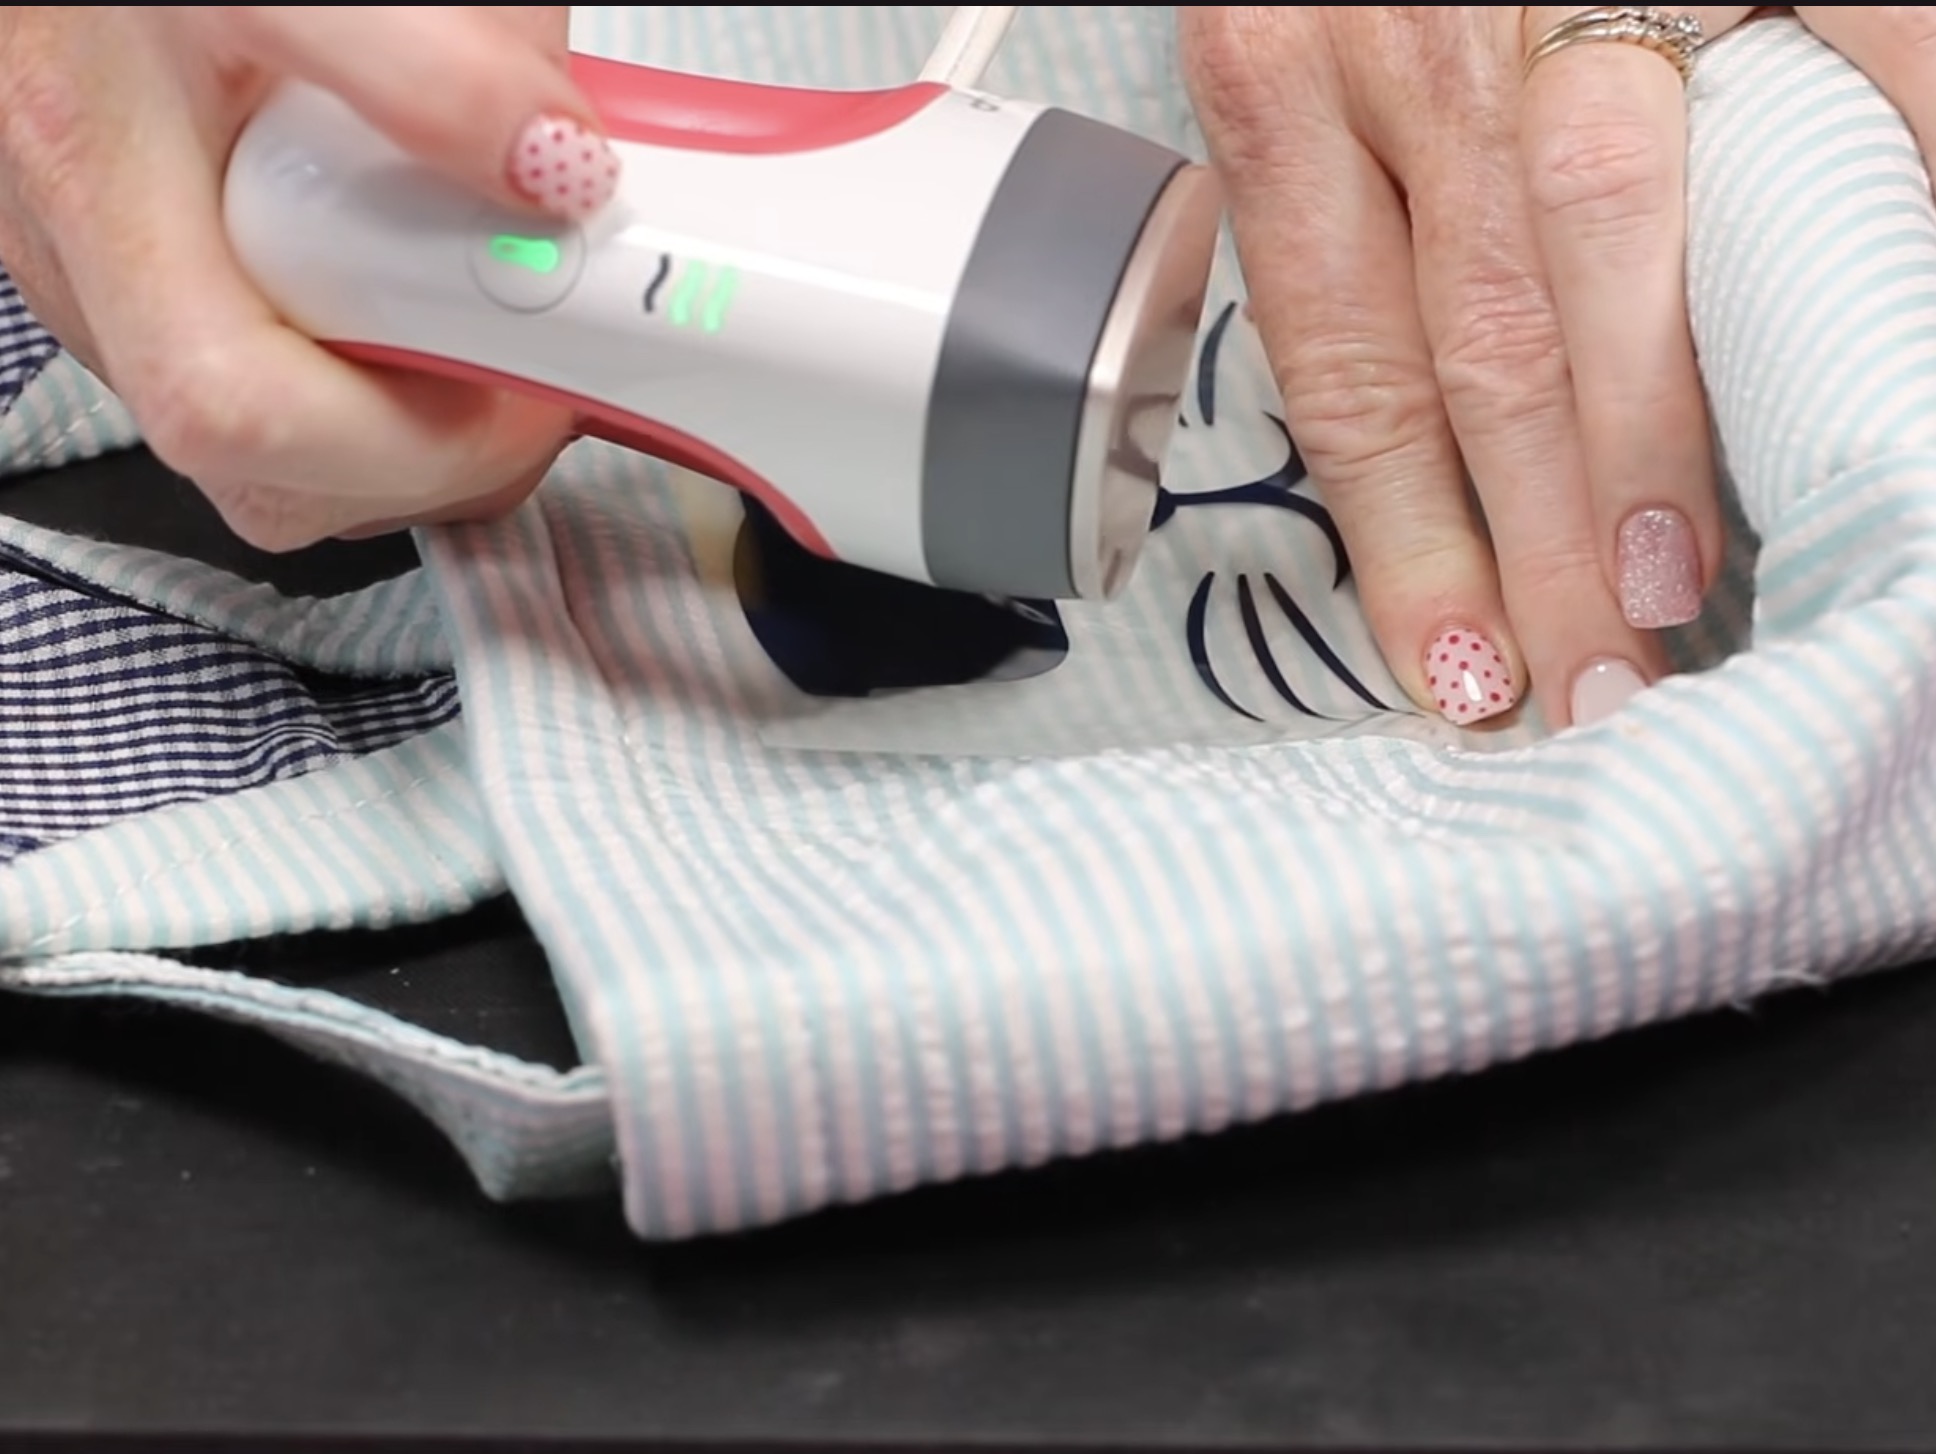
Locate the HTV bunny face centered below the ears. If you need to, you can add some heat-resistant tape to the corners to help hold it in place while you press.
This HTV has a press time of 10-15 seconds, so I am going over the surface, making sure to heat all areas for that long.
I found it easiest to focus on the glasses first and then move down to the rest of the face.
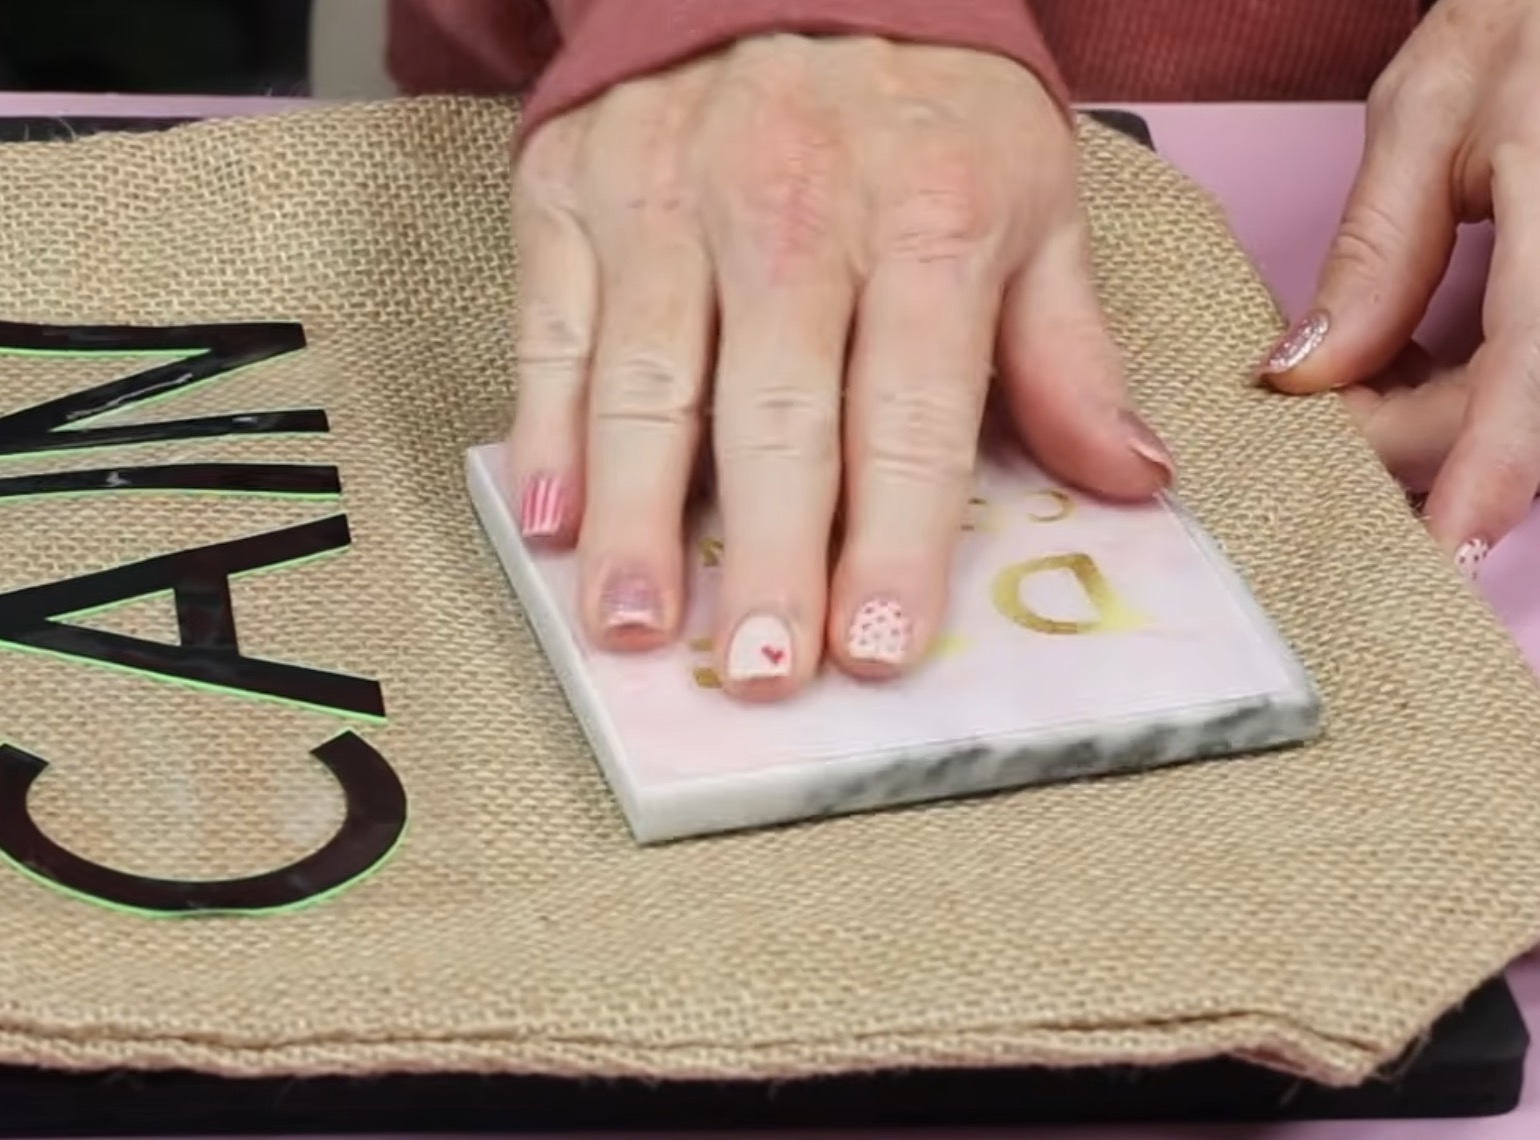
Use a Scraper Tool to Press the HTV onto the Fabric
The fabric is not smooth, so when I'm done pressing the glasses, I'm going to use a scraper to continue pressing the HTV onto the fabric while it cools.
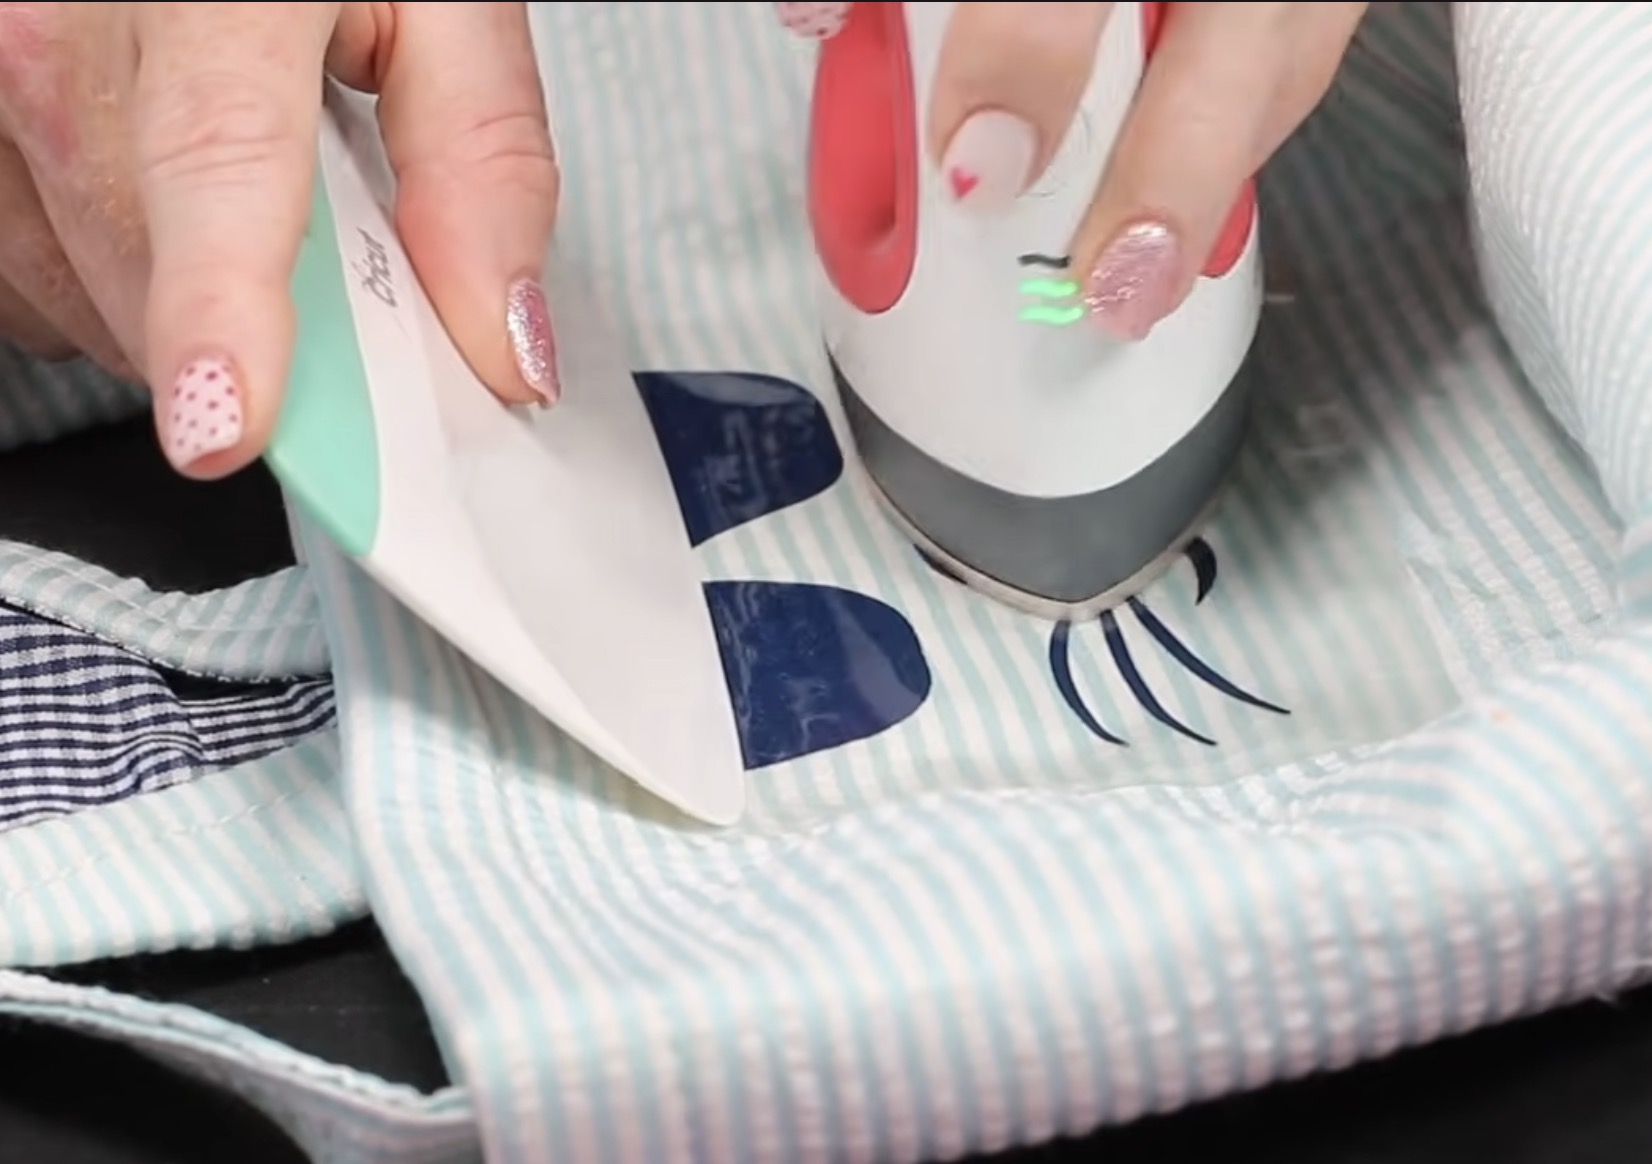
While using the scraper tool on the glasses, I am going to press the rest of the face.
If you don't have a scraper tool, you can use something like a gift card or a hotel key card. The goal is to keep the adhesive in contact with the fabric as it cools.
When you're done pressing, you can use a DTF cooling block to cool it a bit more.
Gently lift the corner of the carrier sheet to make sure the HTV is stuck down. If it is, remove the carrier sheet, and that section is done.
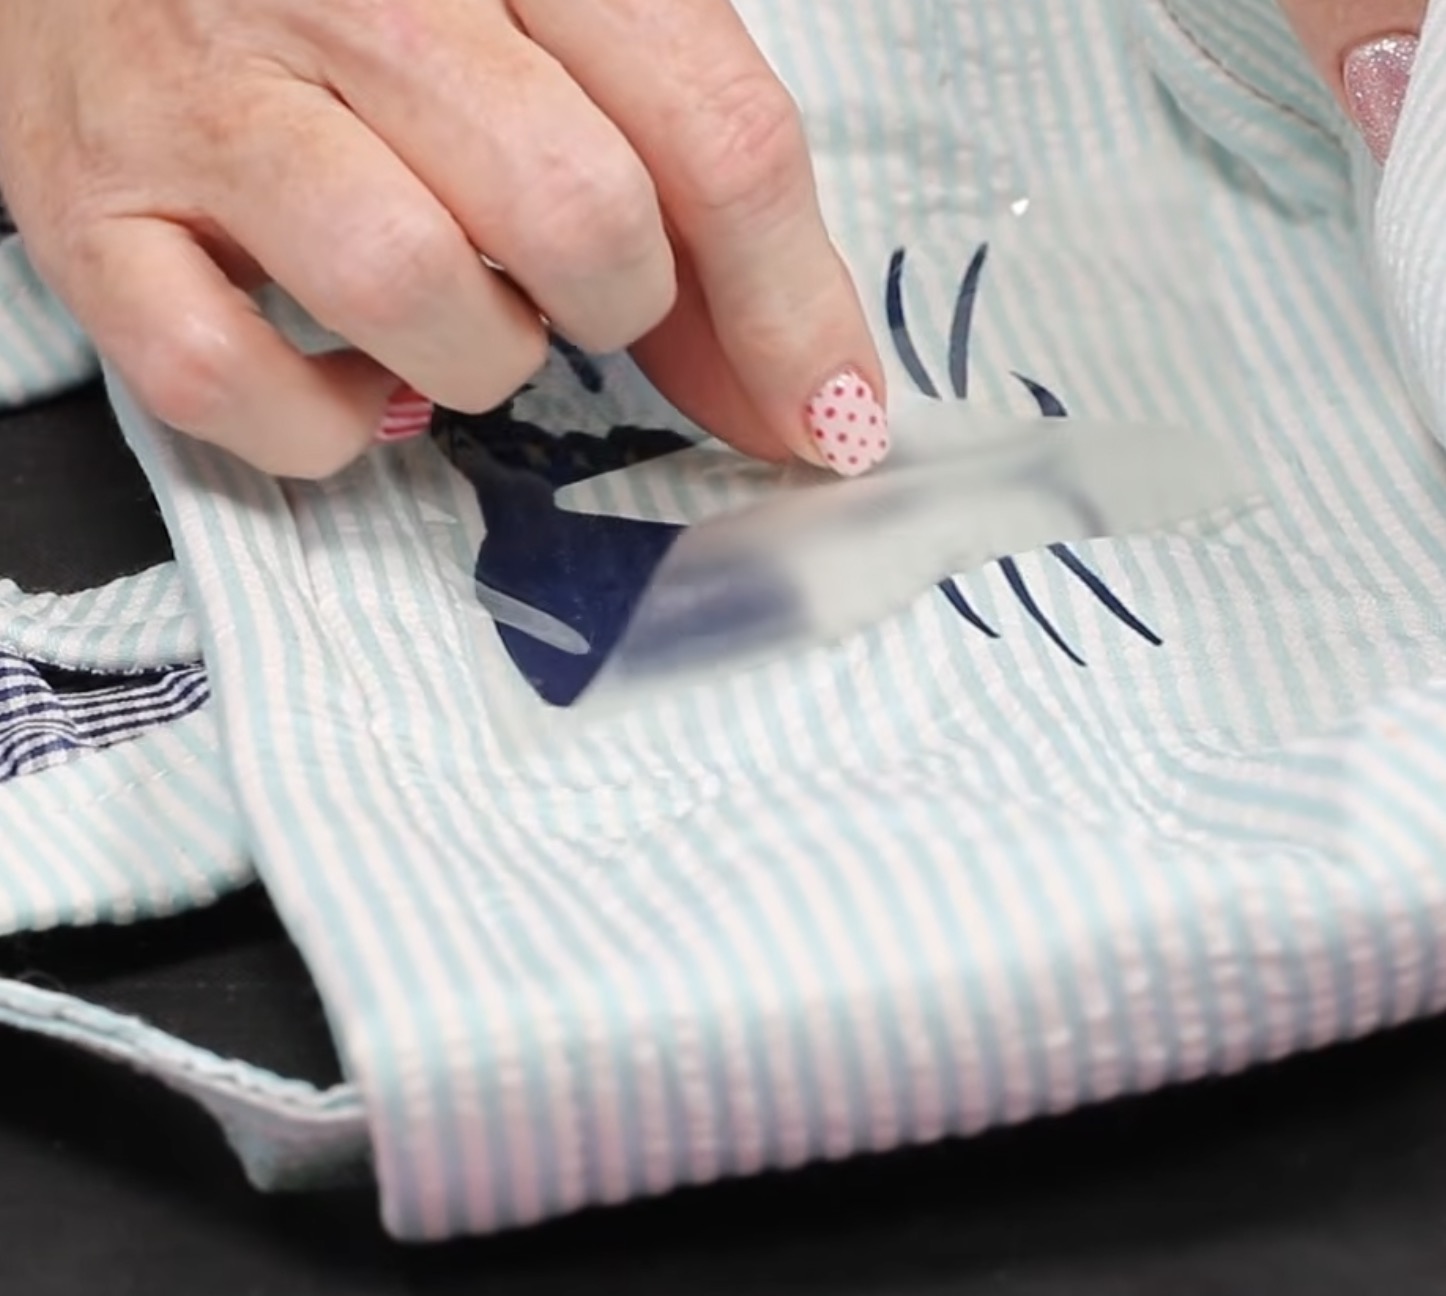
If, after removing the carrier sheet, you feel it needs a little more heat, add a piece of protective paper over the HTV and press for a few more seconds.
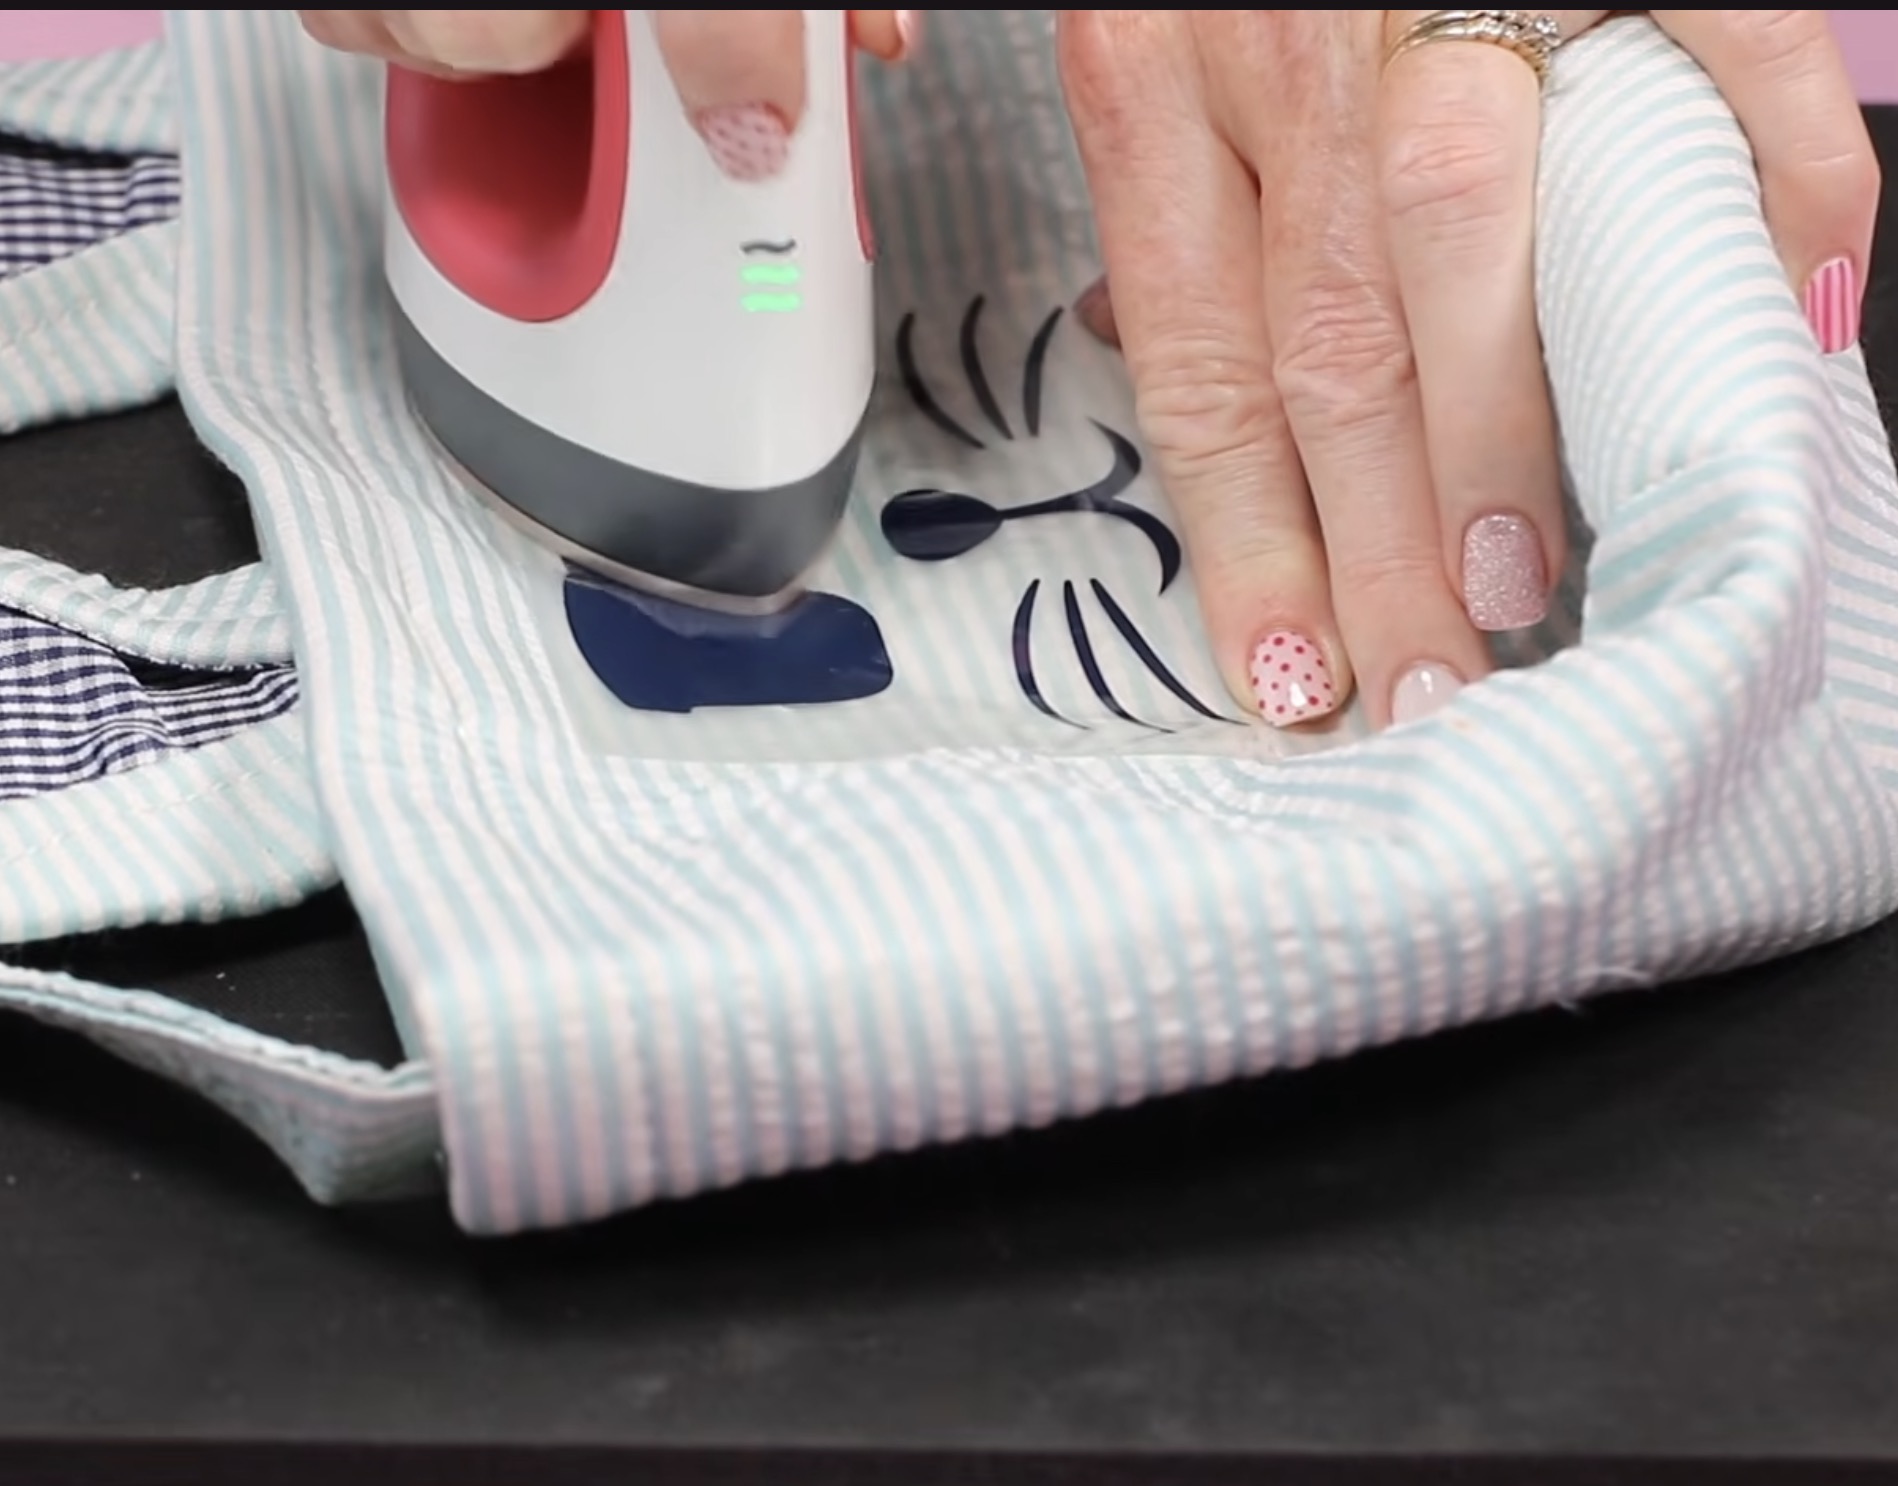
Step 5. Add Super Pop HTV to Easter Basket Ear
Next, I am going to add a name to the ear of this Easter basket.
Start by preheating the ear to remove any moisture, and then locate the name.
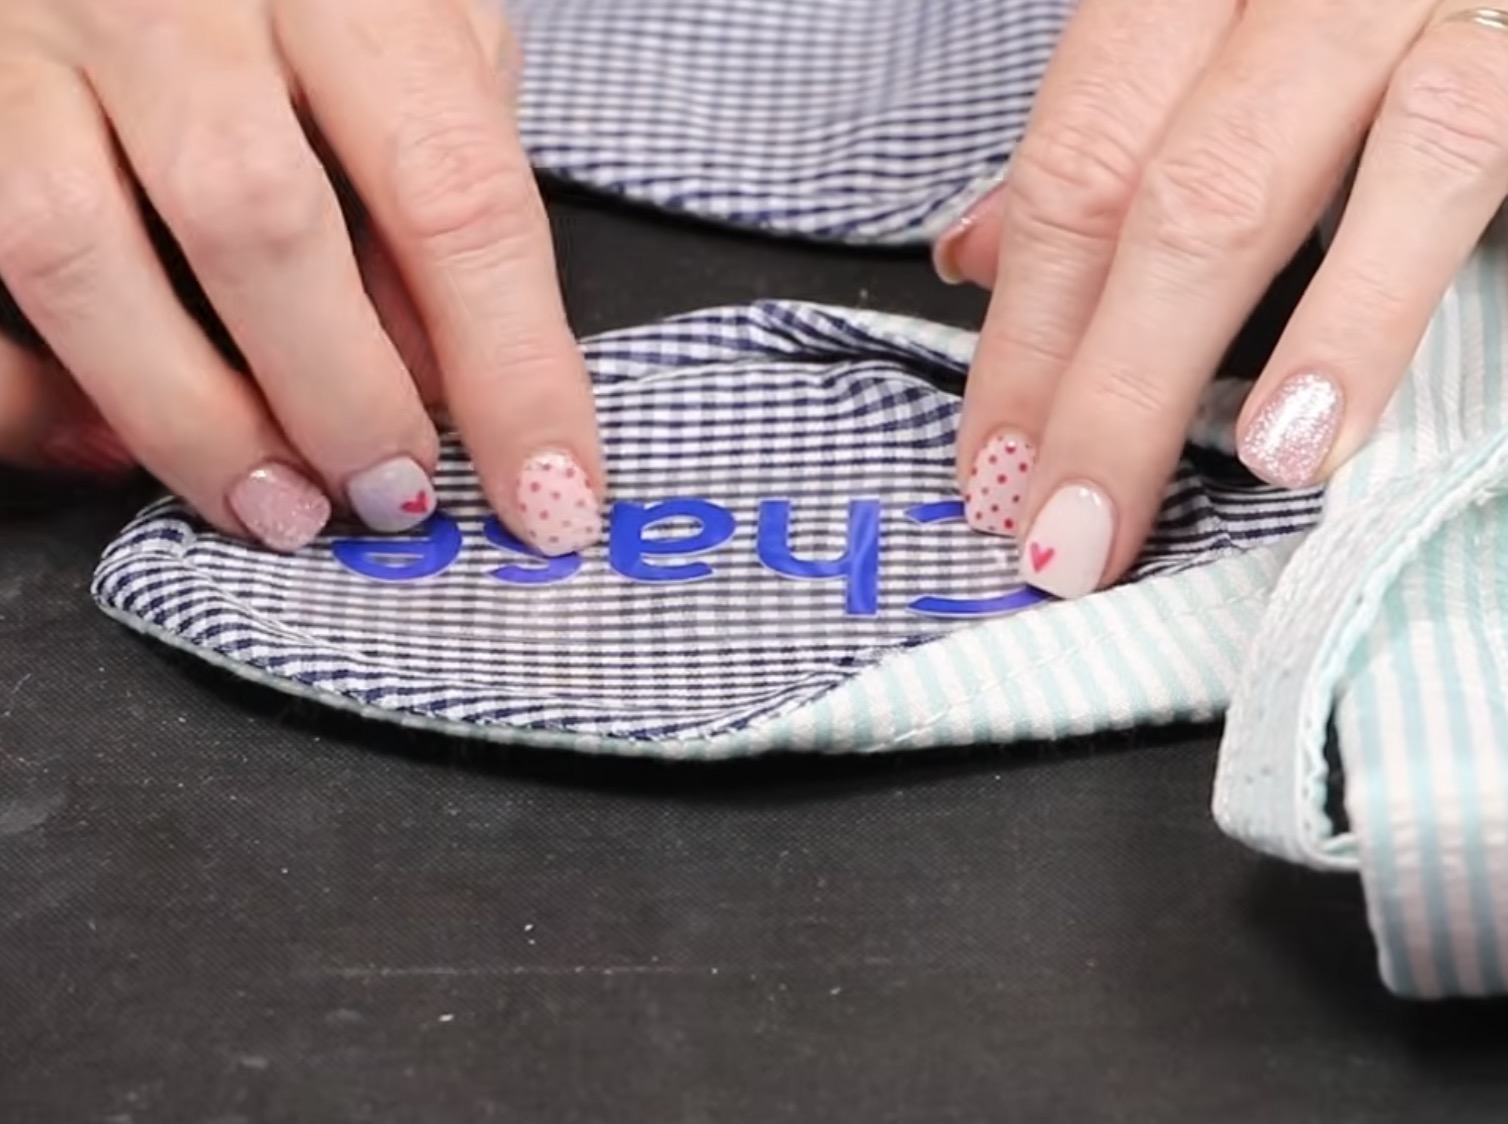
This HTV requires a very heavy pressure. If you're using a handheld press like the EasyPress Mini, you'll want to place the press on part of the design and press down for about 20 seconds with as much pressure as you can apply.
If your design is larger than your press, lift it up and press the next area for the full time.
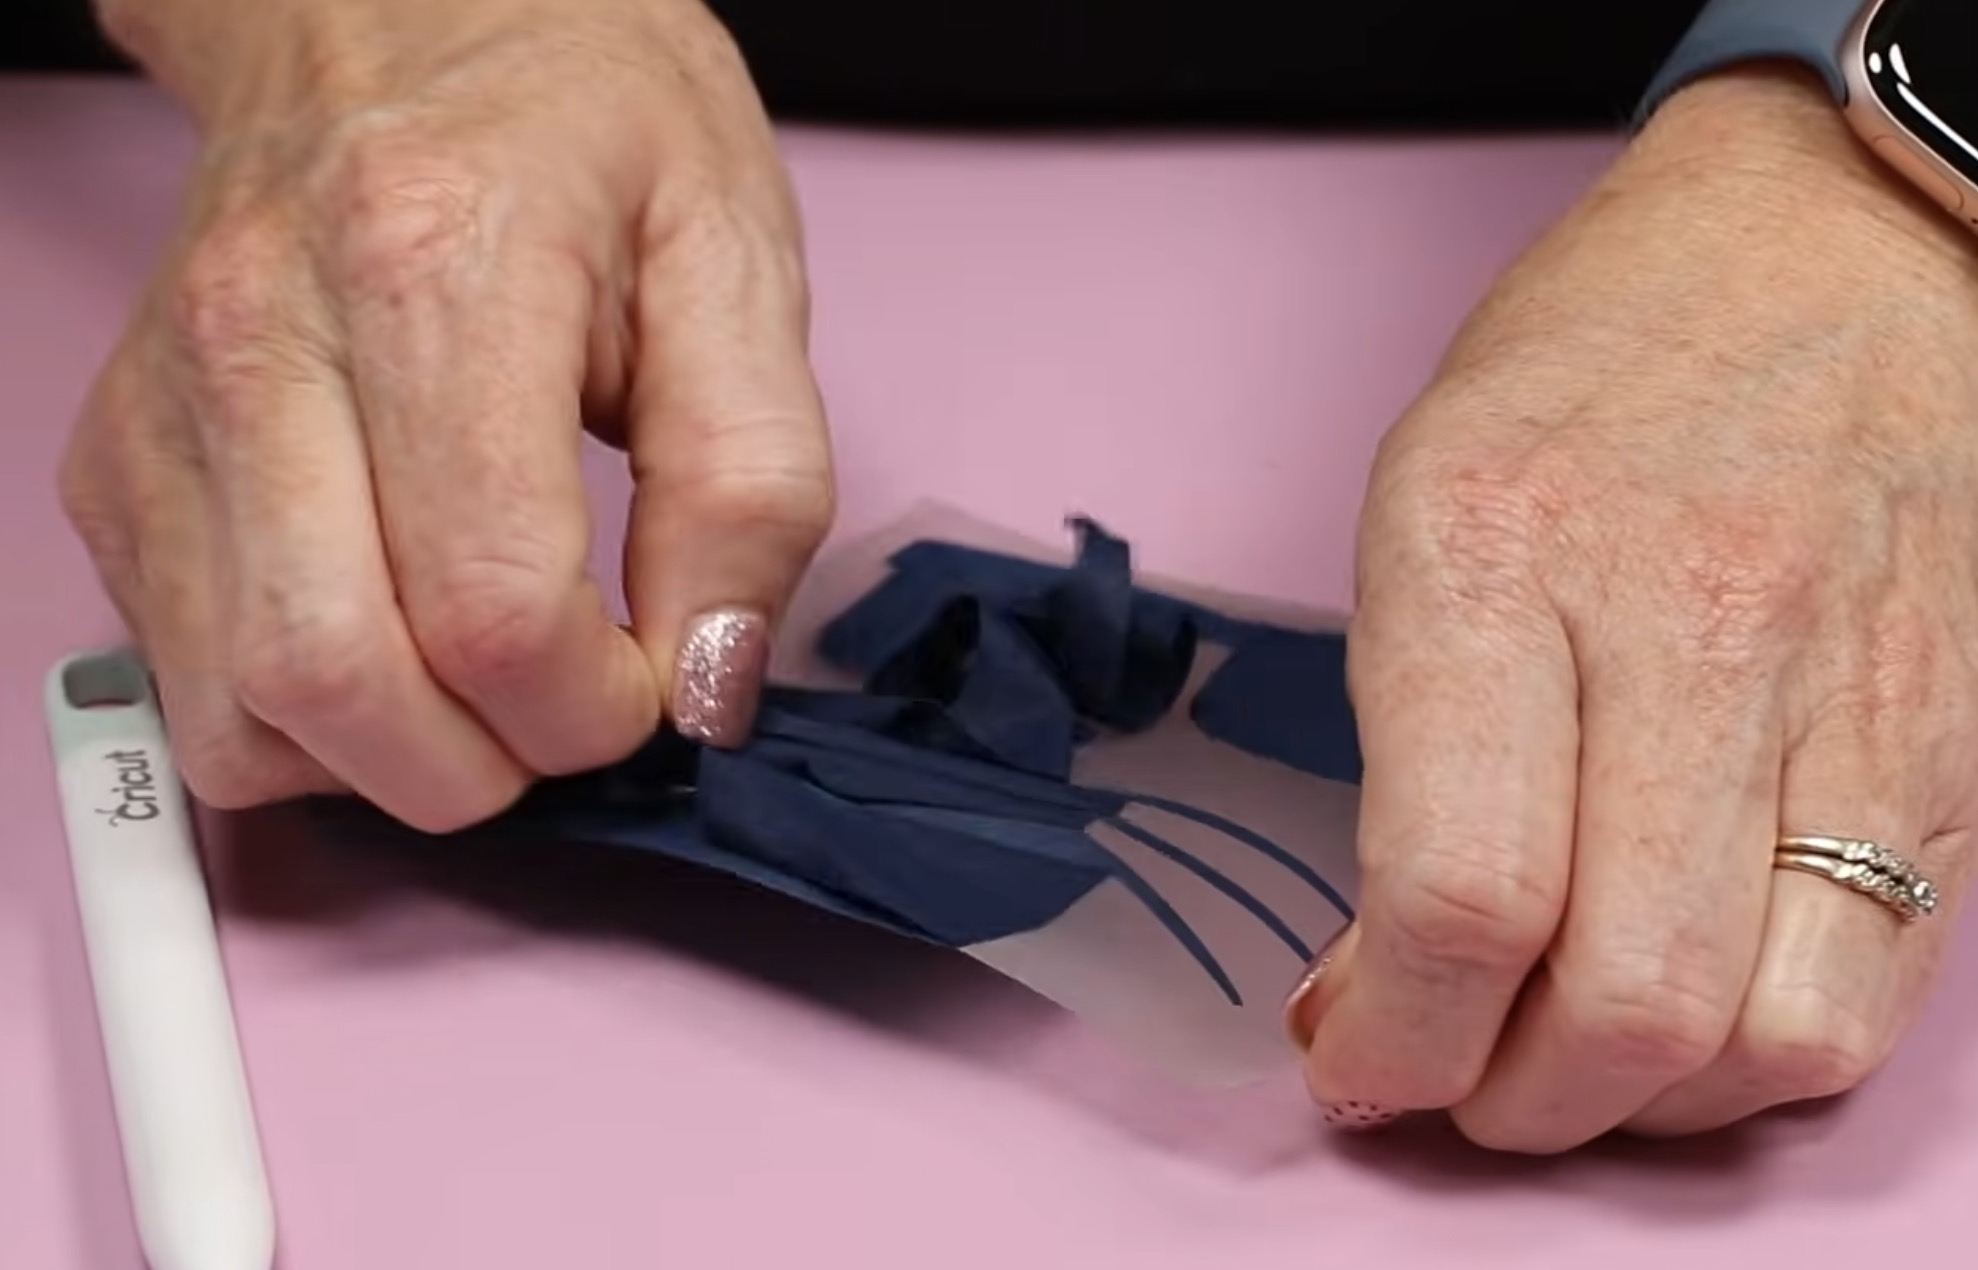
You'll know this is working if you can see the 2nd color around the top layer. When you apply heat and pressure, it presses the bottom color out, and you'll see it all the way around the outside of the top color.
I love getting the look of using 2 colors of HTV but only having to cut and press one time.
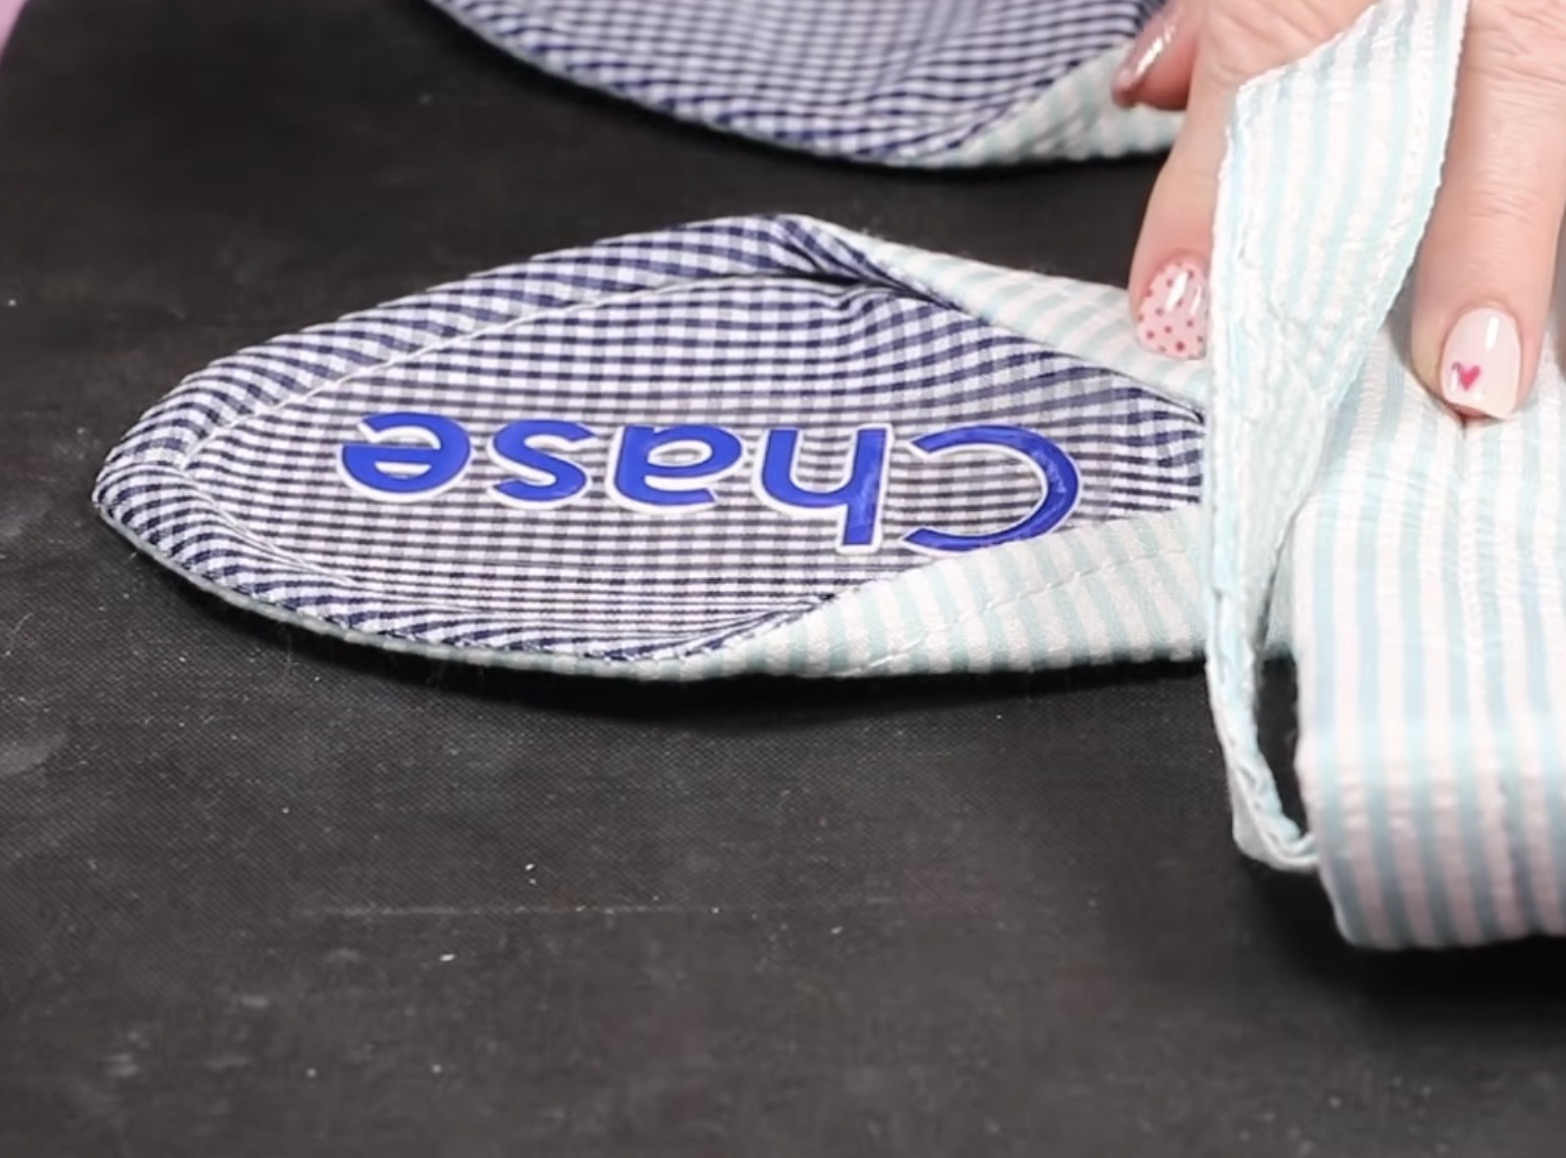
The Super Pop worked really well on the ear of this Easter basket. I can see the white all the way around the blue.
This is a cold peel HTV, so let it cool completely before trying to remove the carrier sheet. You can speed up the cooling process by using a DTF cooling block.
I'm really impressed with how well the Super Pop HTV worked on the ear of this Easter basket.
Step 6. Customize a Burlap Easter Basket with HTV
Because this fabric has a lot more texture than the other Easter basket, I am going to use a larger handheld press so I can press it all at once. Place the bag on top of a firm, heat-resistant mat.
I have my heat press set at 310 degrees for 15 seconds.
This time, I am adding the name and design to the front of the bag instead of adding the name to the ear. You can add the name to the ear if you want to.
I cut the name out of Super Pop HTV, so once again, we're going to need to press it down with very firm pressure.
I have the name located higher on the bag because I want to add the baseball on the same side under the name.

Place the heat press on top of the HTV and press down with as much pressure as you can apply.

When the time is up, remove the heat and do a quick peek test. Mine looks like it's sticking well, but because I'm using a handheld press, I am going to press for approximately 7-10 seconds longer.
Allow the Super Pop to cool completely before trying to remove the carrier sheet.
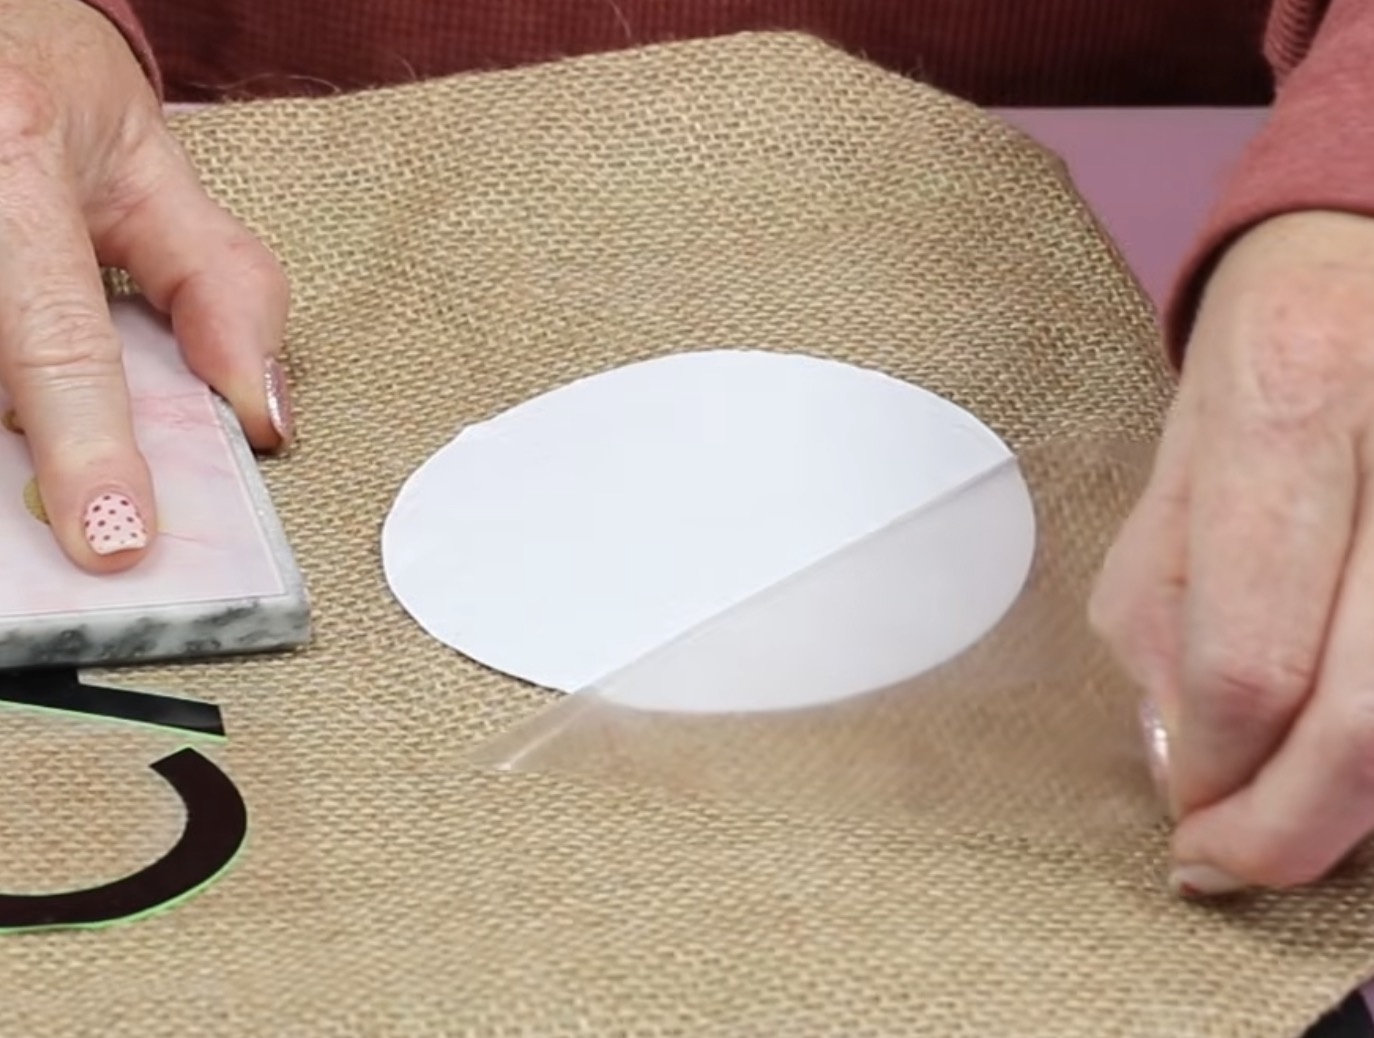
Next, we're going to add the baseball. Press the white layer first with firm pressure for about 7 seconds.
Allow it to cool for a few seconds before trying to remove the carrier sheet.
It's okay if it lifts a little bit because we're going to press it again with the red layer. We just want it stuck down well enough that we can remove the carrier sheet.
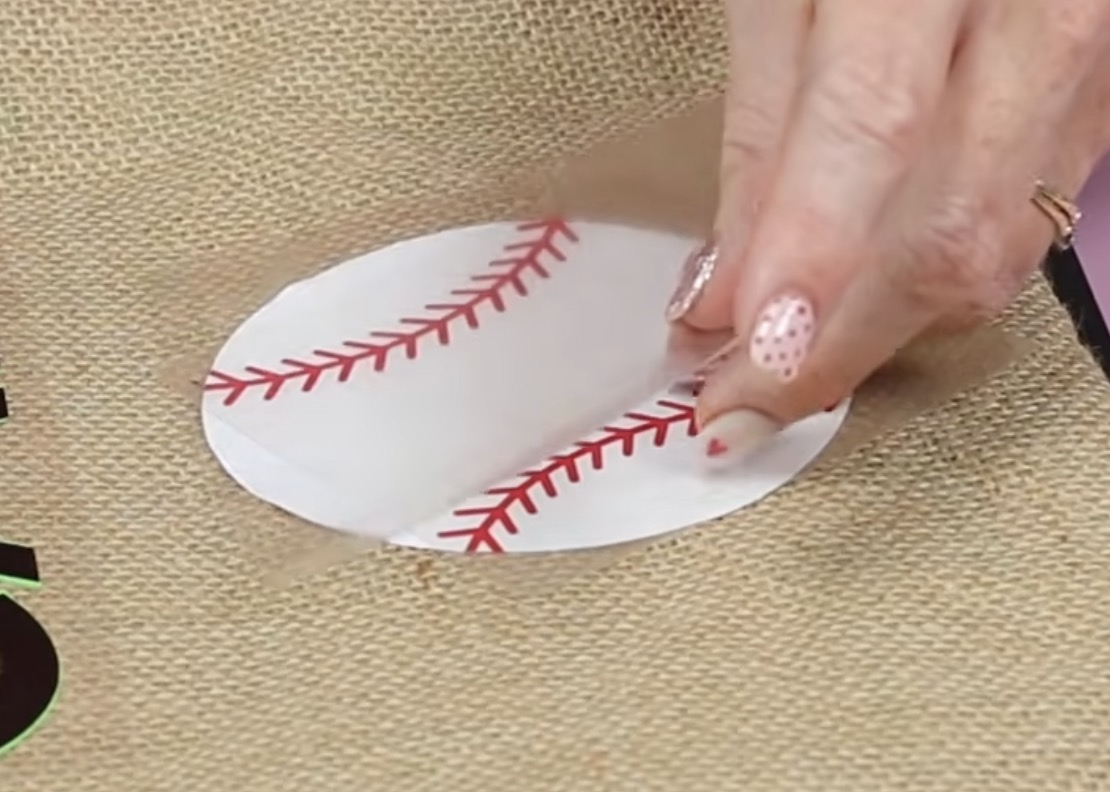
Locate the red stitches on top of the white. If your carrier sheet doesn't cover all the white, use protective paper or the carrier sheet from the white layer to cover it, and then press for the full time.
HTV sticks to HTV really well. Allow the adhesive to cool for just a few seconds and then gently peel away the carrier sheet.
At this point, the Super Pop HTV should also be completely cool. Gently peel back the carrier sheet.
Because the burlap surface is so rough, I am going to press everything one more time. Place a piece of protective paper or a Teflon sheet over the top and press everything again for a few seconds.
On the regular HTV, you should be able to see the texture of the burlap in the white areas.
On the Super Pop, you will not see the texture, so this last press is just to make sure everything is stuck down really well.
After that final press, everything looks really good and is stuck down all the way around.
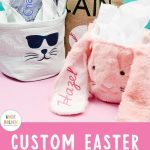
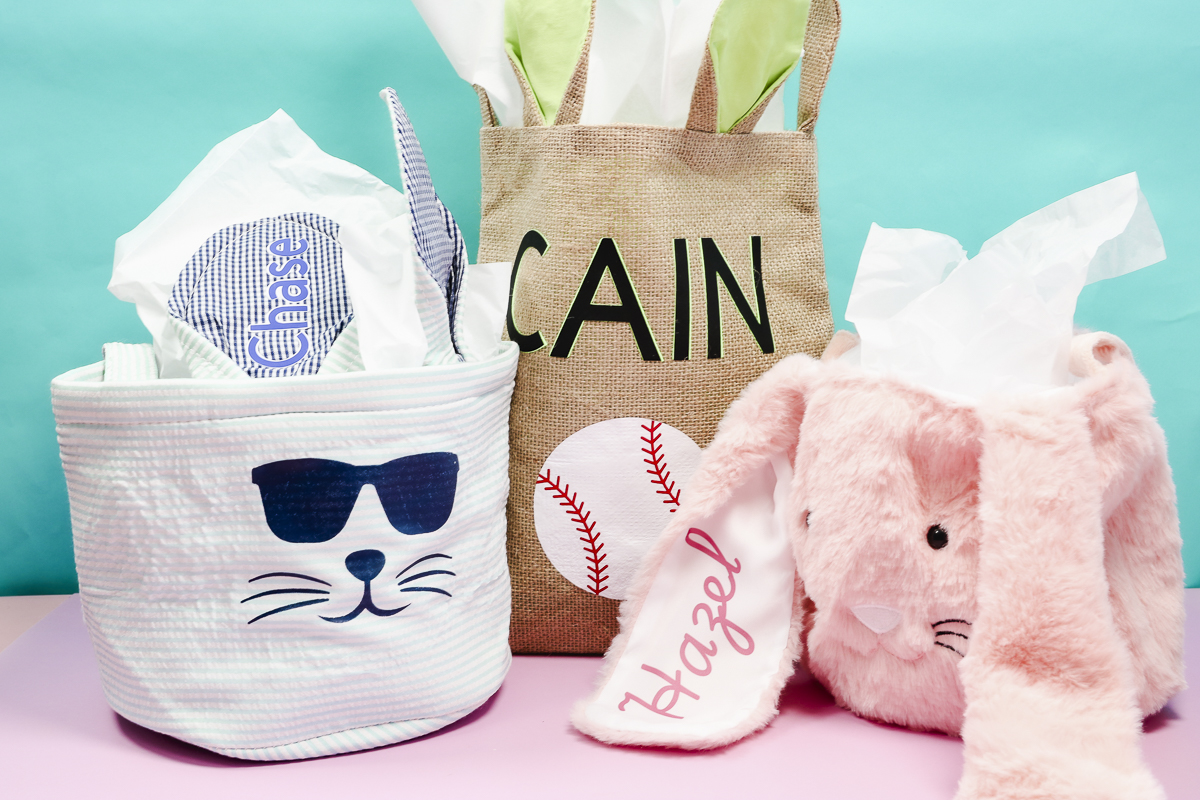
Close Up of Finished Custom Easter Baskets
I am so happy with how all of these custom Easter baskets turned out. No two are alike, which makes them even more fun.
The plush bunny was such an easy basket to customize. Because there is already a face, all I needed to do was add the sublimation name to the ear.
Of the three Easter baskets, the seersucker bunny required a little more focus and attention just because of the way the basket is. It was not hard at all, just needed a little more attention due to the basket and the fabric.
I was really impressed with how well the Super Pop HTV showed up on the ear. I love the two colors, and it is a fun detail that really pops off the ear.
With the burlap basket, the main focus was on making sure to add plenty of pressure to ensure the HTV stuck really well to the fabric.
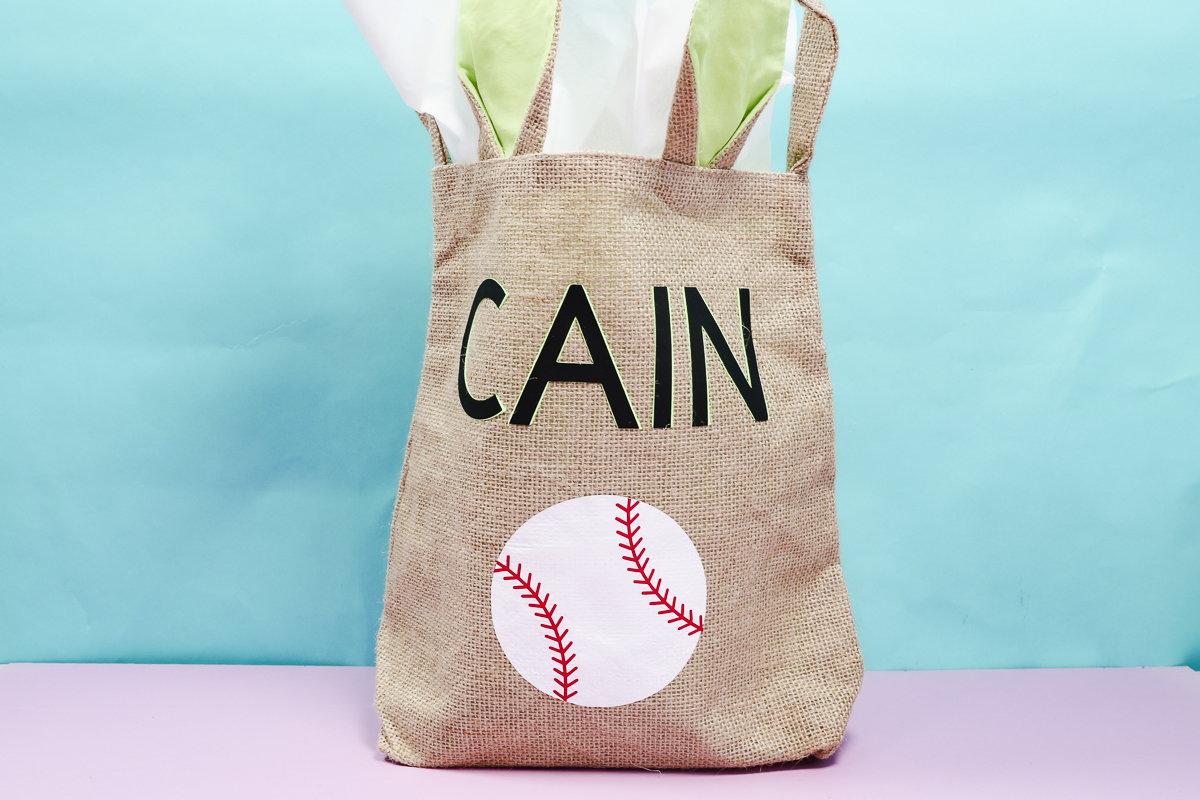
I chose the black and green Super Pop HTV for this basket because the inside of the ears were that same bright green, and I think tying the color into both places was really a fun touch. I added the name to the front of the basket, but you can add it to the ears too if you want.
Are You Ready to Make Custom Easter Baskets?
The great thing about these custom Easter baskets is that you can take all the tips I shared here today and create baskets that are perfect for the person you want to gift them to.
Remember, if you want to use sublimation prints, make sure you have a light colored fabric with a high polyester count.
If you're using HTV, you can use any fabric; you will want to make sure that the fabric you choose can withstand the temperature recommended by the HTV.
I hope I've answered any questions you have about creating custom Easter baskets. If you have any additional questions, leave them in the comments, and I'll be happy to answer them for you.